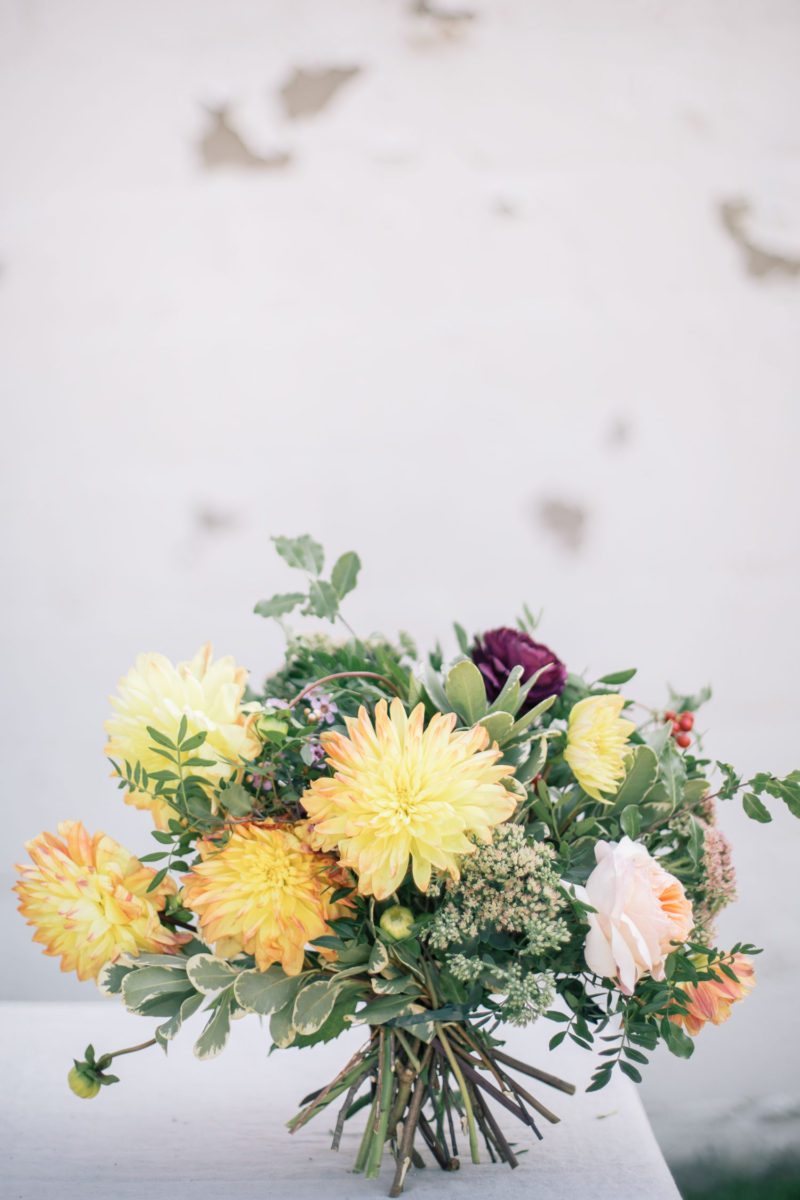
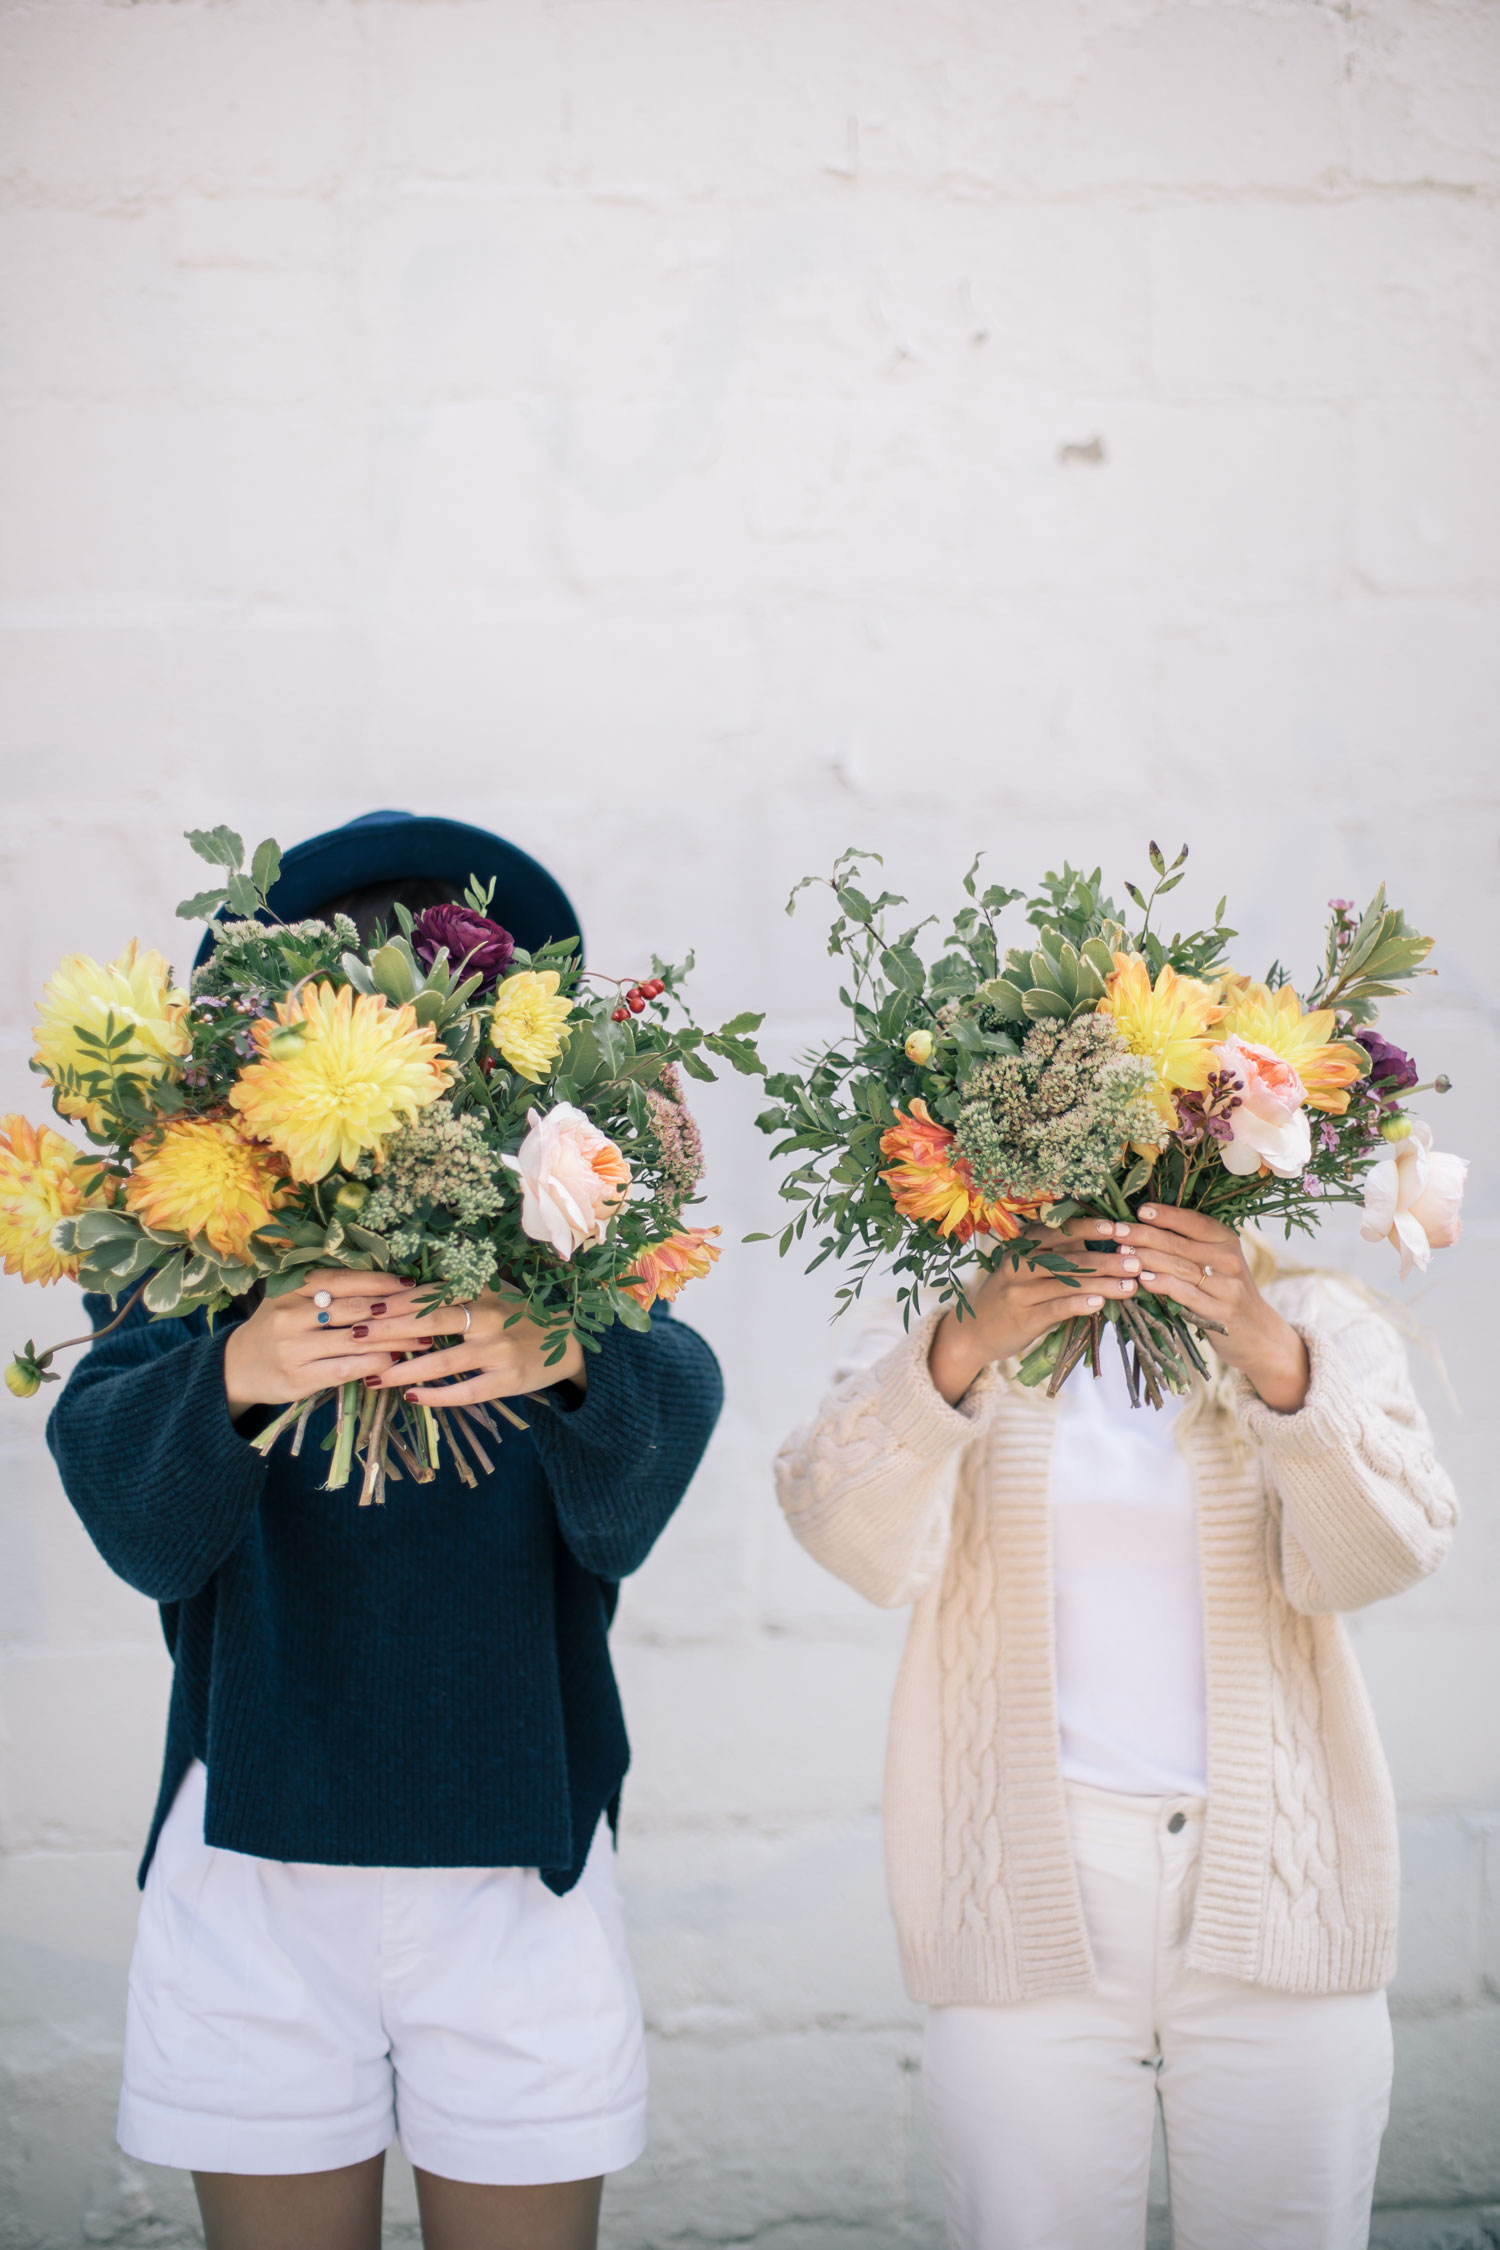
It’s officially fall and what better way to celebrate than with a fall inspired bouquet!? I recently had the pleasure of spending the afternoon with Myron of Myron Florals and to say we had fun would be an understatement. We spent the entire afternoon playing with flowers, making arrangements and bouquets and chit-chatting away, all the while I was able to learn so much about flower arranging. For our first post together we wanted to share how to make this fall inspired bouquet that would be just perfect for a fall wedding or event. I just love all the fall colours that Myron chose to put together, and those golden dahlias really make the bouquet pop, don’t you think? Keep reading to see how to make this beautiful fall bouquet for yourself.
 What You Will Need:
-Floral Tape
-Shears
-Ribbon (optional)
–Flowers Used: Because we were creating a fall inspired bouquet, we chose a colour palette that was inspired by fall foliage. We used a few kinds of greenery including one with red berries, golden dahlias, orange/blush garden roses and dark purple ranunculus.
Step 1: Start with a clean workspace and choose the flowers you plan on using beforehand. Myron likes to set up a station that already has a vase with water so that she can put all the flowers she will be using inside of it so that they don’t wilt. She tidies up the flowers first, removing any loose leaves or stems, and then places the flowers into the vase. Myron also suggests setting up a mirror so that when you are making your bouquet you can see it from all sides.
Step 2: Like any floral arrangement, begin with your greenery as it will be the base you bouquet and act as the foundation for the flowers. When making a bouquet it is important to use the “spiraling method”. Spiraling simply means that you cross each branch over one another, alternating the bouquet as you go. I found a video here of florist spiraling roses which really simplifies how to do the technique. Make sure to alternate the types of foliage you are using as this will create more depth and interest in the bouquet. Also, be mindful that some of the greenery flows outward more than other pieces, this will create a more natural and flowy, garden-inspired bouquet.
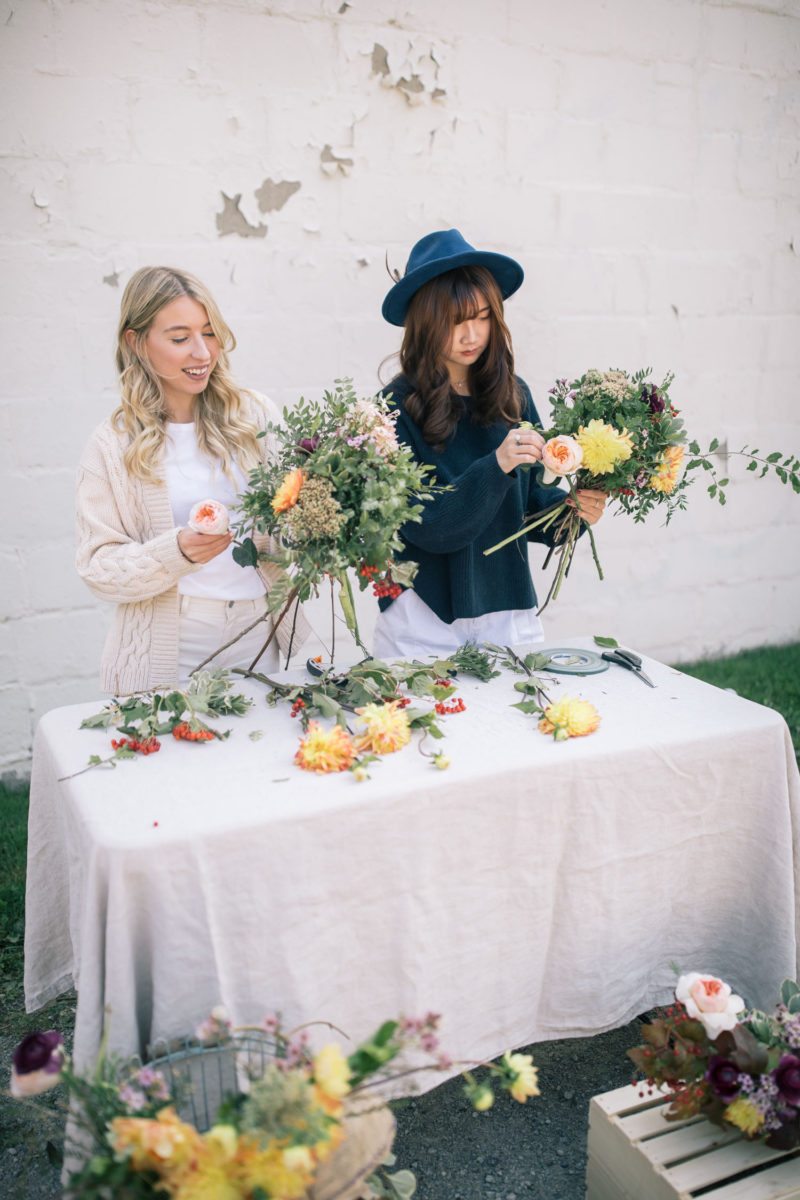 Step 3: After the base of your bouquet is complete, you can start adding the flowers (yay!). Begin with the most important, or focal flowers. In this case, they were our golden dahlias. When inserting your dahlias into the bouquet try to place them in facing different directions so that it looks natural and not too “placed”. You can also have some higher and some lower in the bouquet so that they are on different levels.
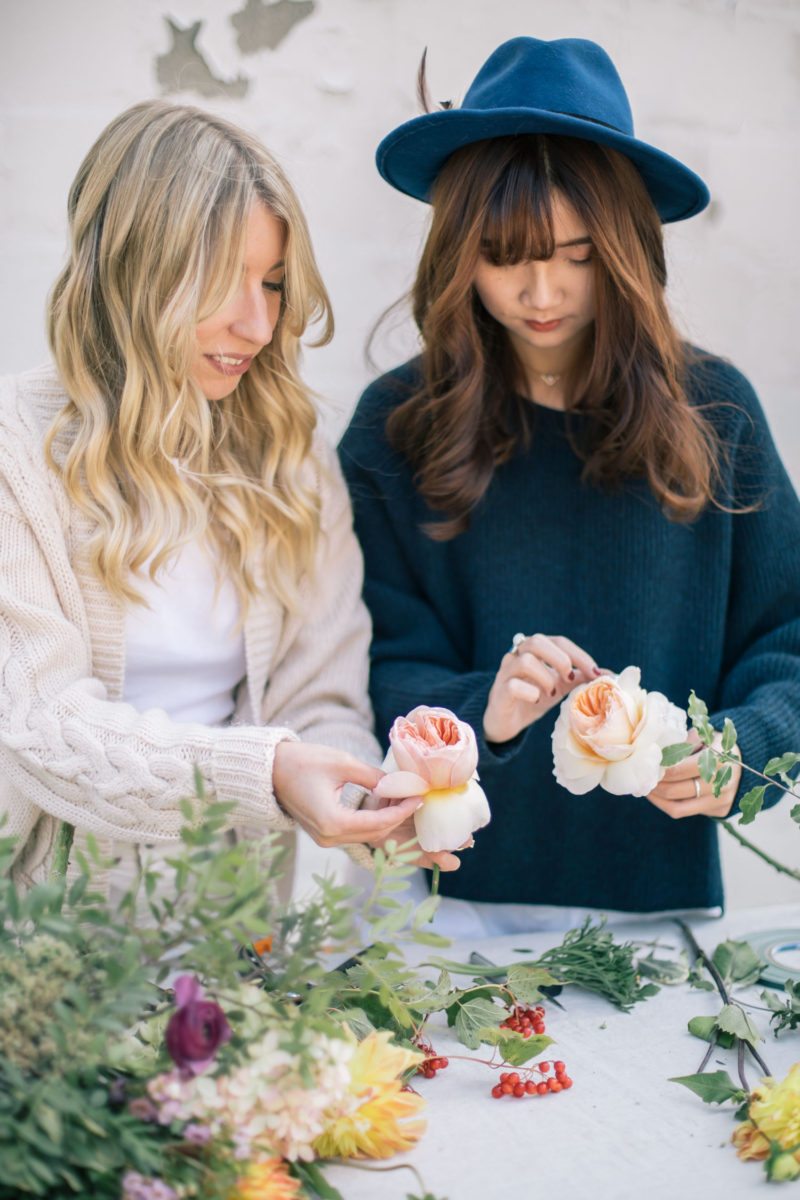 Step 5: Begin adding your other flowers into the bouquet just as you did your dahlias. For the garden roses, we simply pulled back a few of the petals to help the flower look larger and the bouquet looks fuller. As for the ranunculus, don’t forget to use the little buds they come with as well! They are such a great way to add a flowy, natural element to the bouquet as they curve so beautifully.
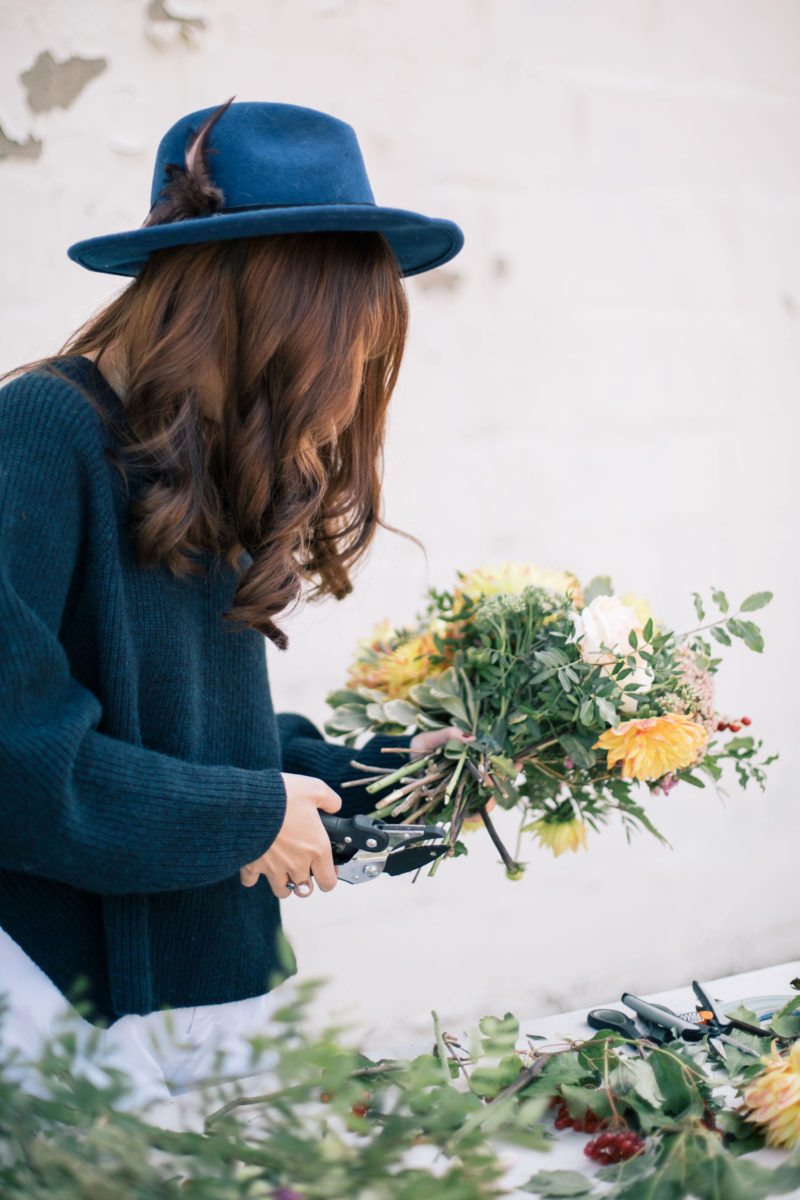 Step 6: When you are happy with your bouquet, use your floral tape and tightly wrap it around the base of the arrangement.
Step 7: Trim the stems so that they are all even and if you’d like, tie a ribbon around your finished fall bouquet!