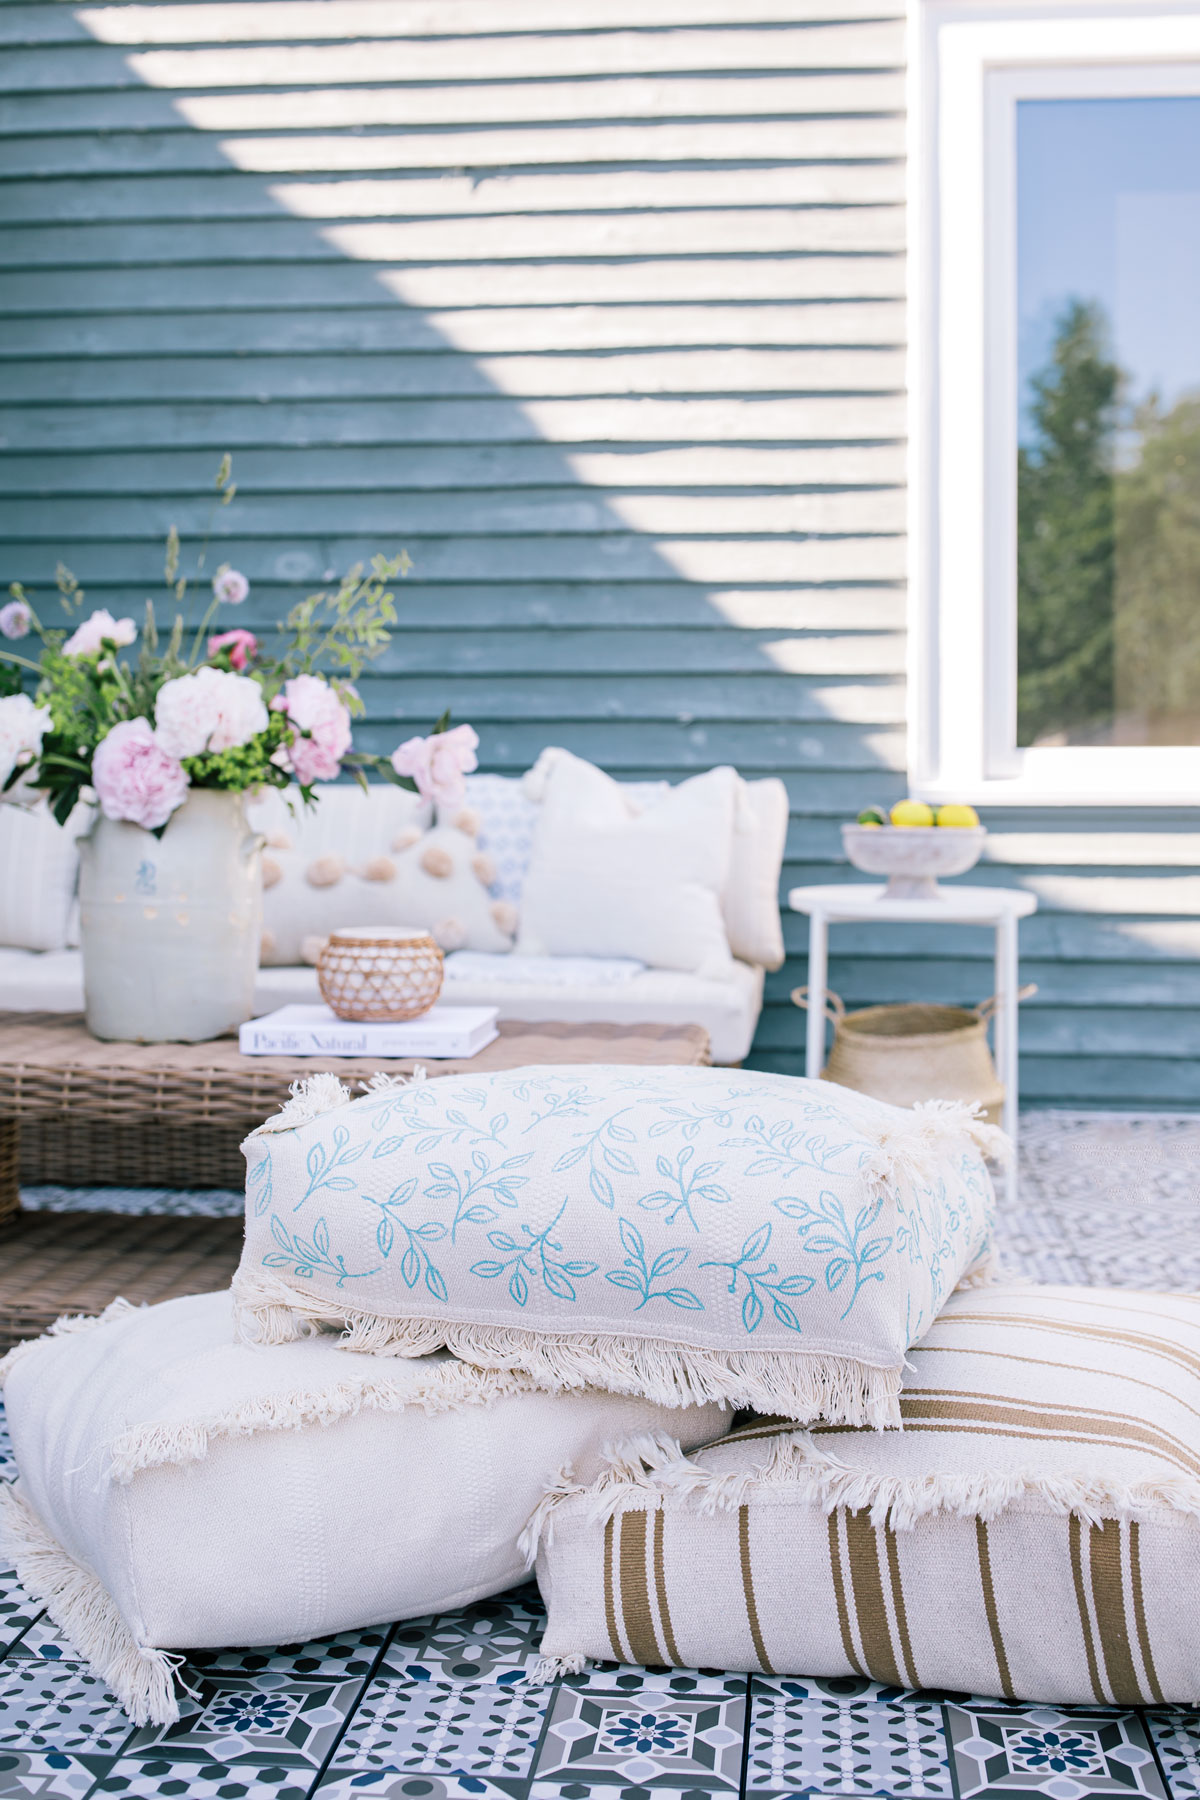
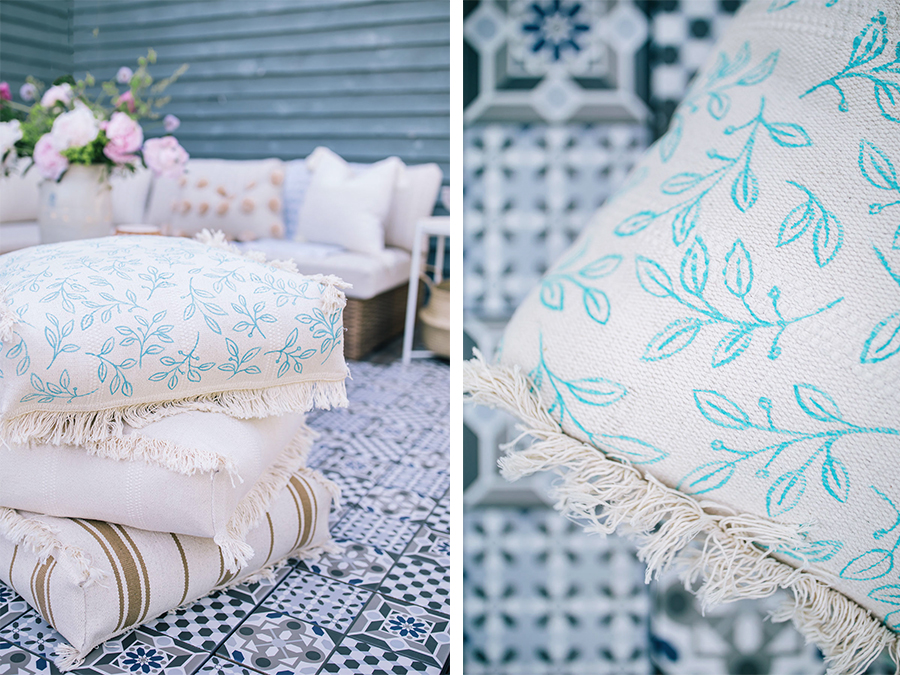
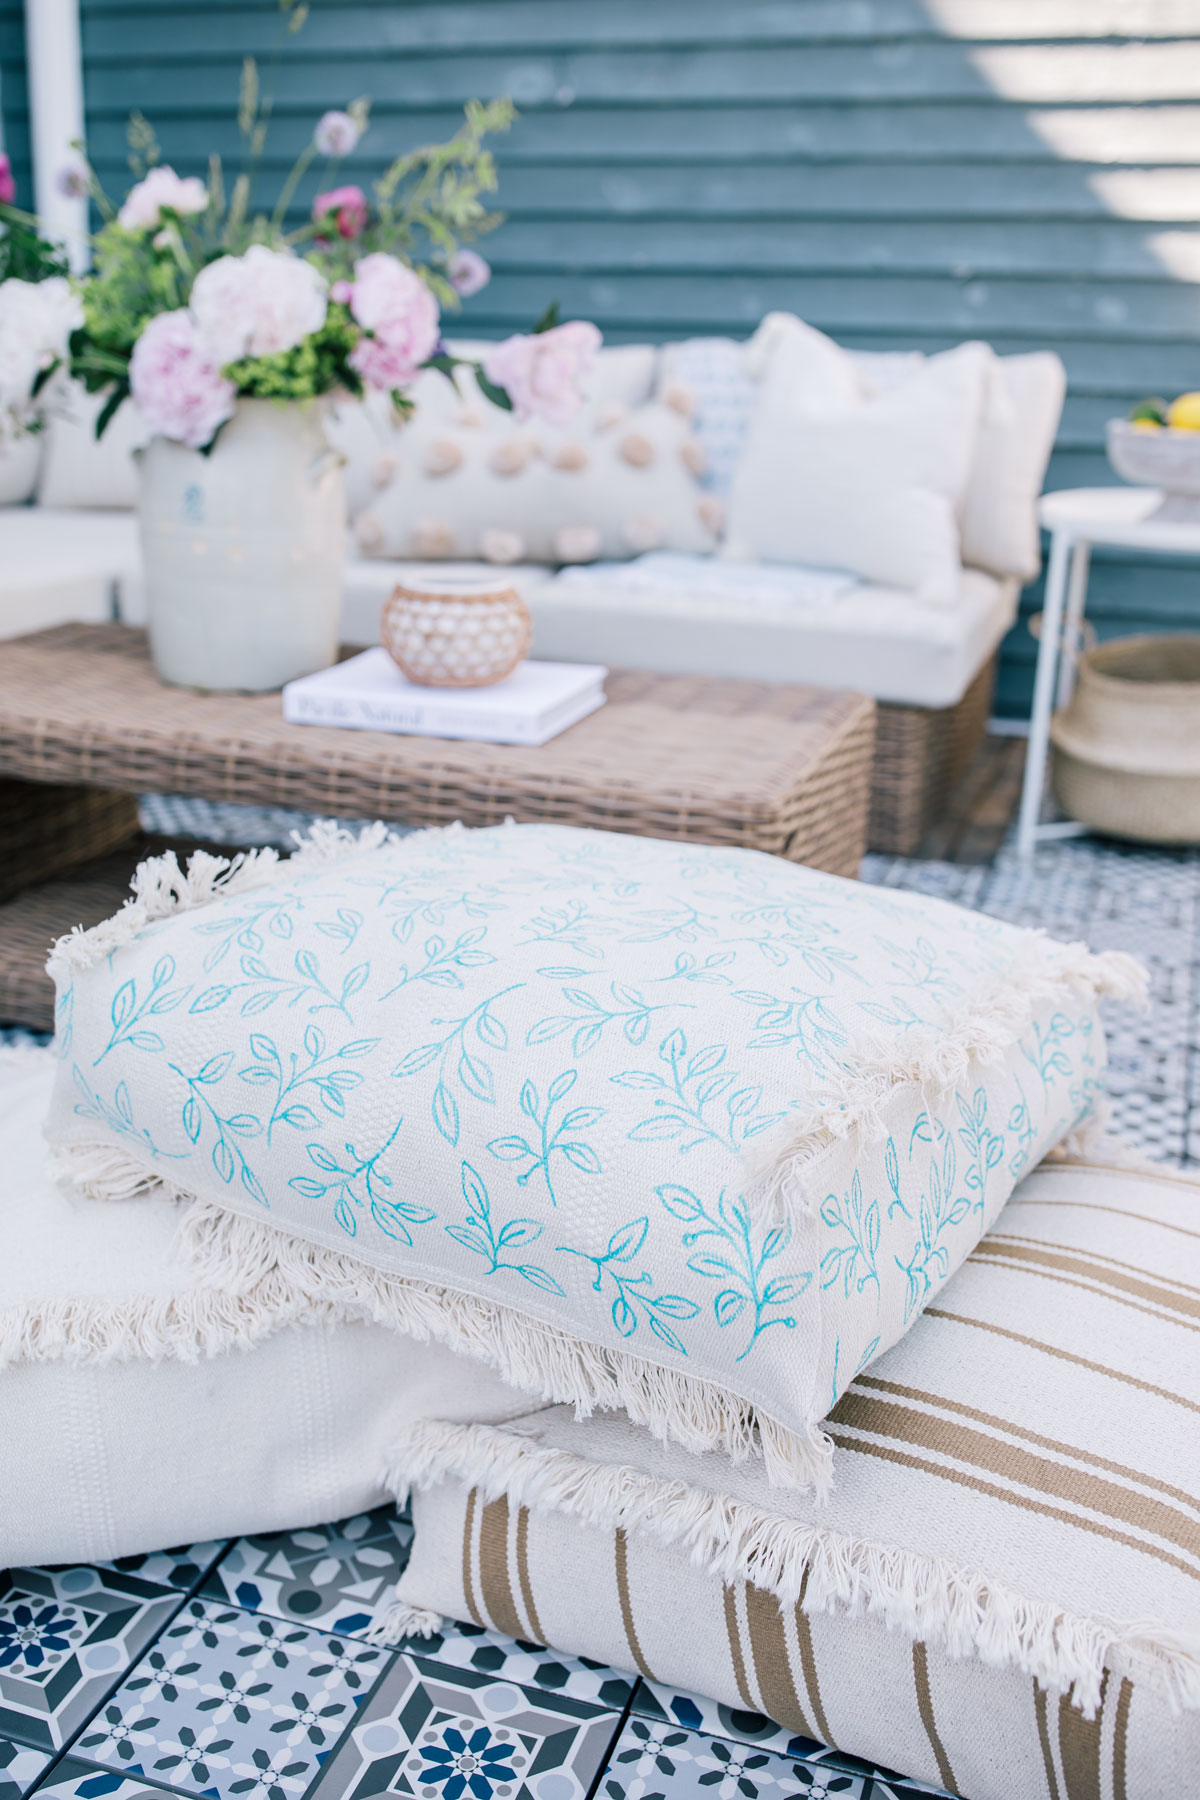
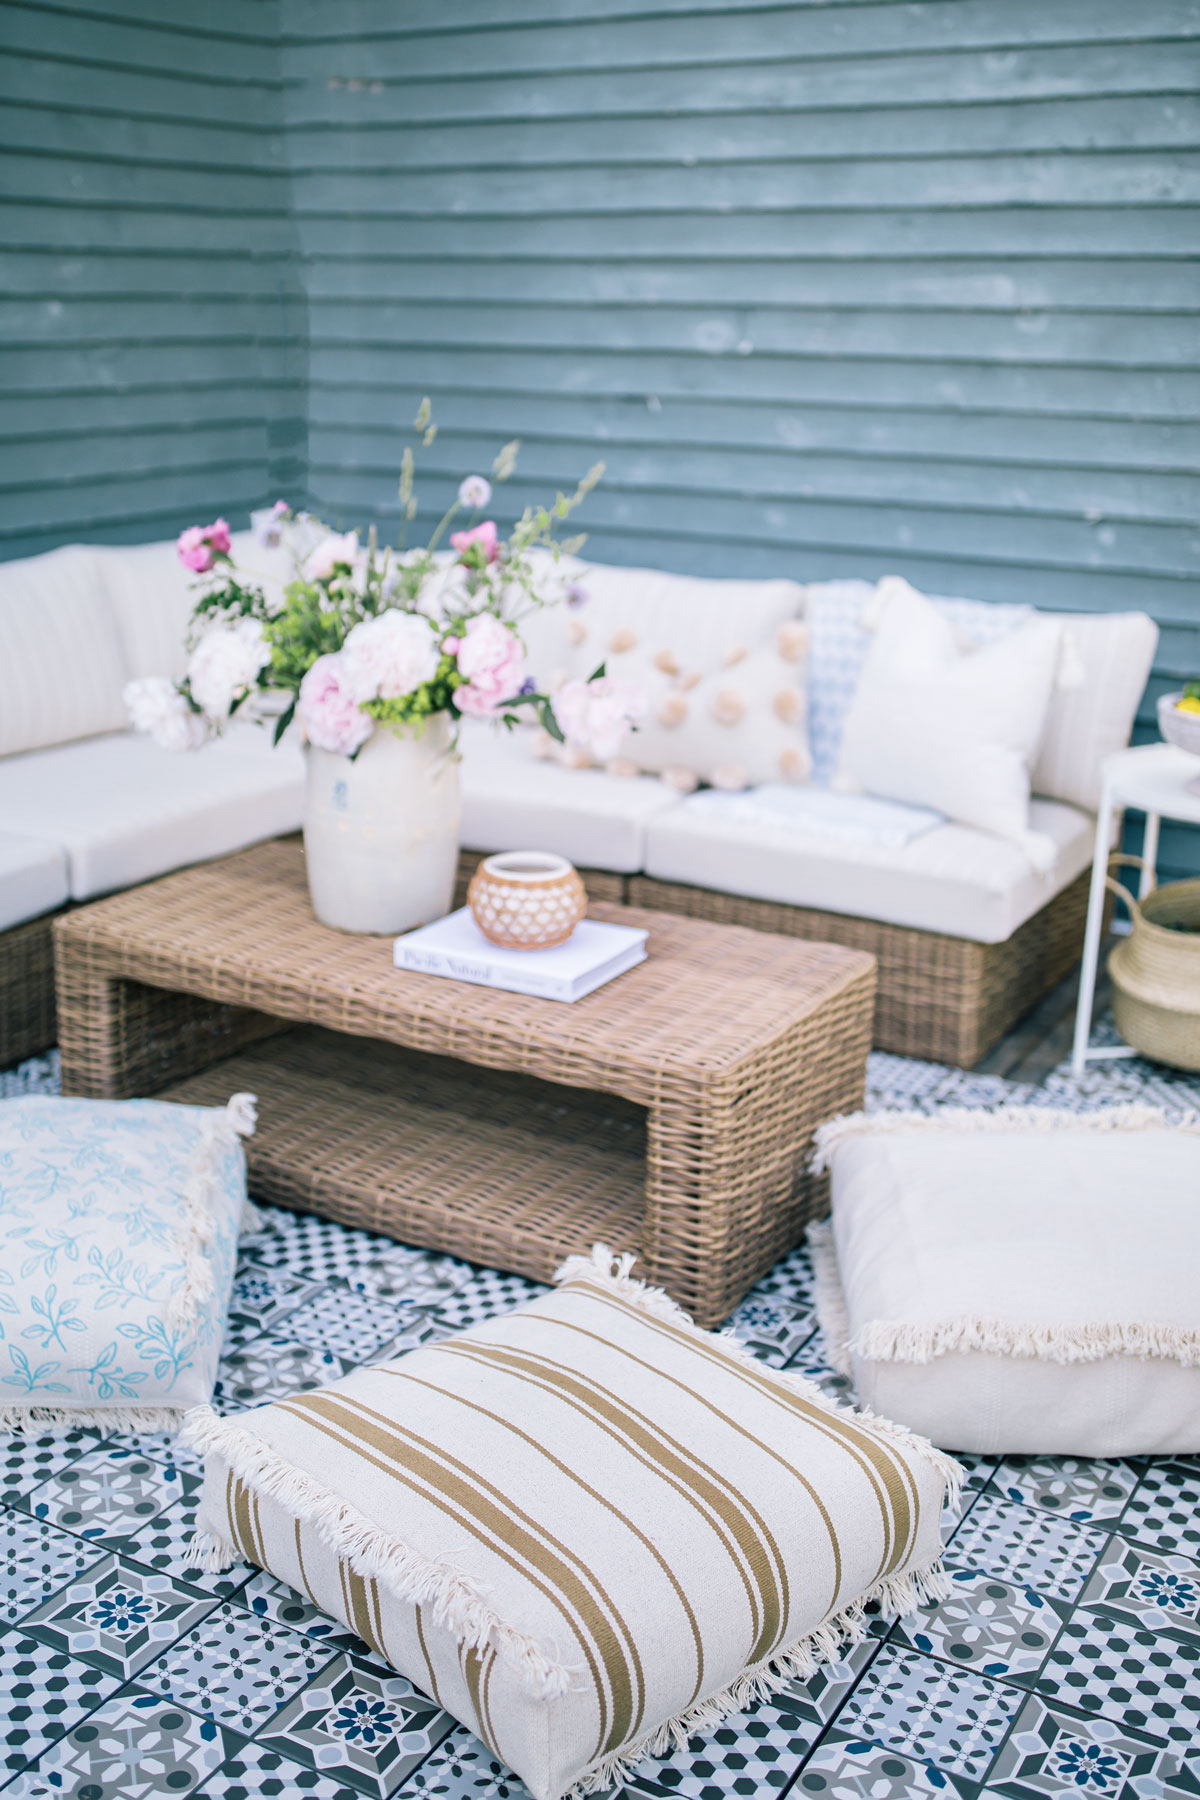
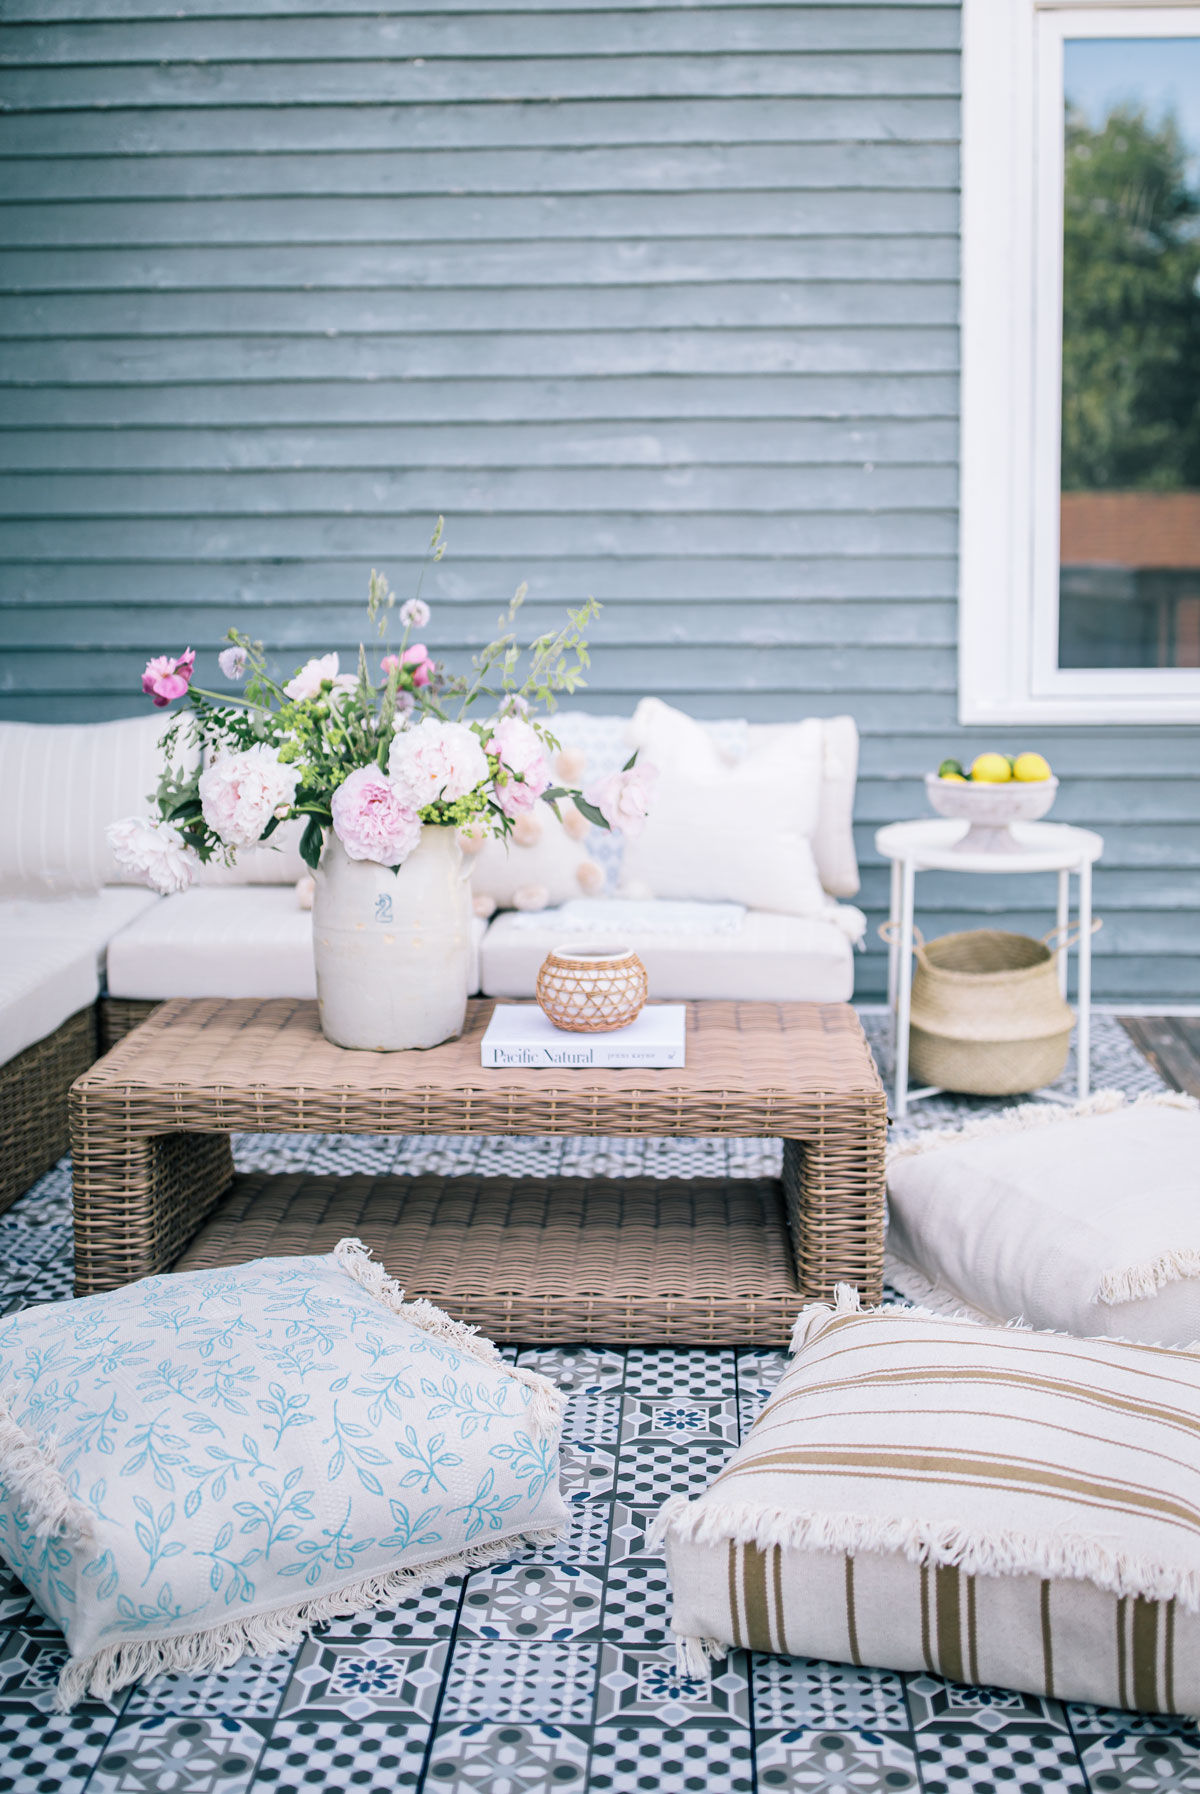
 It has been SO long since I’ve shared a DIY project with you! In fact, I can’t remember the last time that I put my DIY pants on and got to crafting (aside from flower arranging). While putting this post together, I actually took a deep dive into my blog archives and was feeling extra nostalgic for DIY’s past. With that being said, I have to admit that this DIY project is not mine to take credit for (my mom brain already has a hard enough time remembering a tiny humans schedule) but has been created by my friend, Rebecca.
Before I get into this incredibly beautiful, albeit incredibly simple and cost-effective DIY, I have to toot Rebeccas horn a bit. This gal, who I am lucky enough to call my friend, is one of the most talented people I know. She is a Jack of all trades when it comes to crafting (she made the “EDWIN” leaf for his 1st birthday party) and co-owns a stationery business called Paperchain Stationery where some of the most beautiful paper goods I’ve ever seen are created (you must check out their newly launched semi-custom wedding suites). Rebecca also designs websites/does branding, owns a thrifted finds/lifestyle Instagram shop, and is restoring a vintage dollhouse in her spare time…seriously what can’t she do!? On a side note, this girl also pulled two ticks off of my dress when we hung out last week so clearly she is also #friendgoals, haha! Now onto the DIY…
These floor poufs look super complicated and expensive, am I right!? But guess what…they are neither! In fact, all of the materials can be purchased at IKEA (aside from the actual crafting supplies like paint and hot glue) and they take under an hour to construct. The rugs are only $3.99, you guys! At first, I assumed there was going to be a bunch of complicated sewing and cutting involved, but when Rebecca told me they sealed using a hot glue gun and a folding method, I was like “GIRL, WE NEED TO SHARE THESE ASAP!”. Anyway, enough of my ramblings, scroll to see for yourself how simple and gorgeous these floor poufs are and get to crafting.
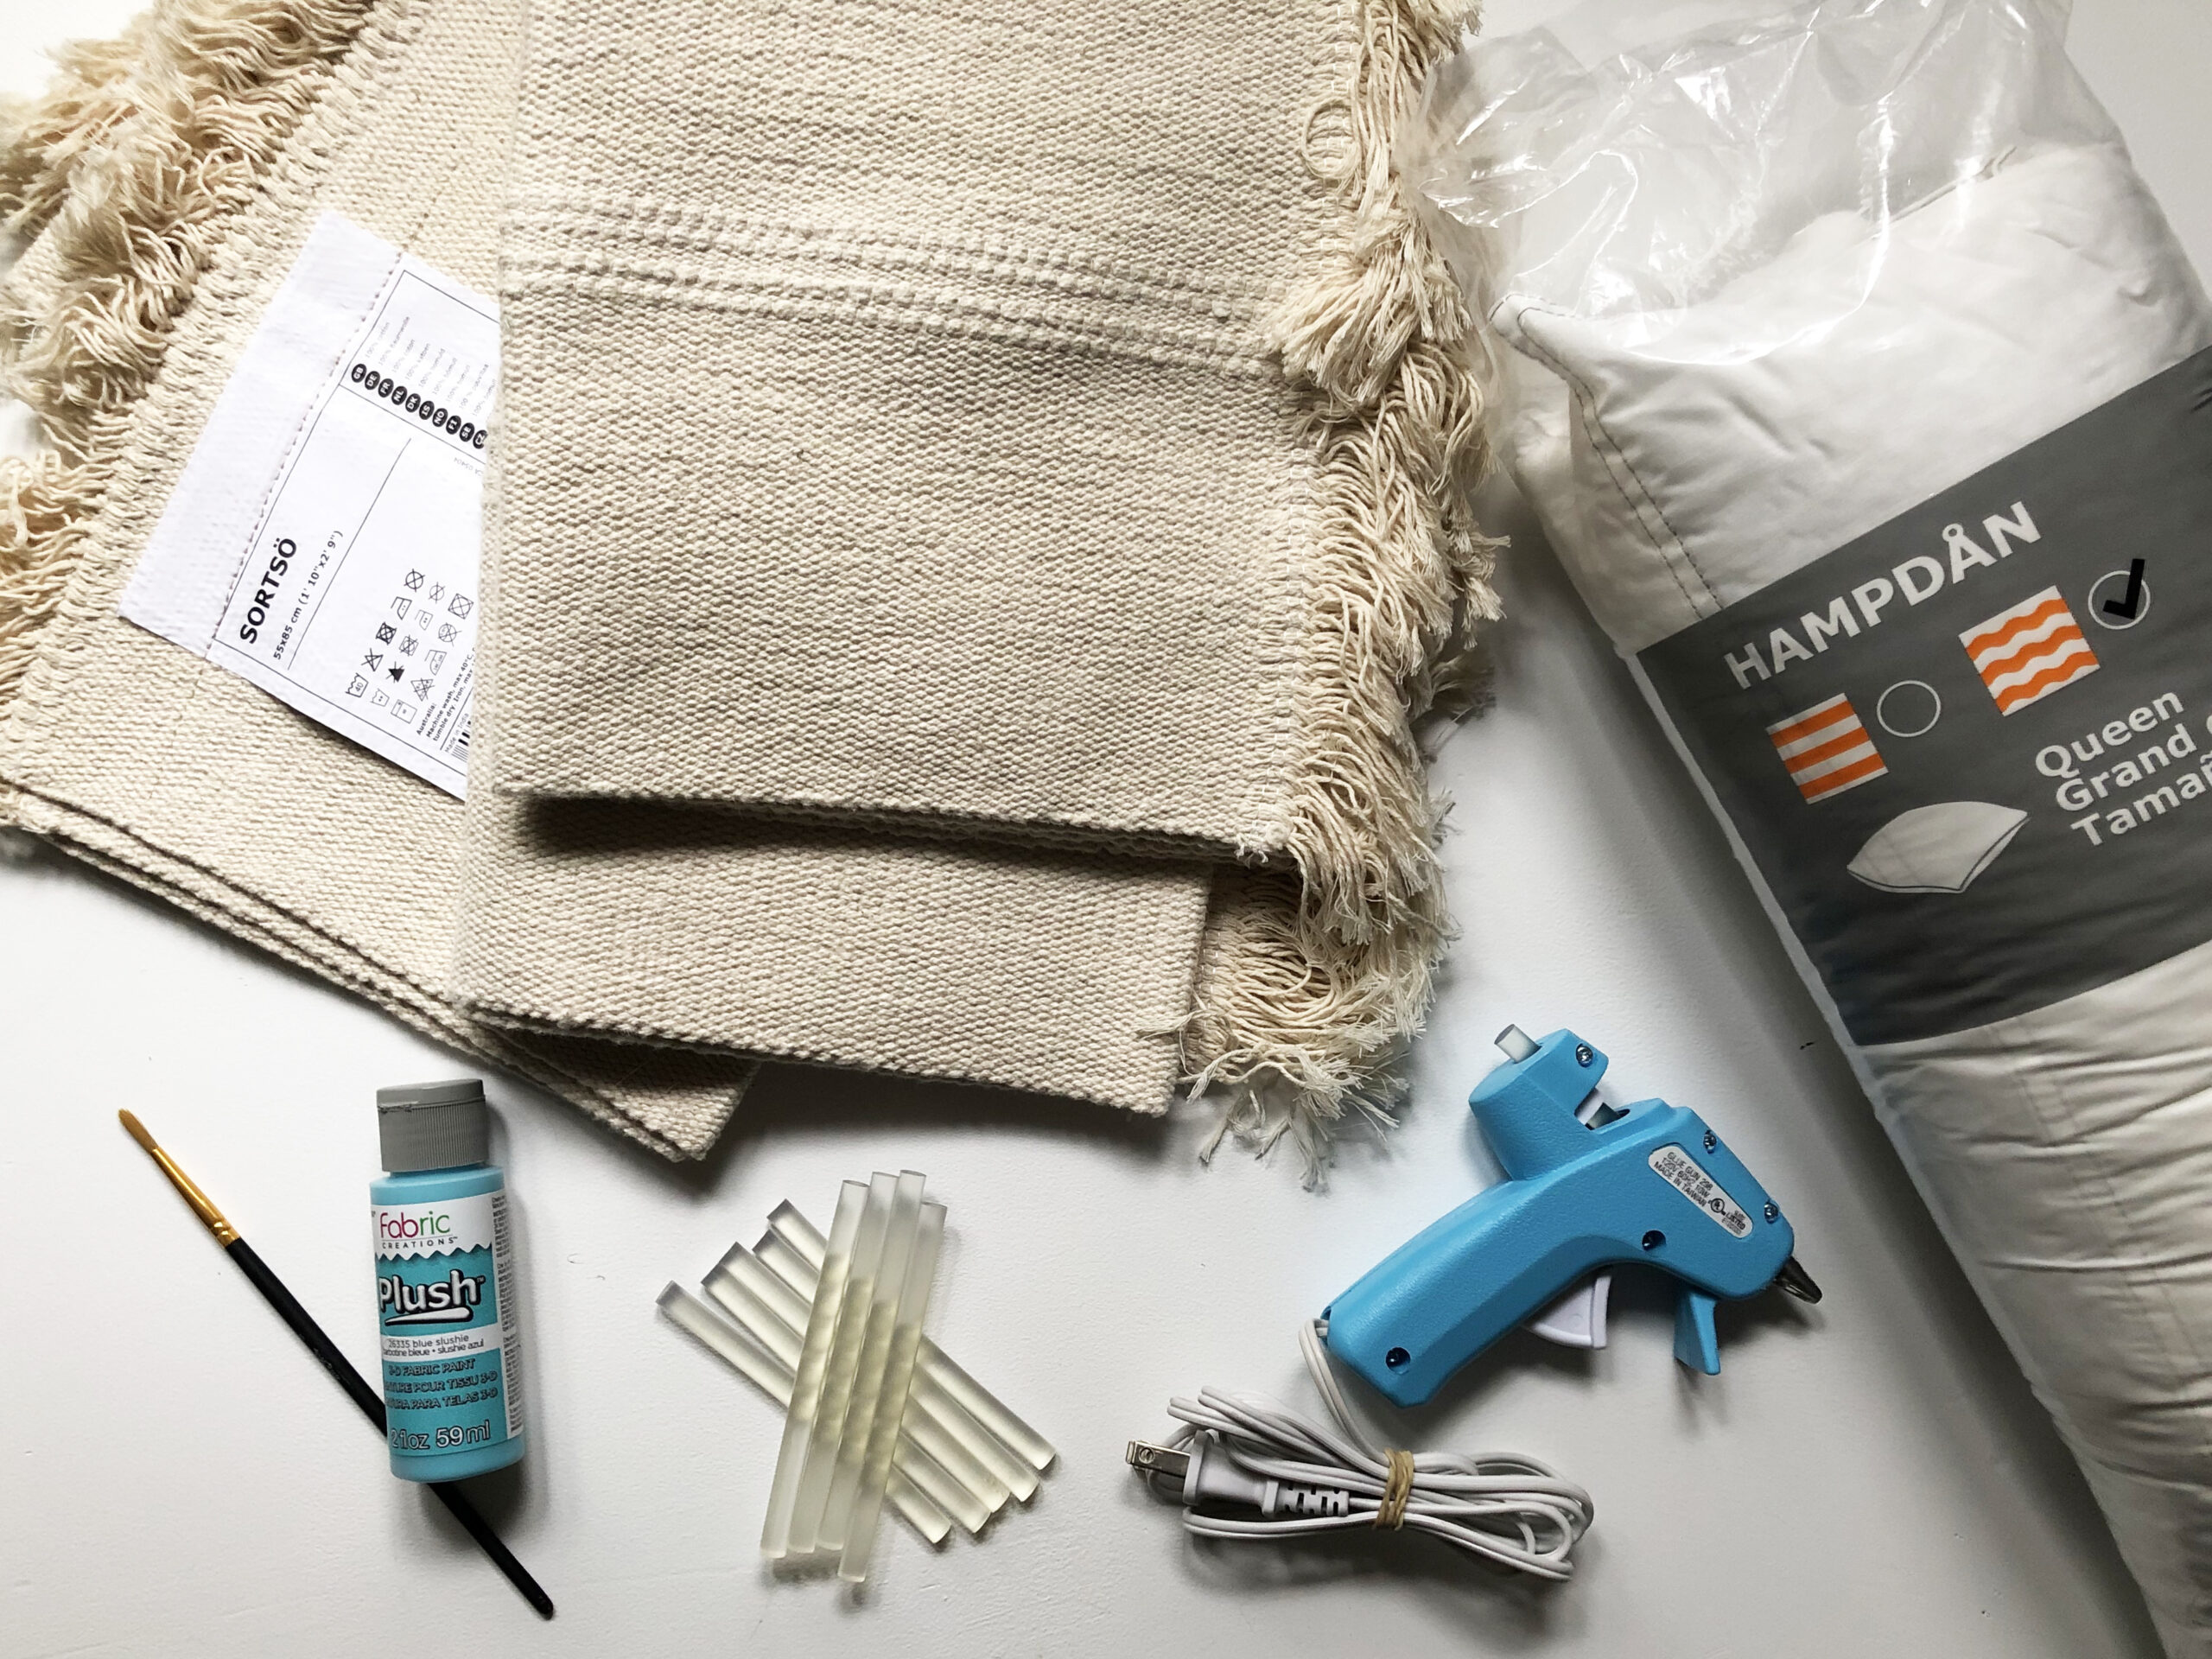 Materials
2 – IKEA Sortsö Rugs
3 – Standard Sleeping Pillows (new or used)
Hot Glue Gun and Glue
Fabric Paint (optional)
Paint Brush (optional)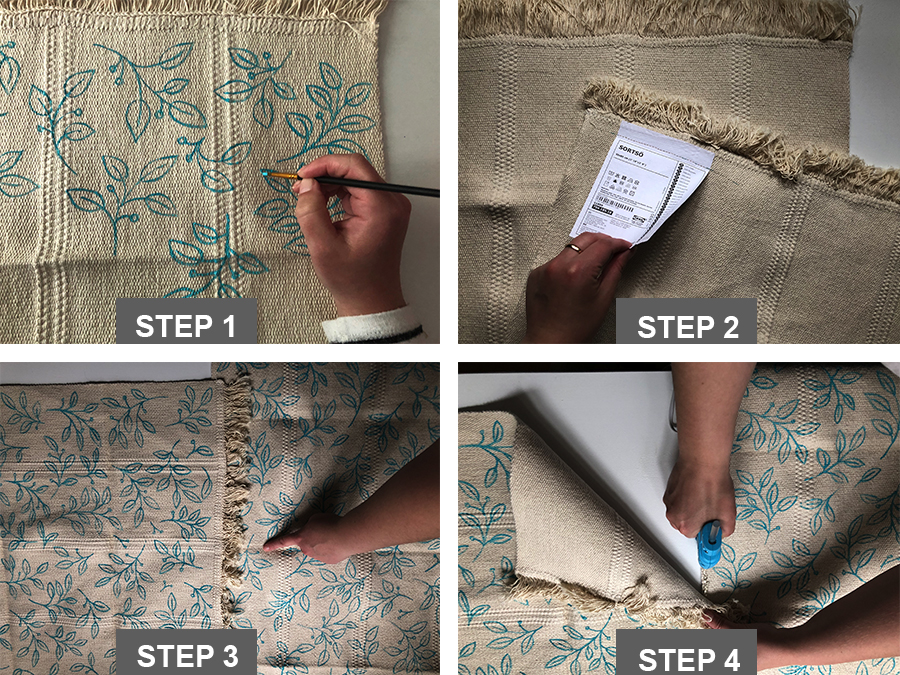 Step 1: Paint the rugs in any pattern desired on the side without tags. This step is optional but it really makes for a beautiful, custom look!
Step 2: Flip over the mat and remove tags.
Step 3: Line up the center of one fringed end of the rug with the center of the non-fringed side of the other rug. Arranging the rugs in a T shape. You can use the weave in the rug as a center point for one and the fold in the center of the other as an indicator for the center.
Step 4: Glue the rug down, fringed end on top. Use generous amounts of hot glue. 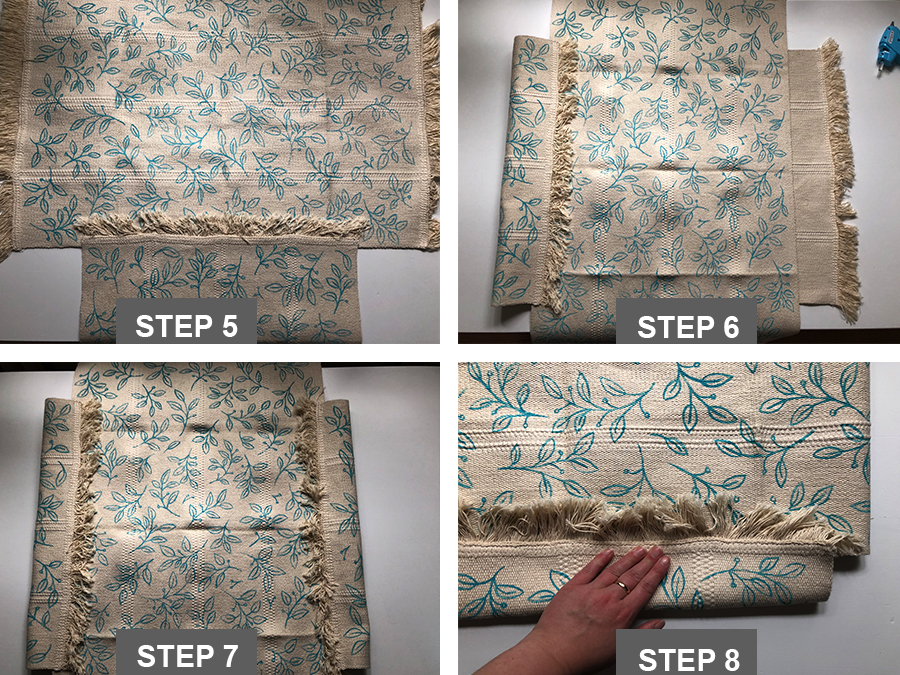 Step 5: When sticking the rug down, be sure to keep the fringe out of the glue, we want the fringe detail visible on the outside of the complete pouf.
Step 6: Flip the rug you just glued down under the rug you stuck it to. We will be gluing the other end.
Step 7: Glue down the other end the same way you did the first. Making sure it’s lined up in the center once again.
Step 8: Now you have two ends glued down. Flip the entire thing over and glue one fringed end down, making sure it’s center aligned. Now you’ll have 3 ends glued and one still open. We’ll need the opening for stuffing.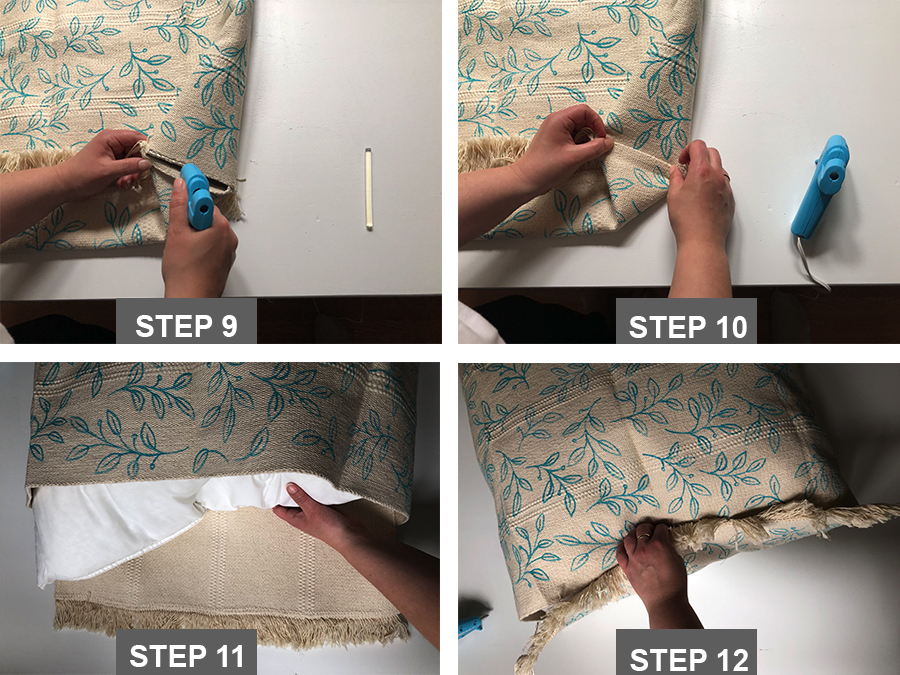 Step 9: Now you’ll have two corner openings. These take a little bit of maneuvering, but need to be sealed with hot glue.
Step 10: Press the opening closed. Gluing these shut towards each other will make for a consistent seam and polished look.
Step 11: Stuff with three standard sleeping pillows. You can stuff these with whatever you want really, it’s a great way to use old pillows you don’t want to throw away or even old towels. Whatever makes this fluffy will work.
Step 12: Seal it up with hot glue. Remembering to keep the flap centered once again. I find working from the middle out on this part works the best. 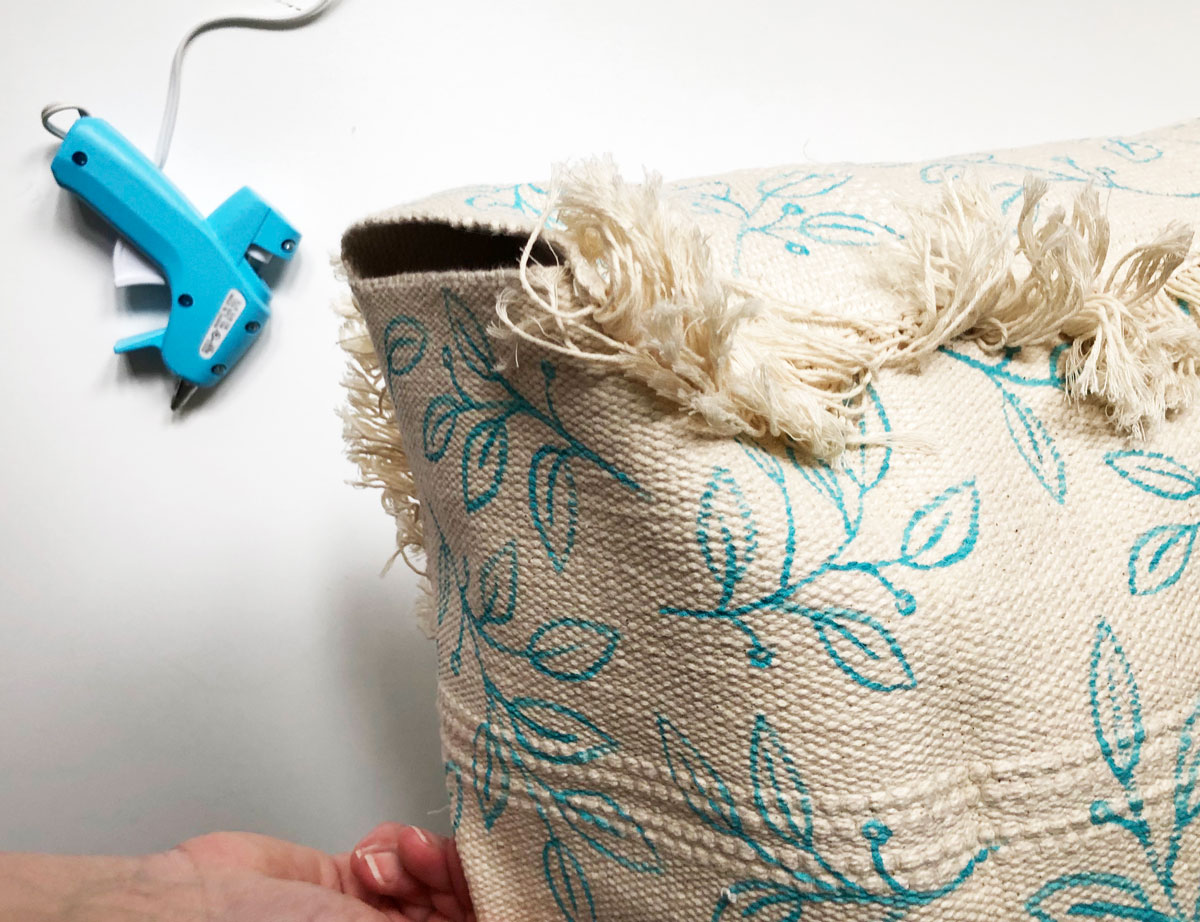 Step 13: Finish the corners like you did in Step 9 & 10.
Complete!