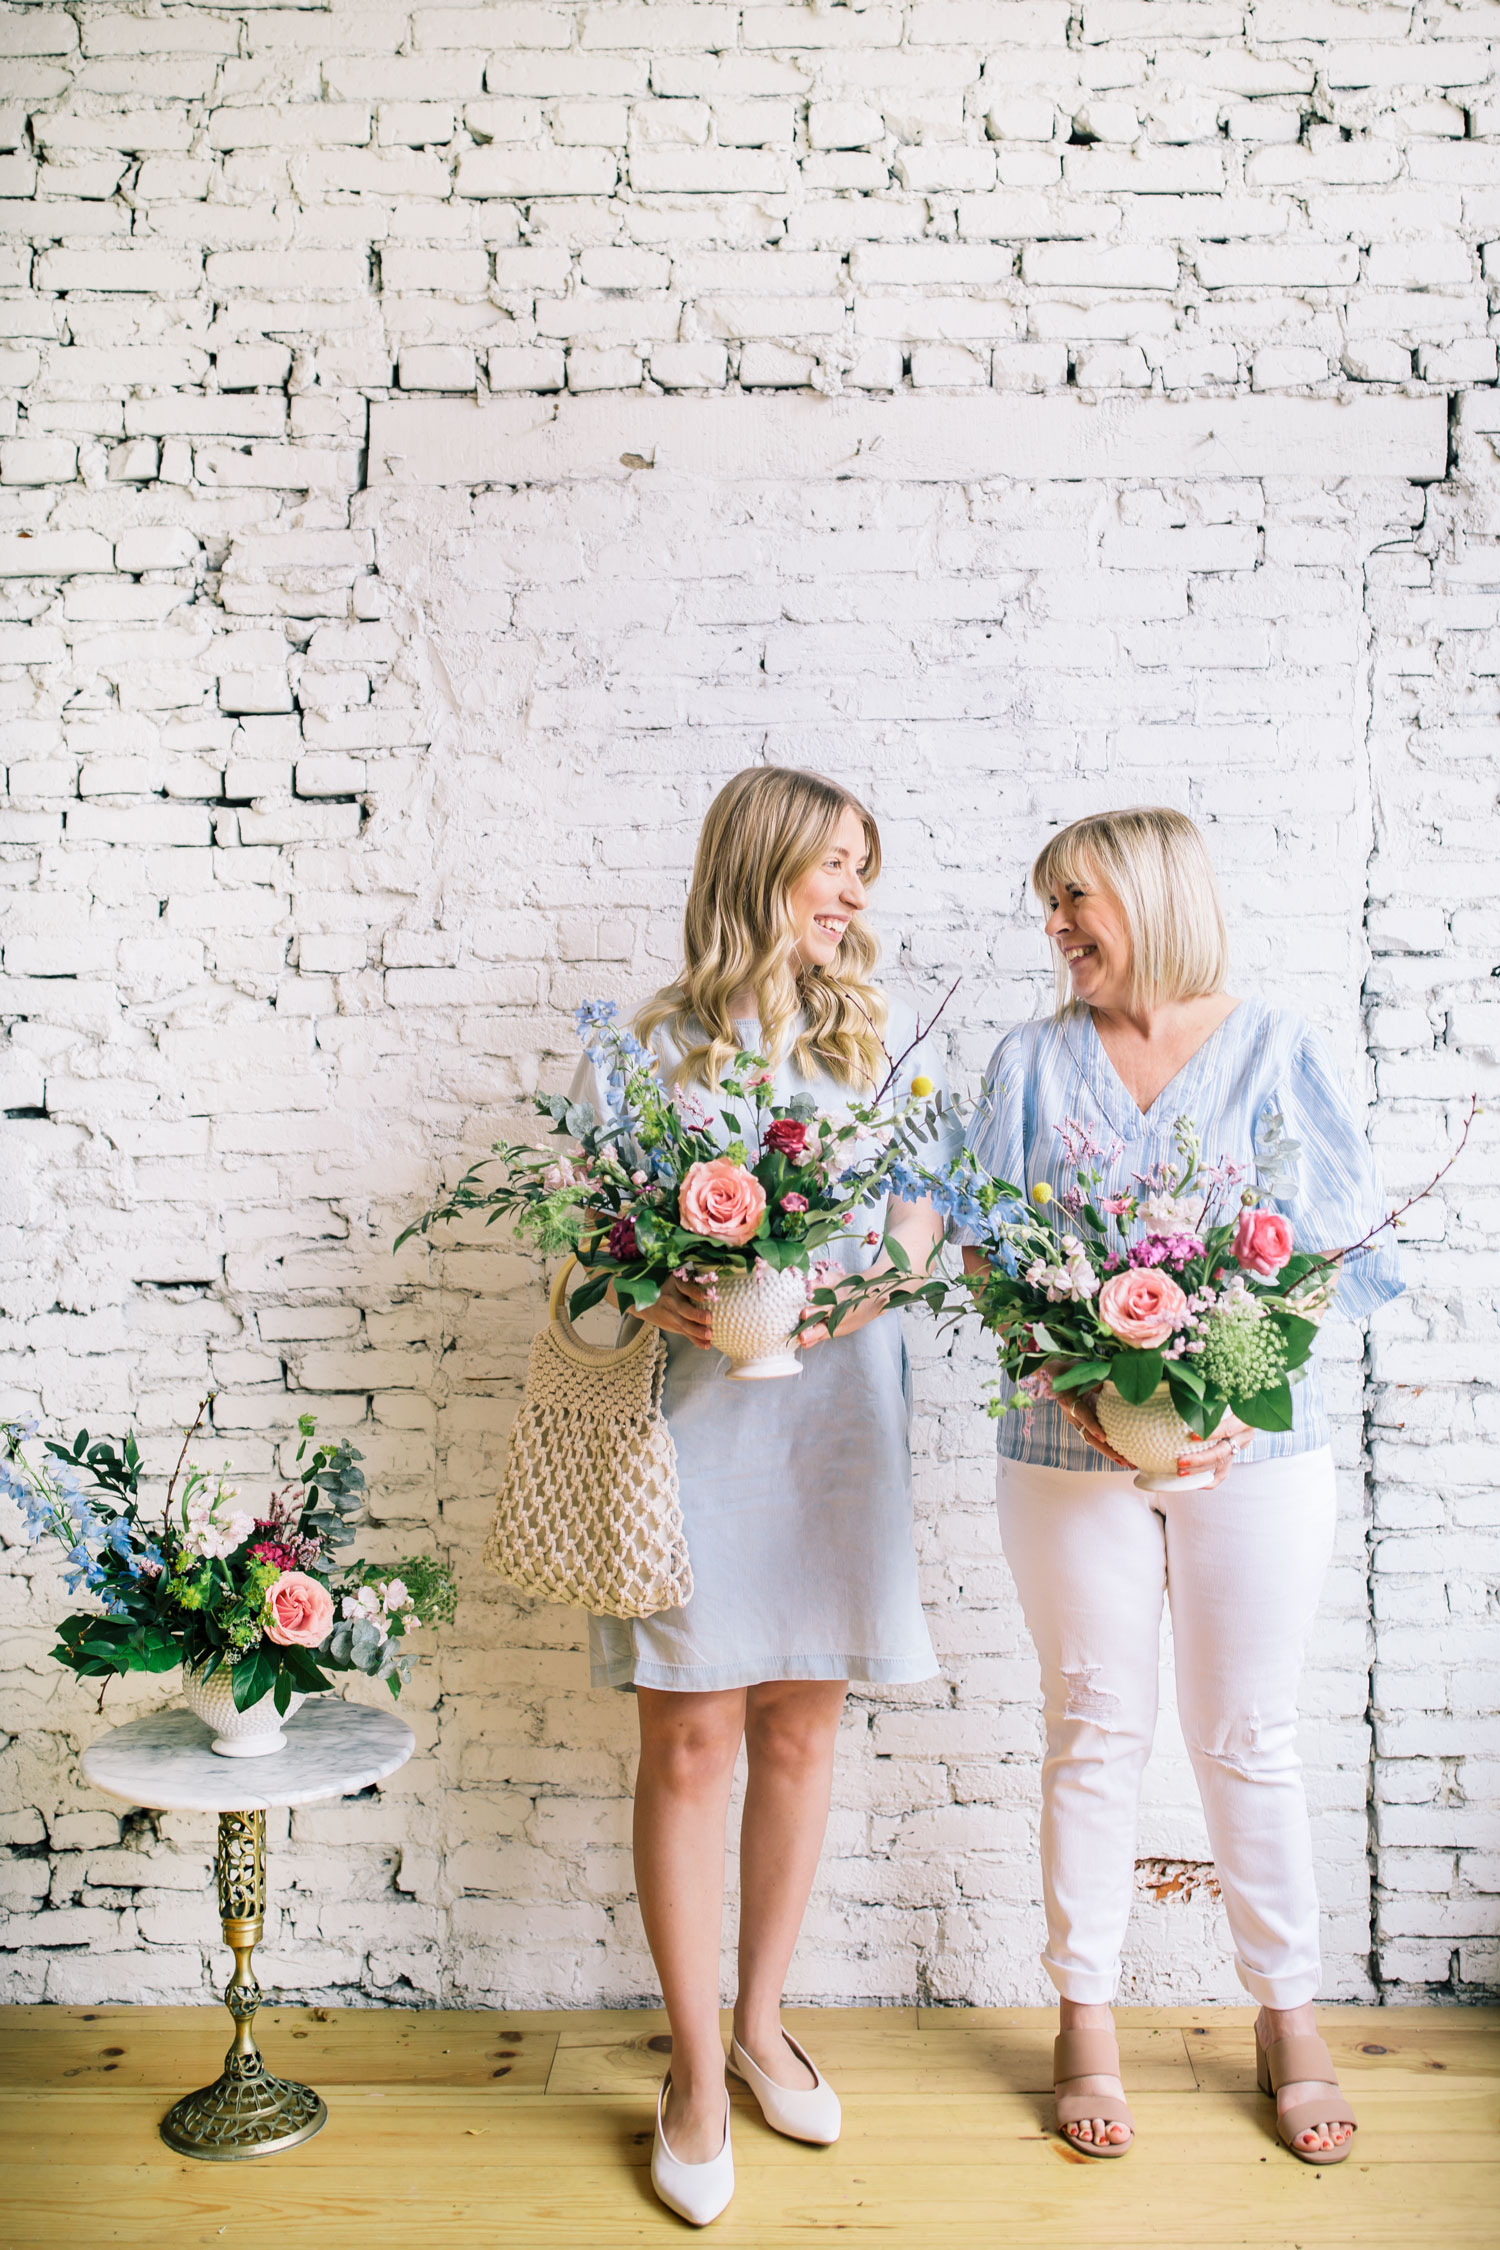
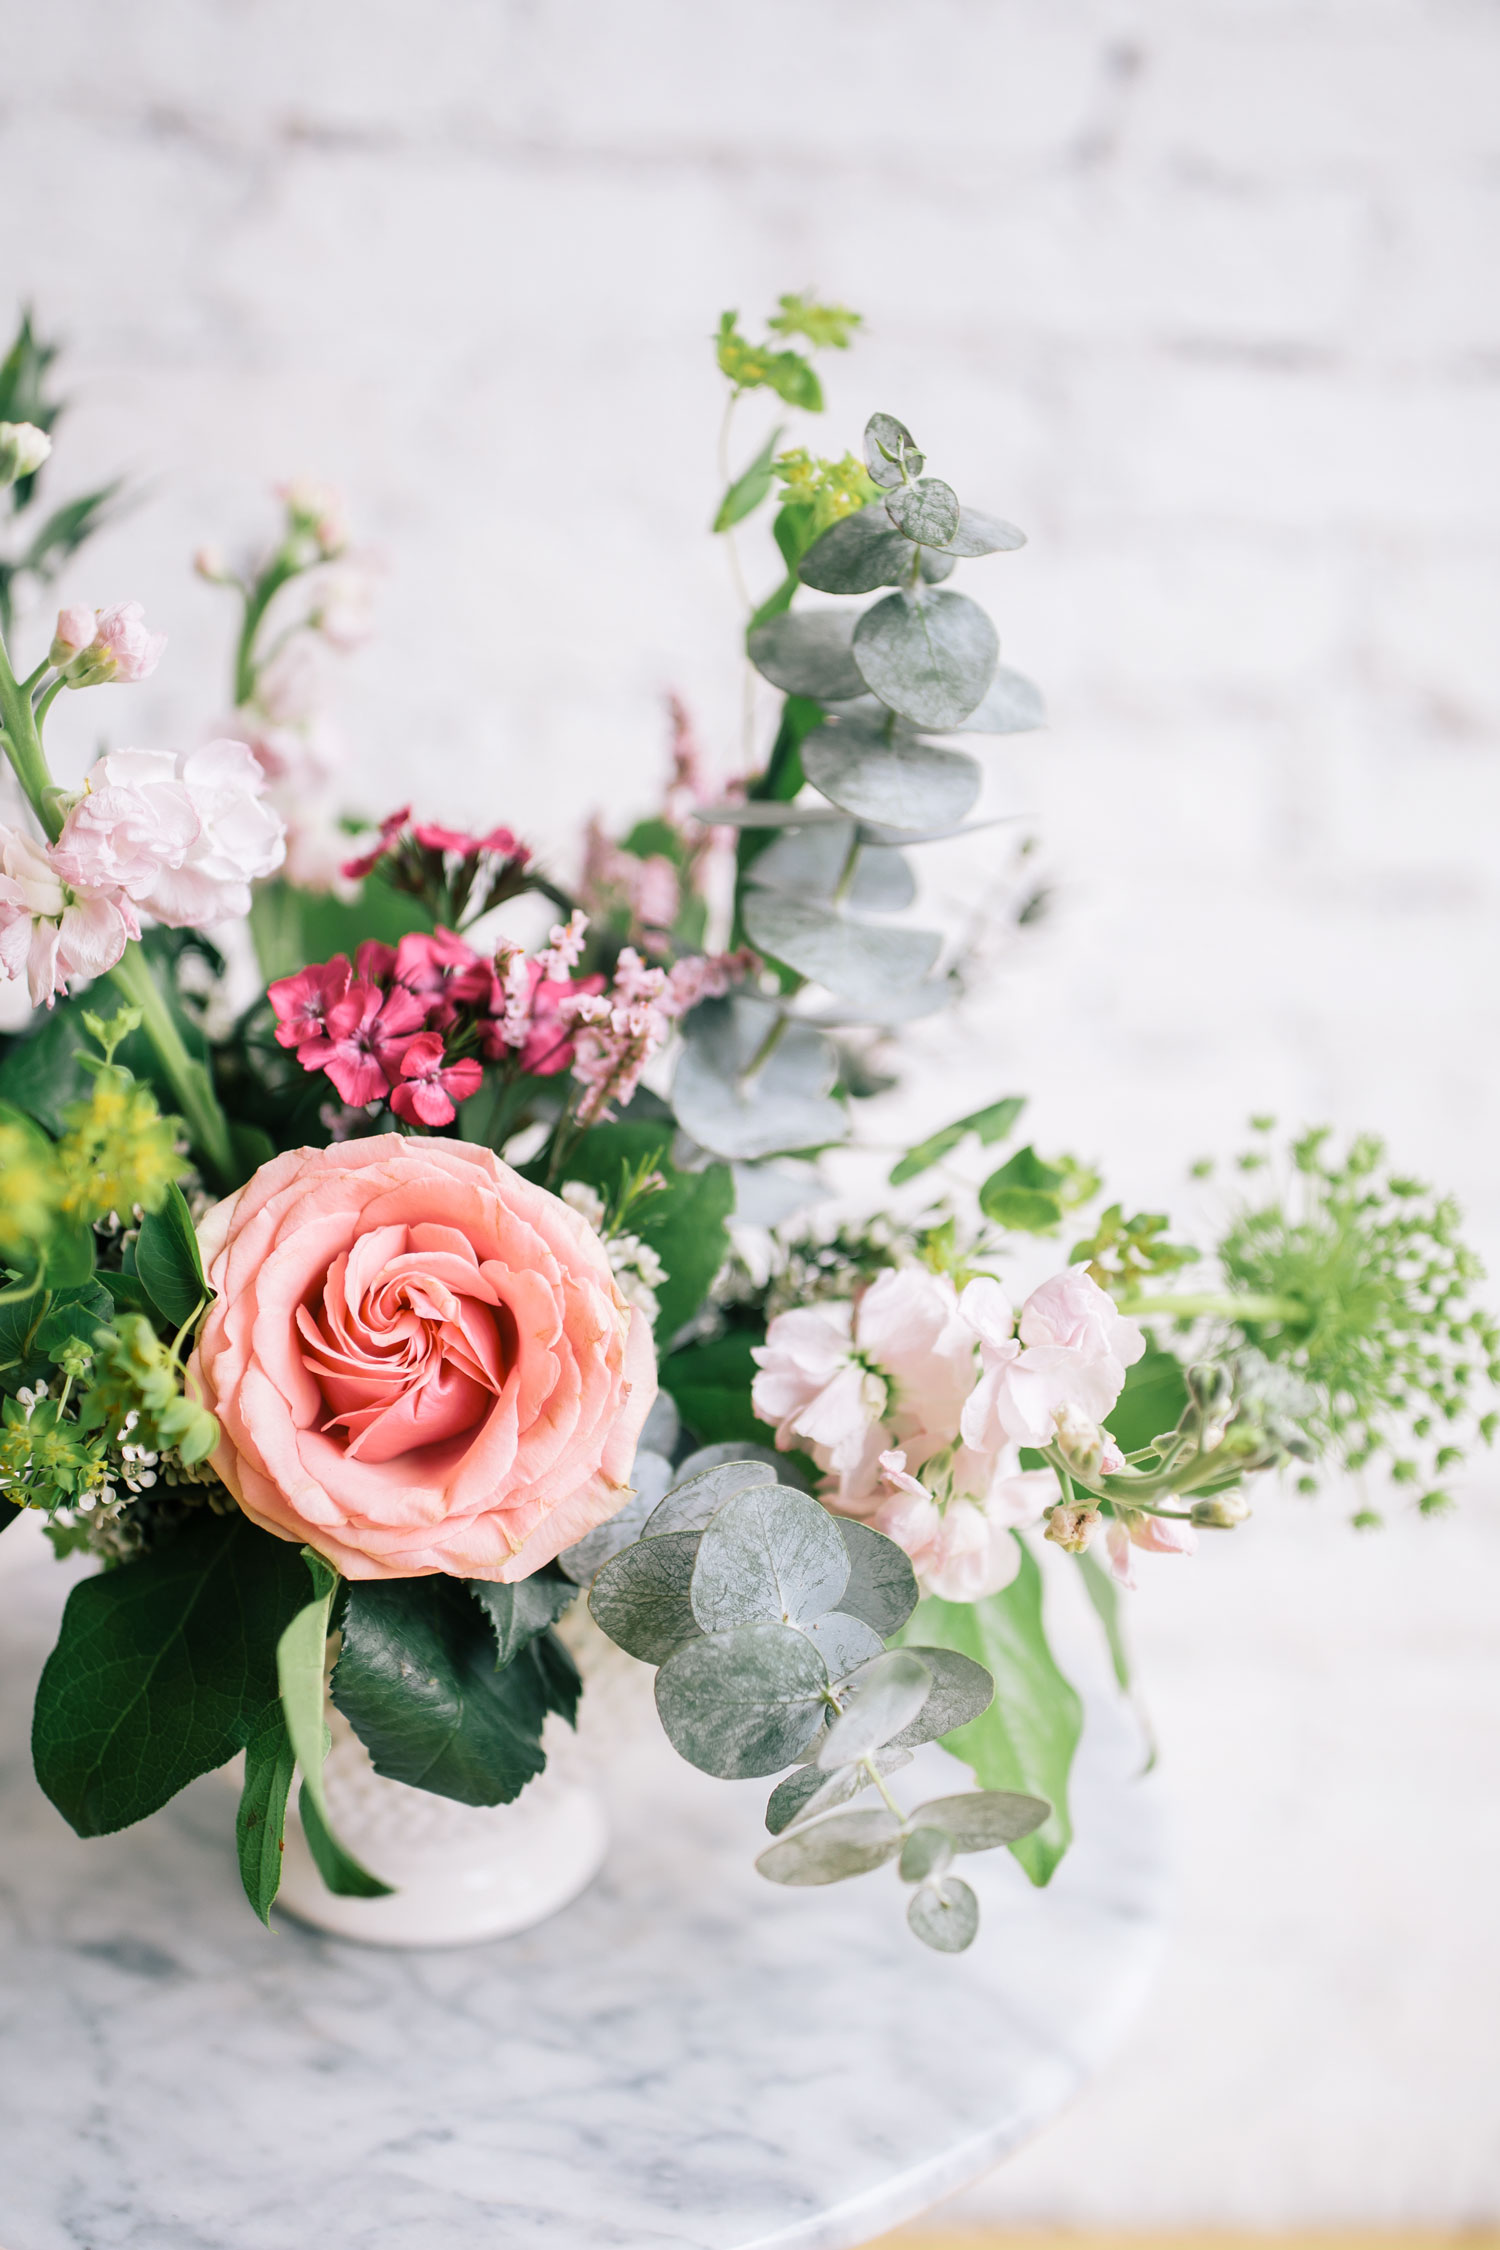
 This is the first Mother’s Day in years that I have been home to spend Mother’s Day with my mama. It’s even more special now given that I’m a mama myself and she’s now a grandma aka GLAM-ma. With that, I thought that it would be extra special if this year instead of giving gifts, we share a fun experience and try out a flower arranging class together. Joe Fresh was so sweet and sent my mama and I over outfits to “Free Our Fresh” in and The Flower Shop in Halifax generously gave us a one-on-one class and taught us how to make this colourful, spring inspired flower arrangement. The Flower Shop also offered a few tips on how you can create a similar arrangement for yourself (see below).
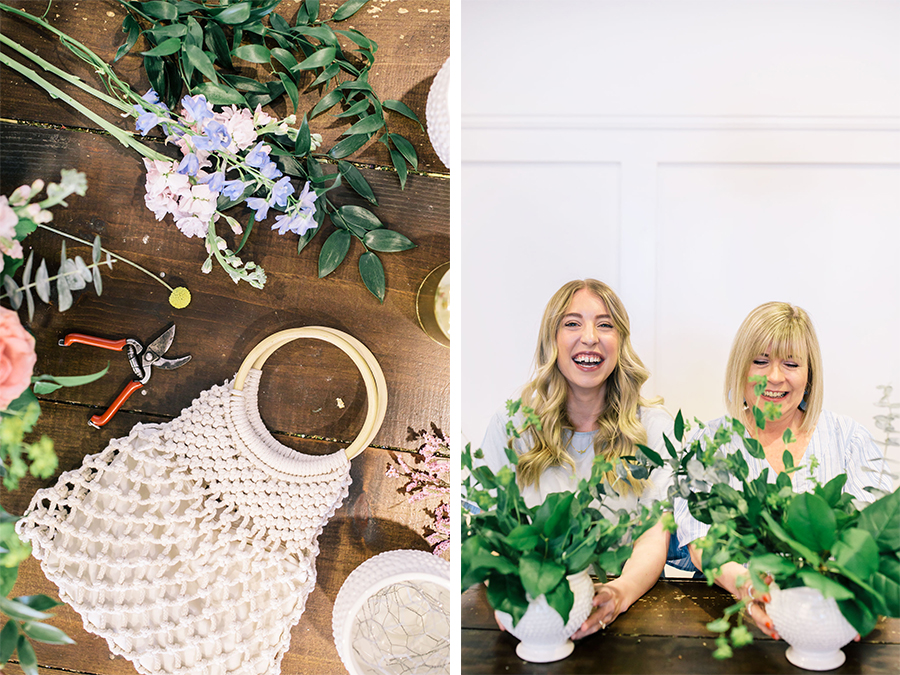
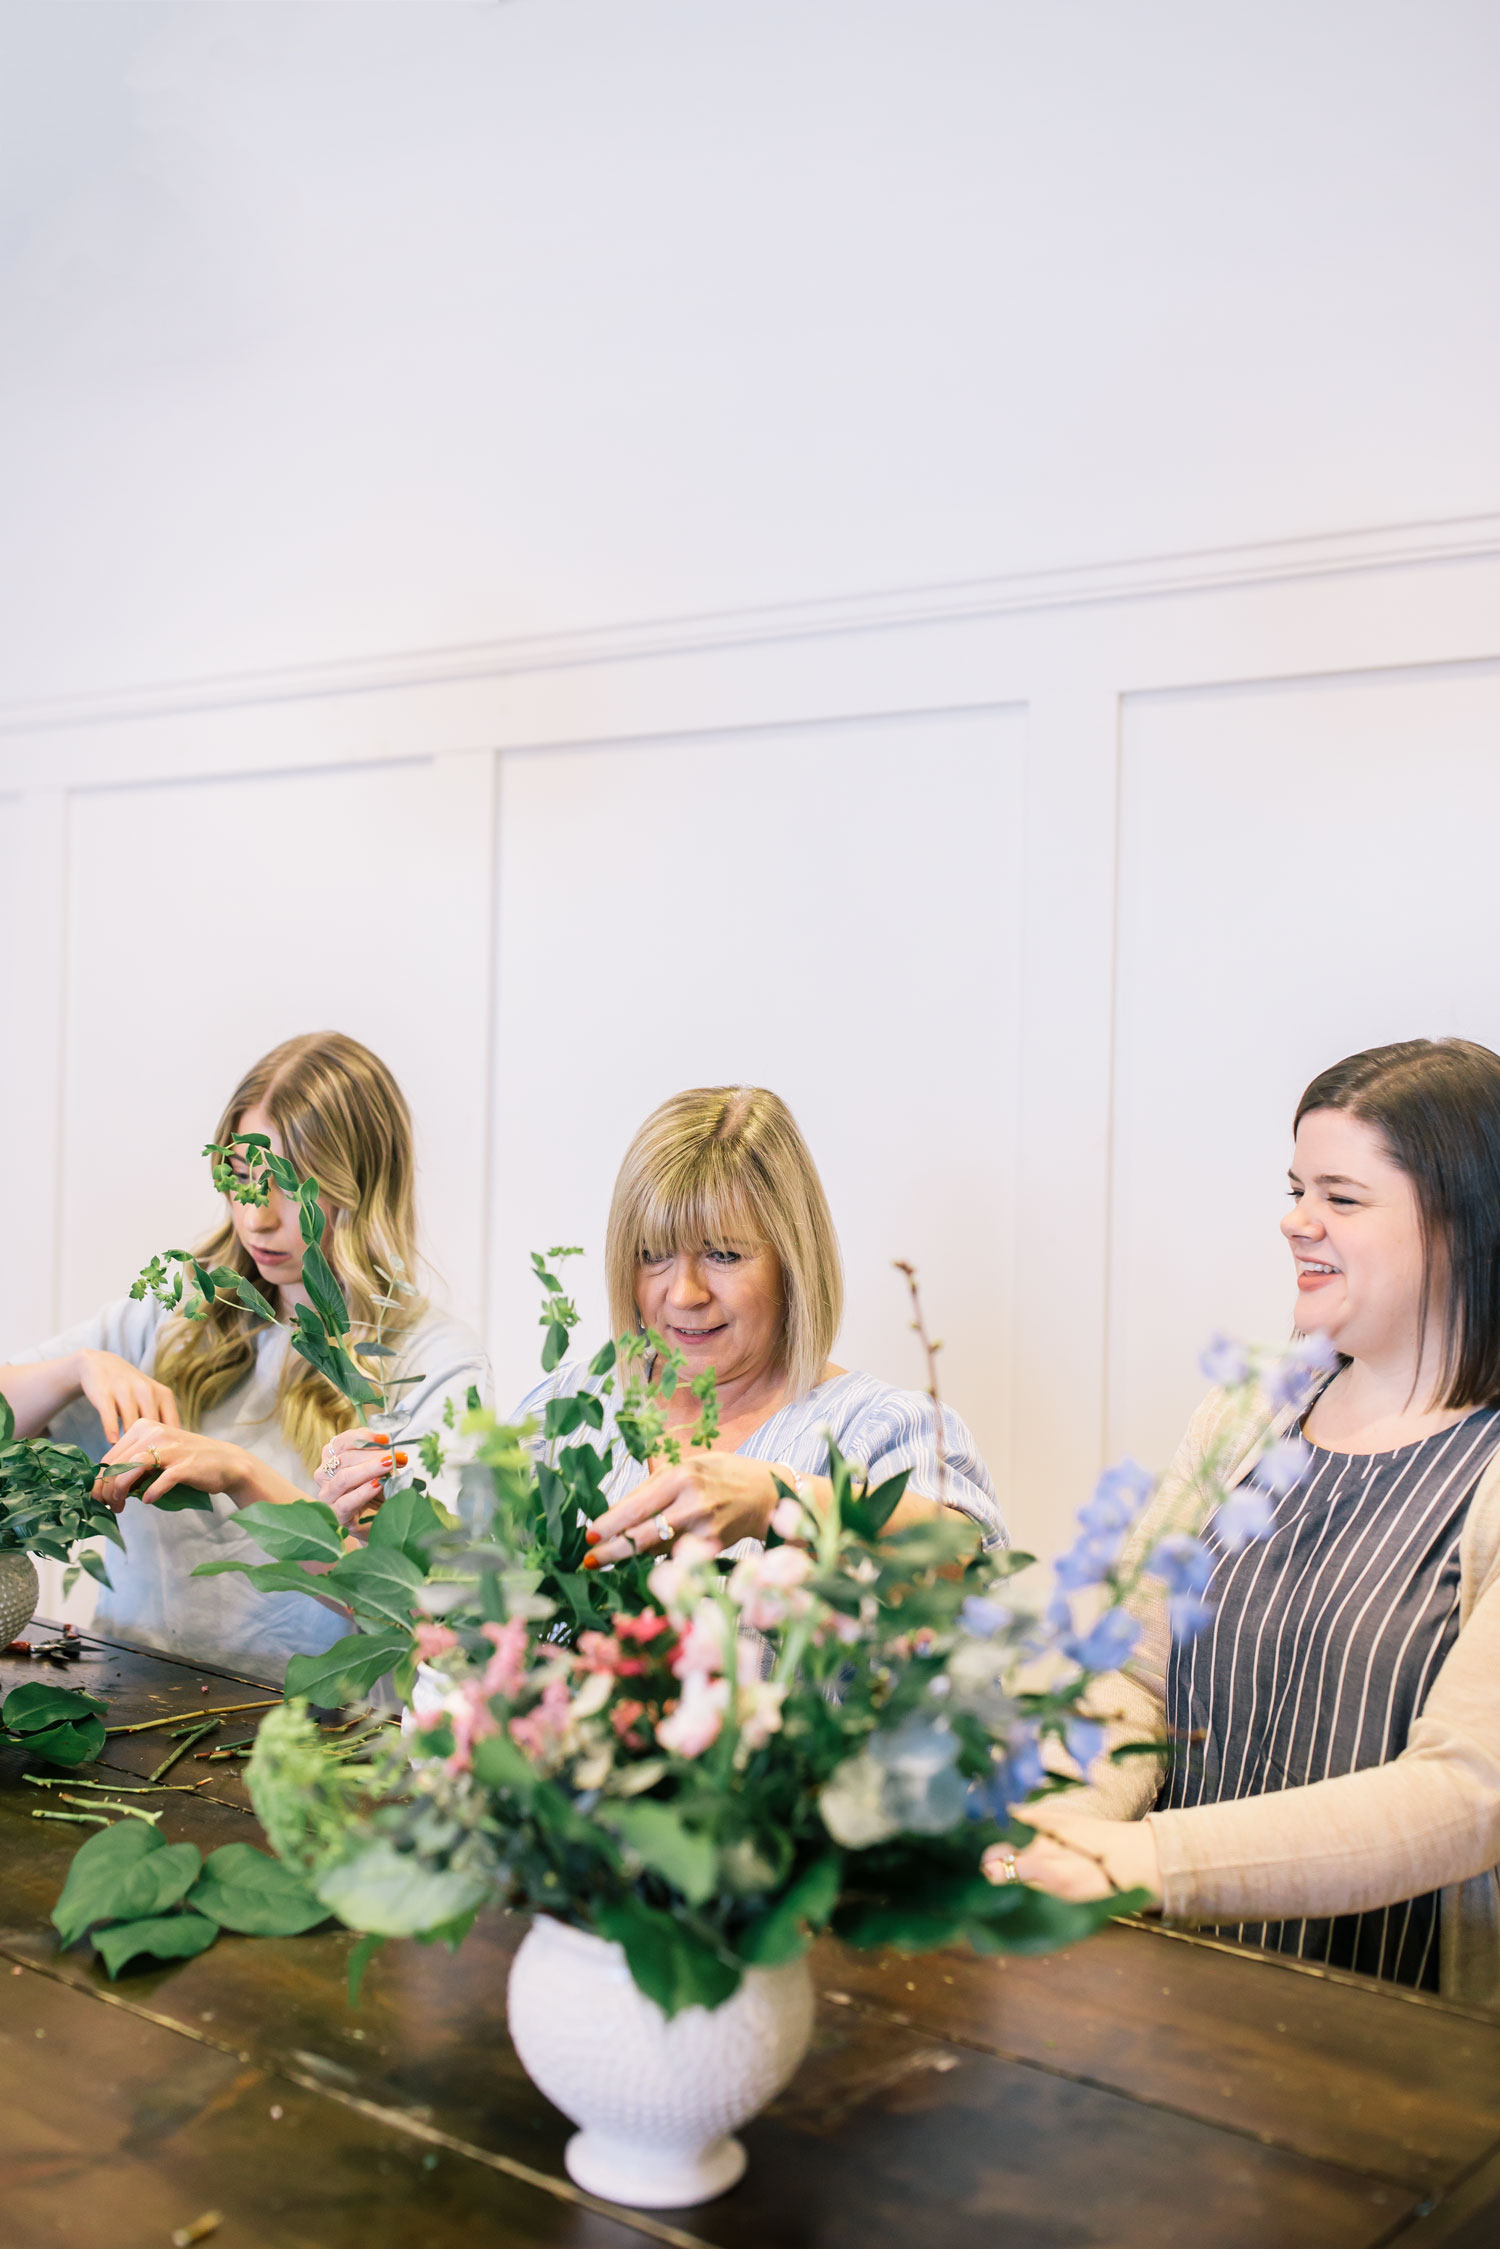
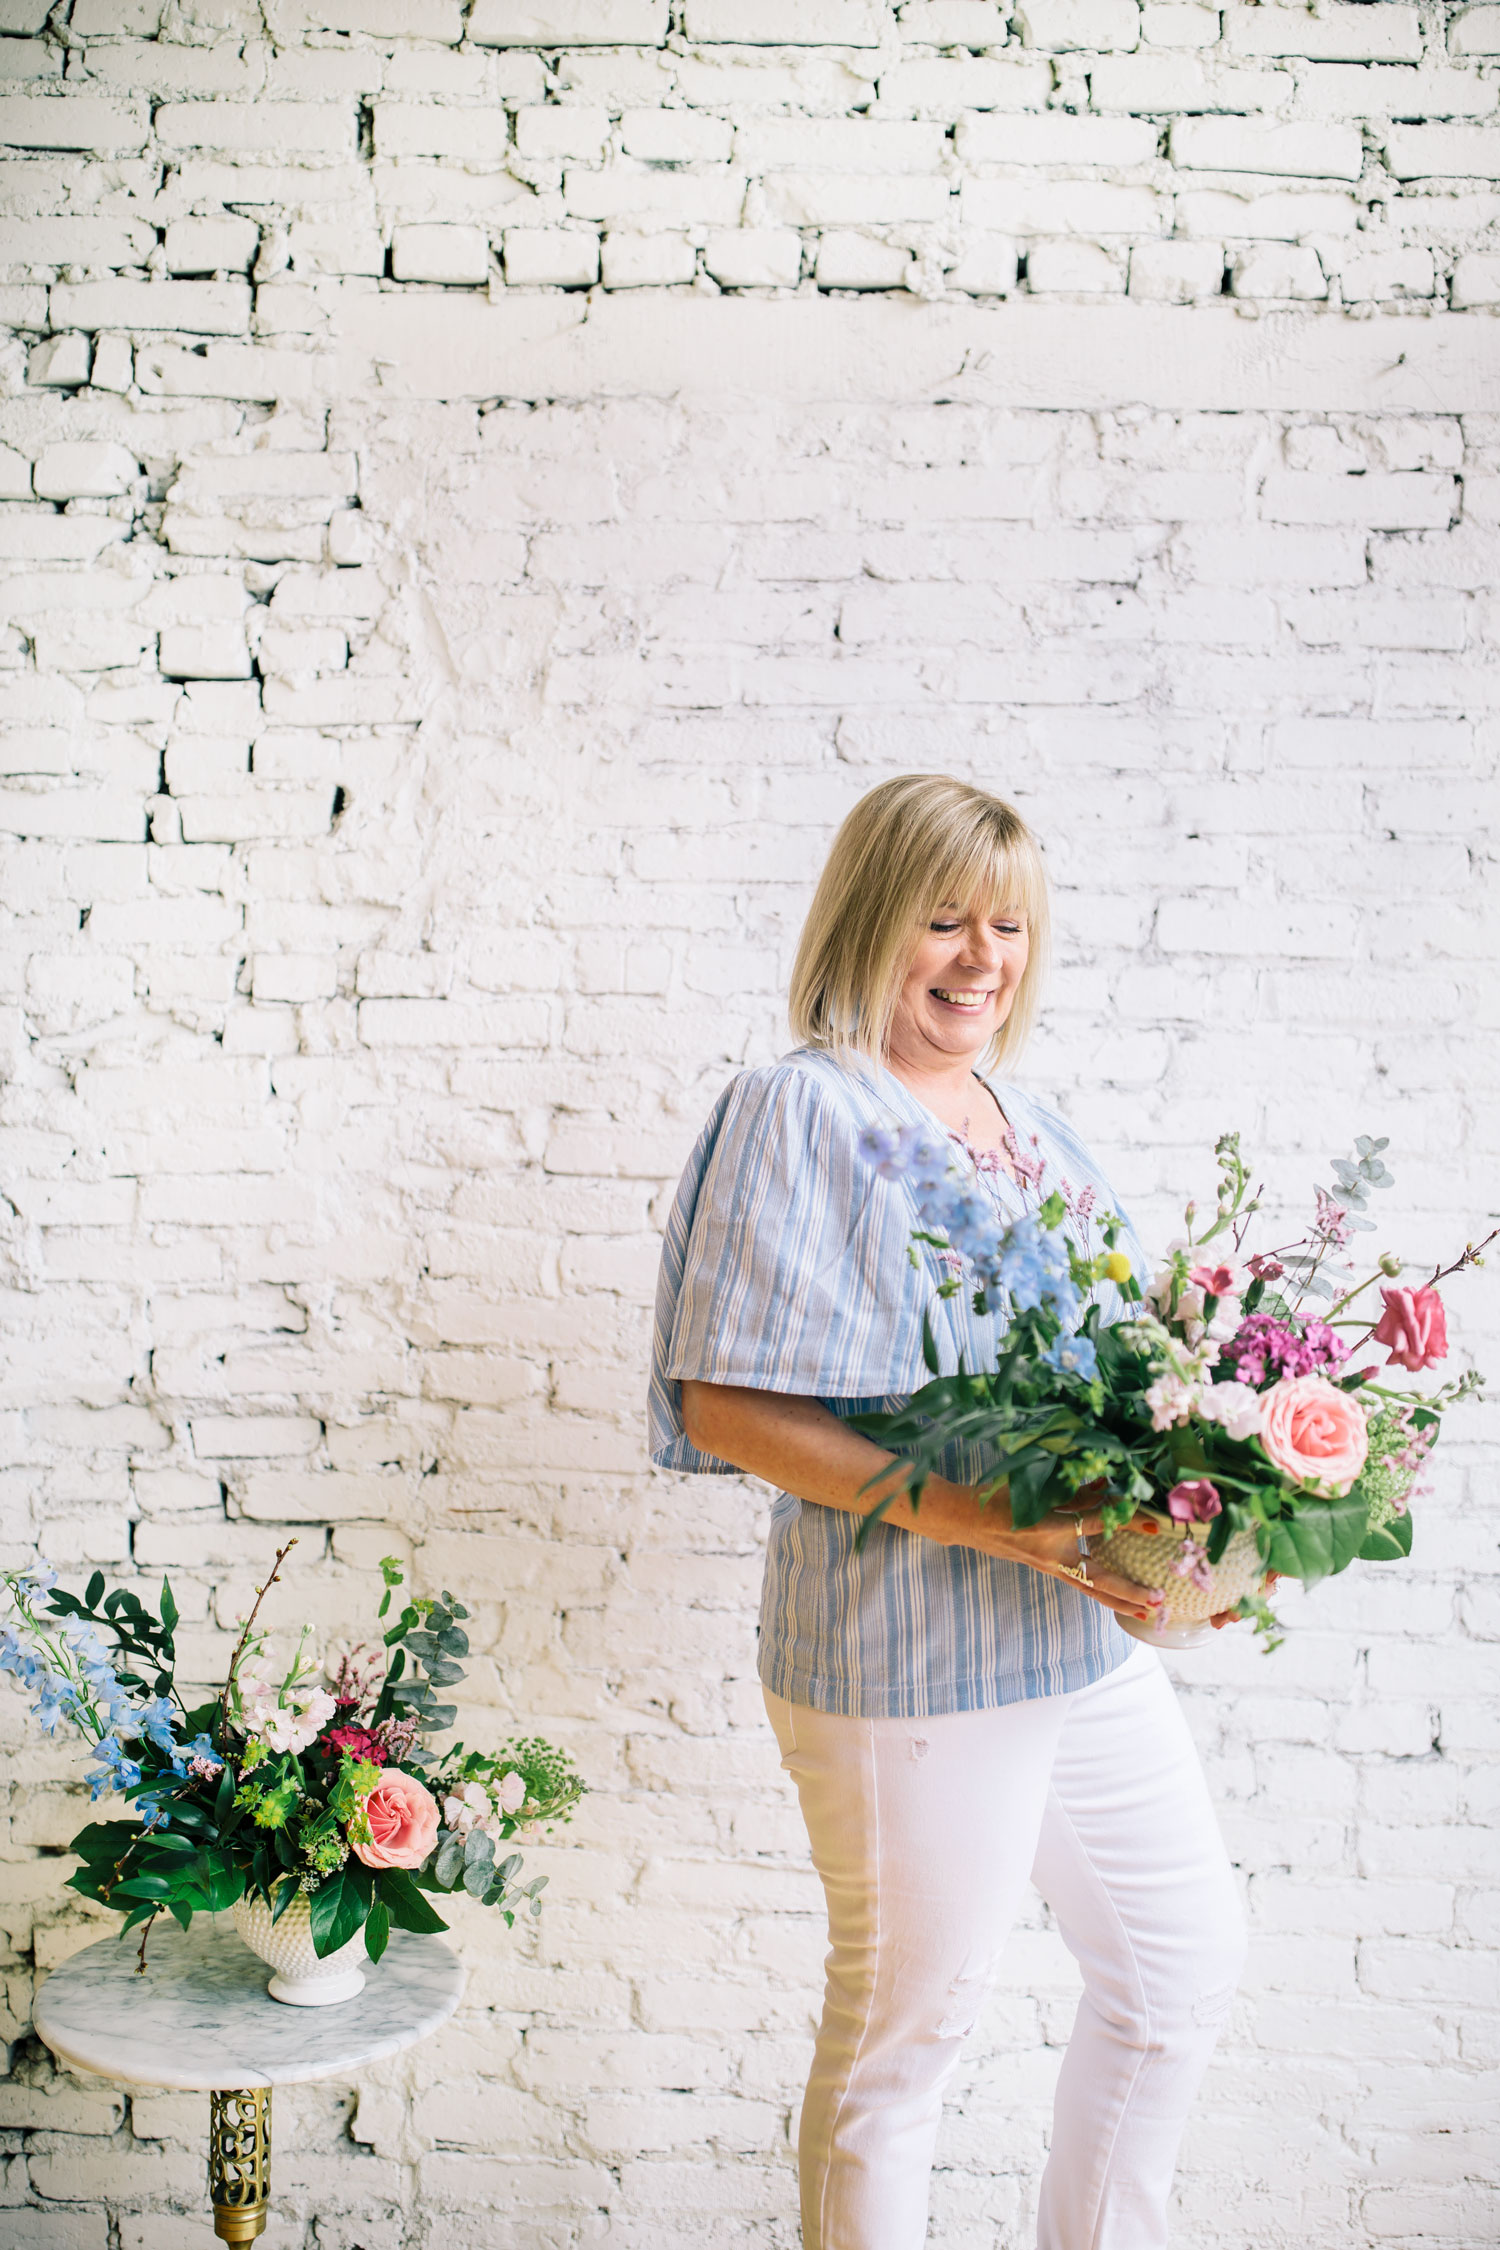
My mom and I had such a fun time spending the morning playing with flowers, taking photos, smiling and laughing together. Edwin even slept through the entire class/shoot so we were all able to relax and Jamie could shoot photos (yay!). This was my moms first time making a flower arrangement and during the class she said that she’d always secretly wanted to be a florist and loved the idea of it…I’d say she has a natural talent for flower arranging too!
Keep reading to see how we put together this flower arrangement and make sure to check out The Flower Shops website if you’re in Halifax and are interested in a flower arranging workshop. They have a peony workshop coming up that I’m dying to attend…so fun!

 For this flower arrangement you will need:
-A low white vase
-chicken wire or floral tape
-shears
Flowers used:
-Handful salal greens
-2 spiral eucalyptus sprigs
-1 Italian ruscus sprig
-burplerum sprigs
-1 blue delphinium
-1 pink delphinium
-1 large pink William Rose (or large garden variety rose)
-1 ranunculus
-1 large Queen Anne’s Lace
-1 craspedia (yellow ball-like flower)
-Limonium
-1 cherry blossom branch
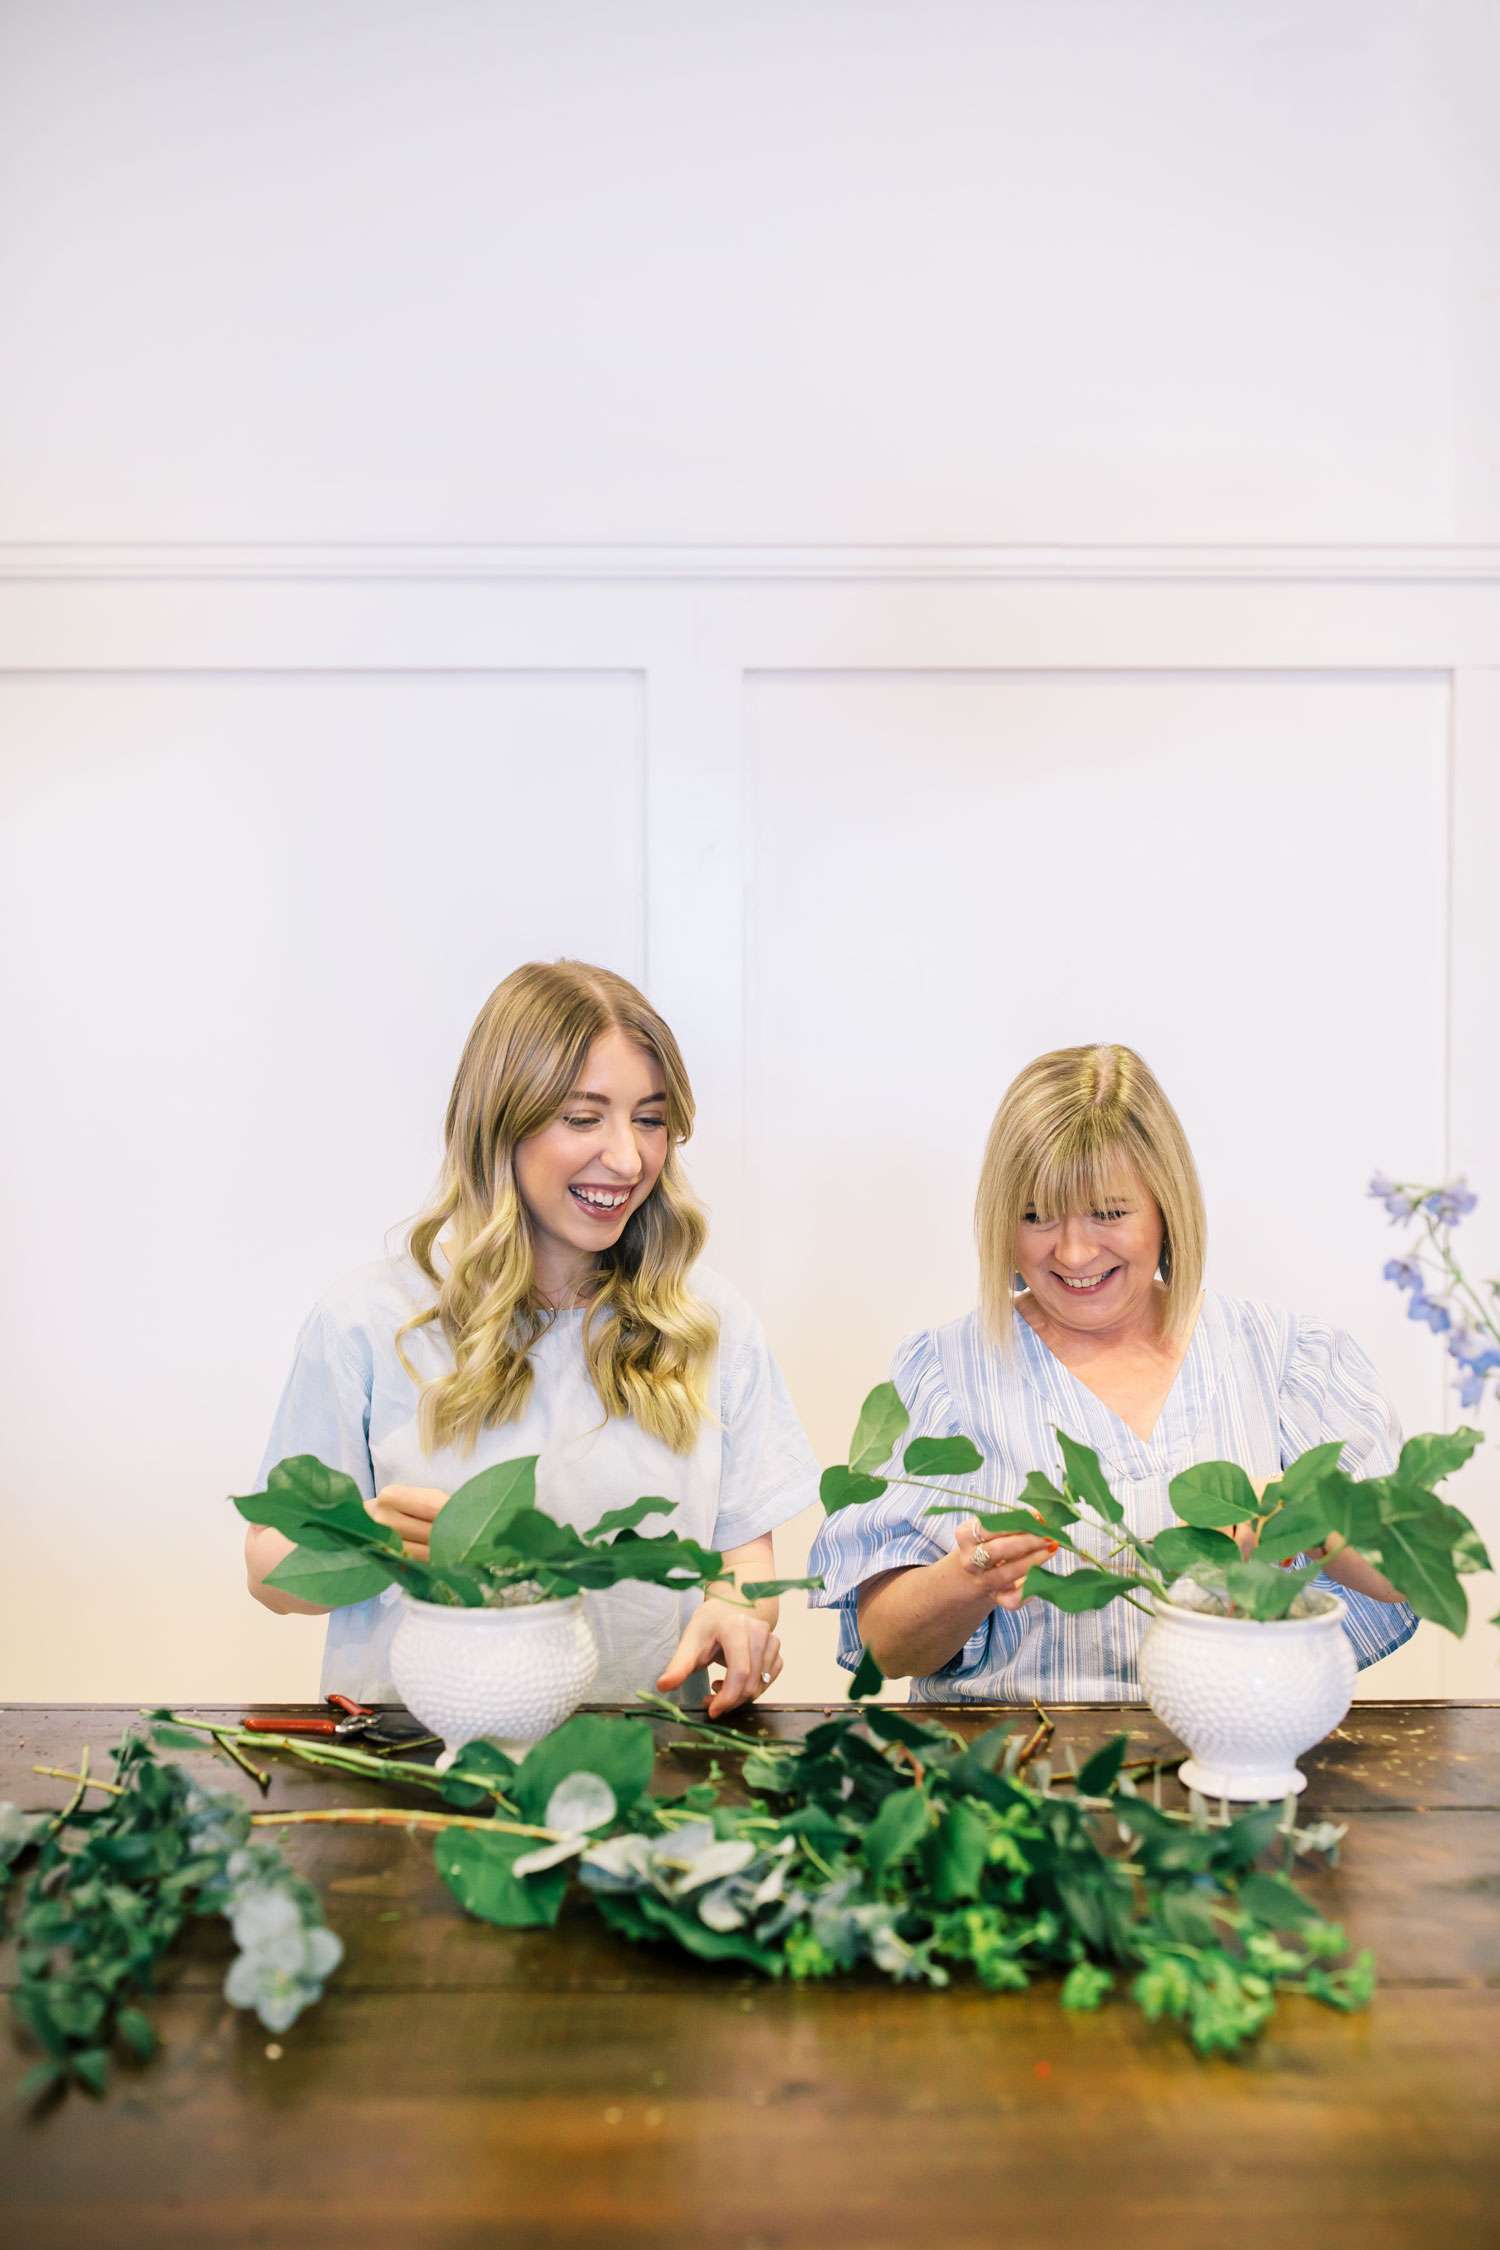 With any garden inspired or floral arrangement, you want to start making the shape with your greens. Not only will this help create that wispy, garden inspired “W” shape to your arrangement, the more greens you add, the less flowers you’ll need, which will cut down on costs when purchasing the flowers.
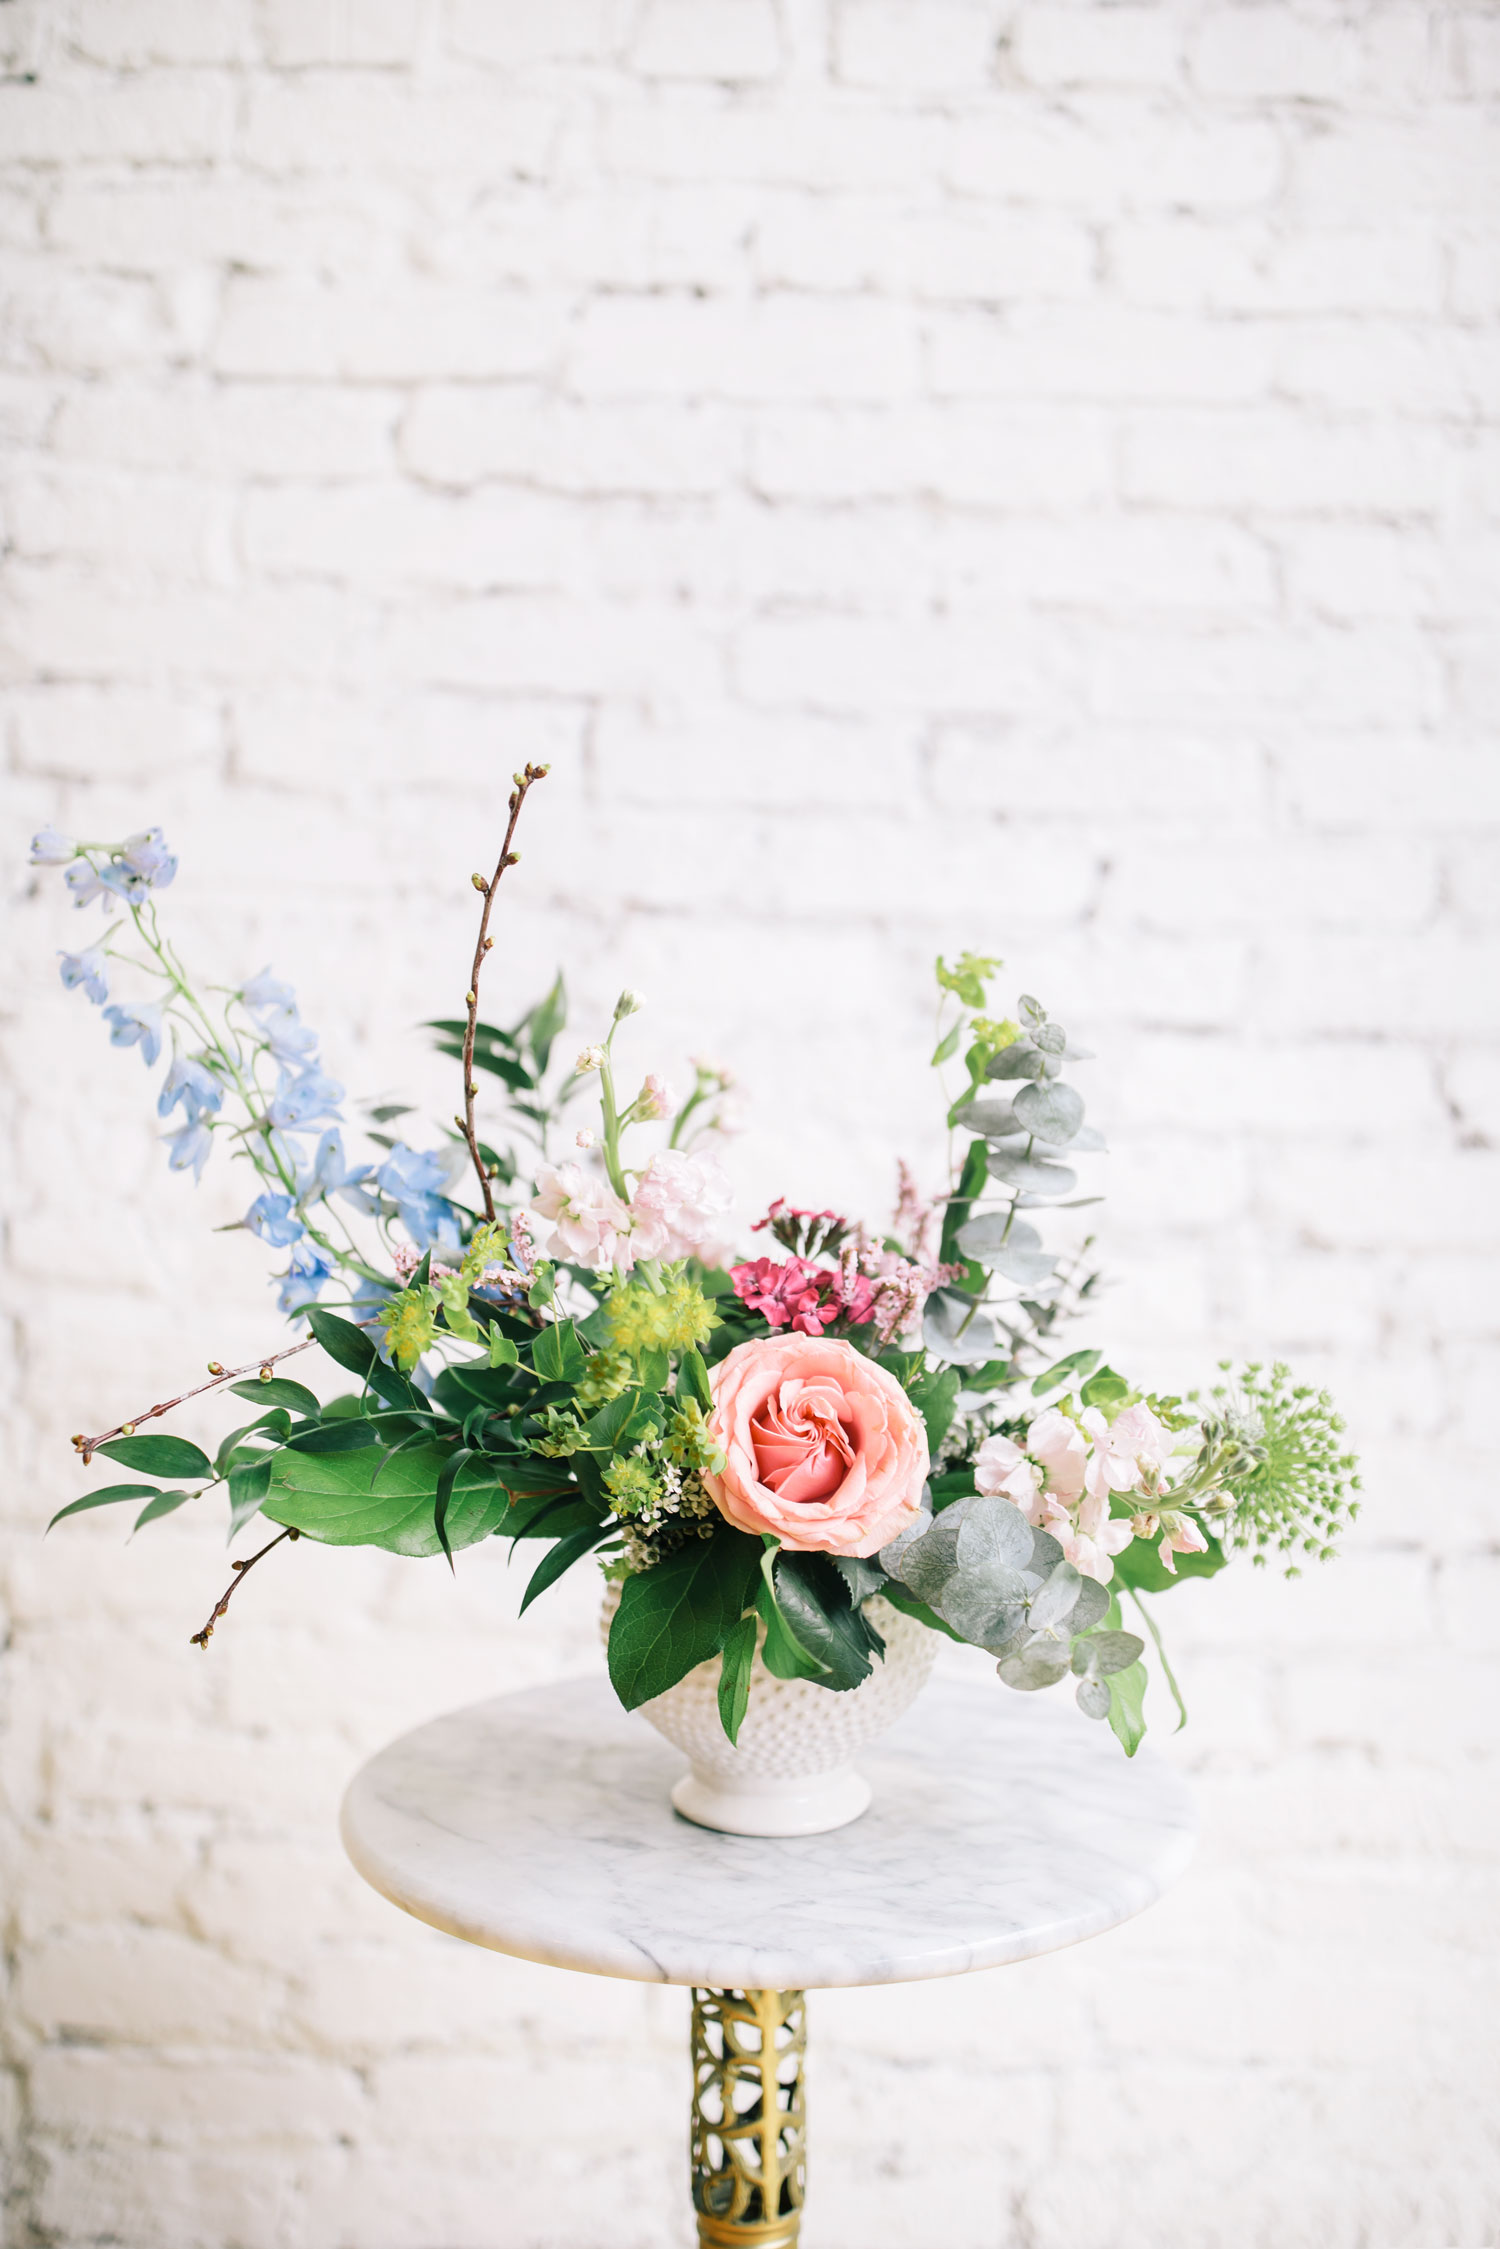
Place chicken wire into the vase and begin making a “W” or “S” shape with your salal greens. This can be done by trimming some salal greens shorter and keeping some longer. The shorter greens can be tucked in the middle and the higher ones on the sides. Try to have the greens on one side look like they’re “climbing” up to the sky. Your vase should be about 70% full of salal greens after you’ve finished and are happy with your shape.
 Add other greens like ruscus, eucalyptus and burplerum sprigs. This adds more texture and “garden feel” to the arrangement.
Next, add bigger flowers. The large rose is a focal flower and will look best cut low and placed front and centre of the arrangement.
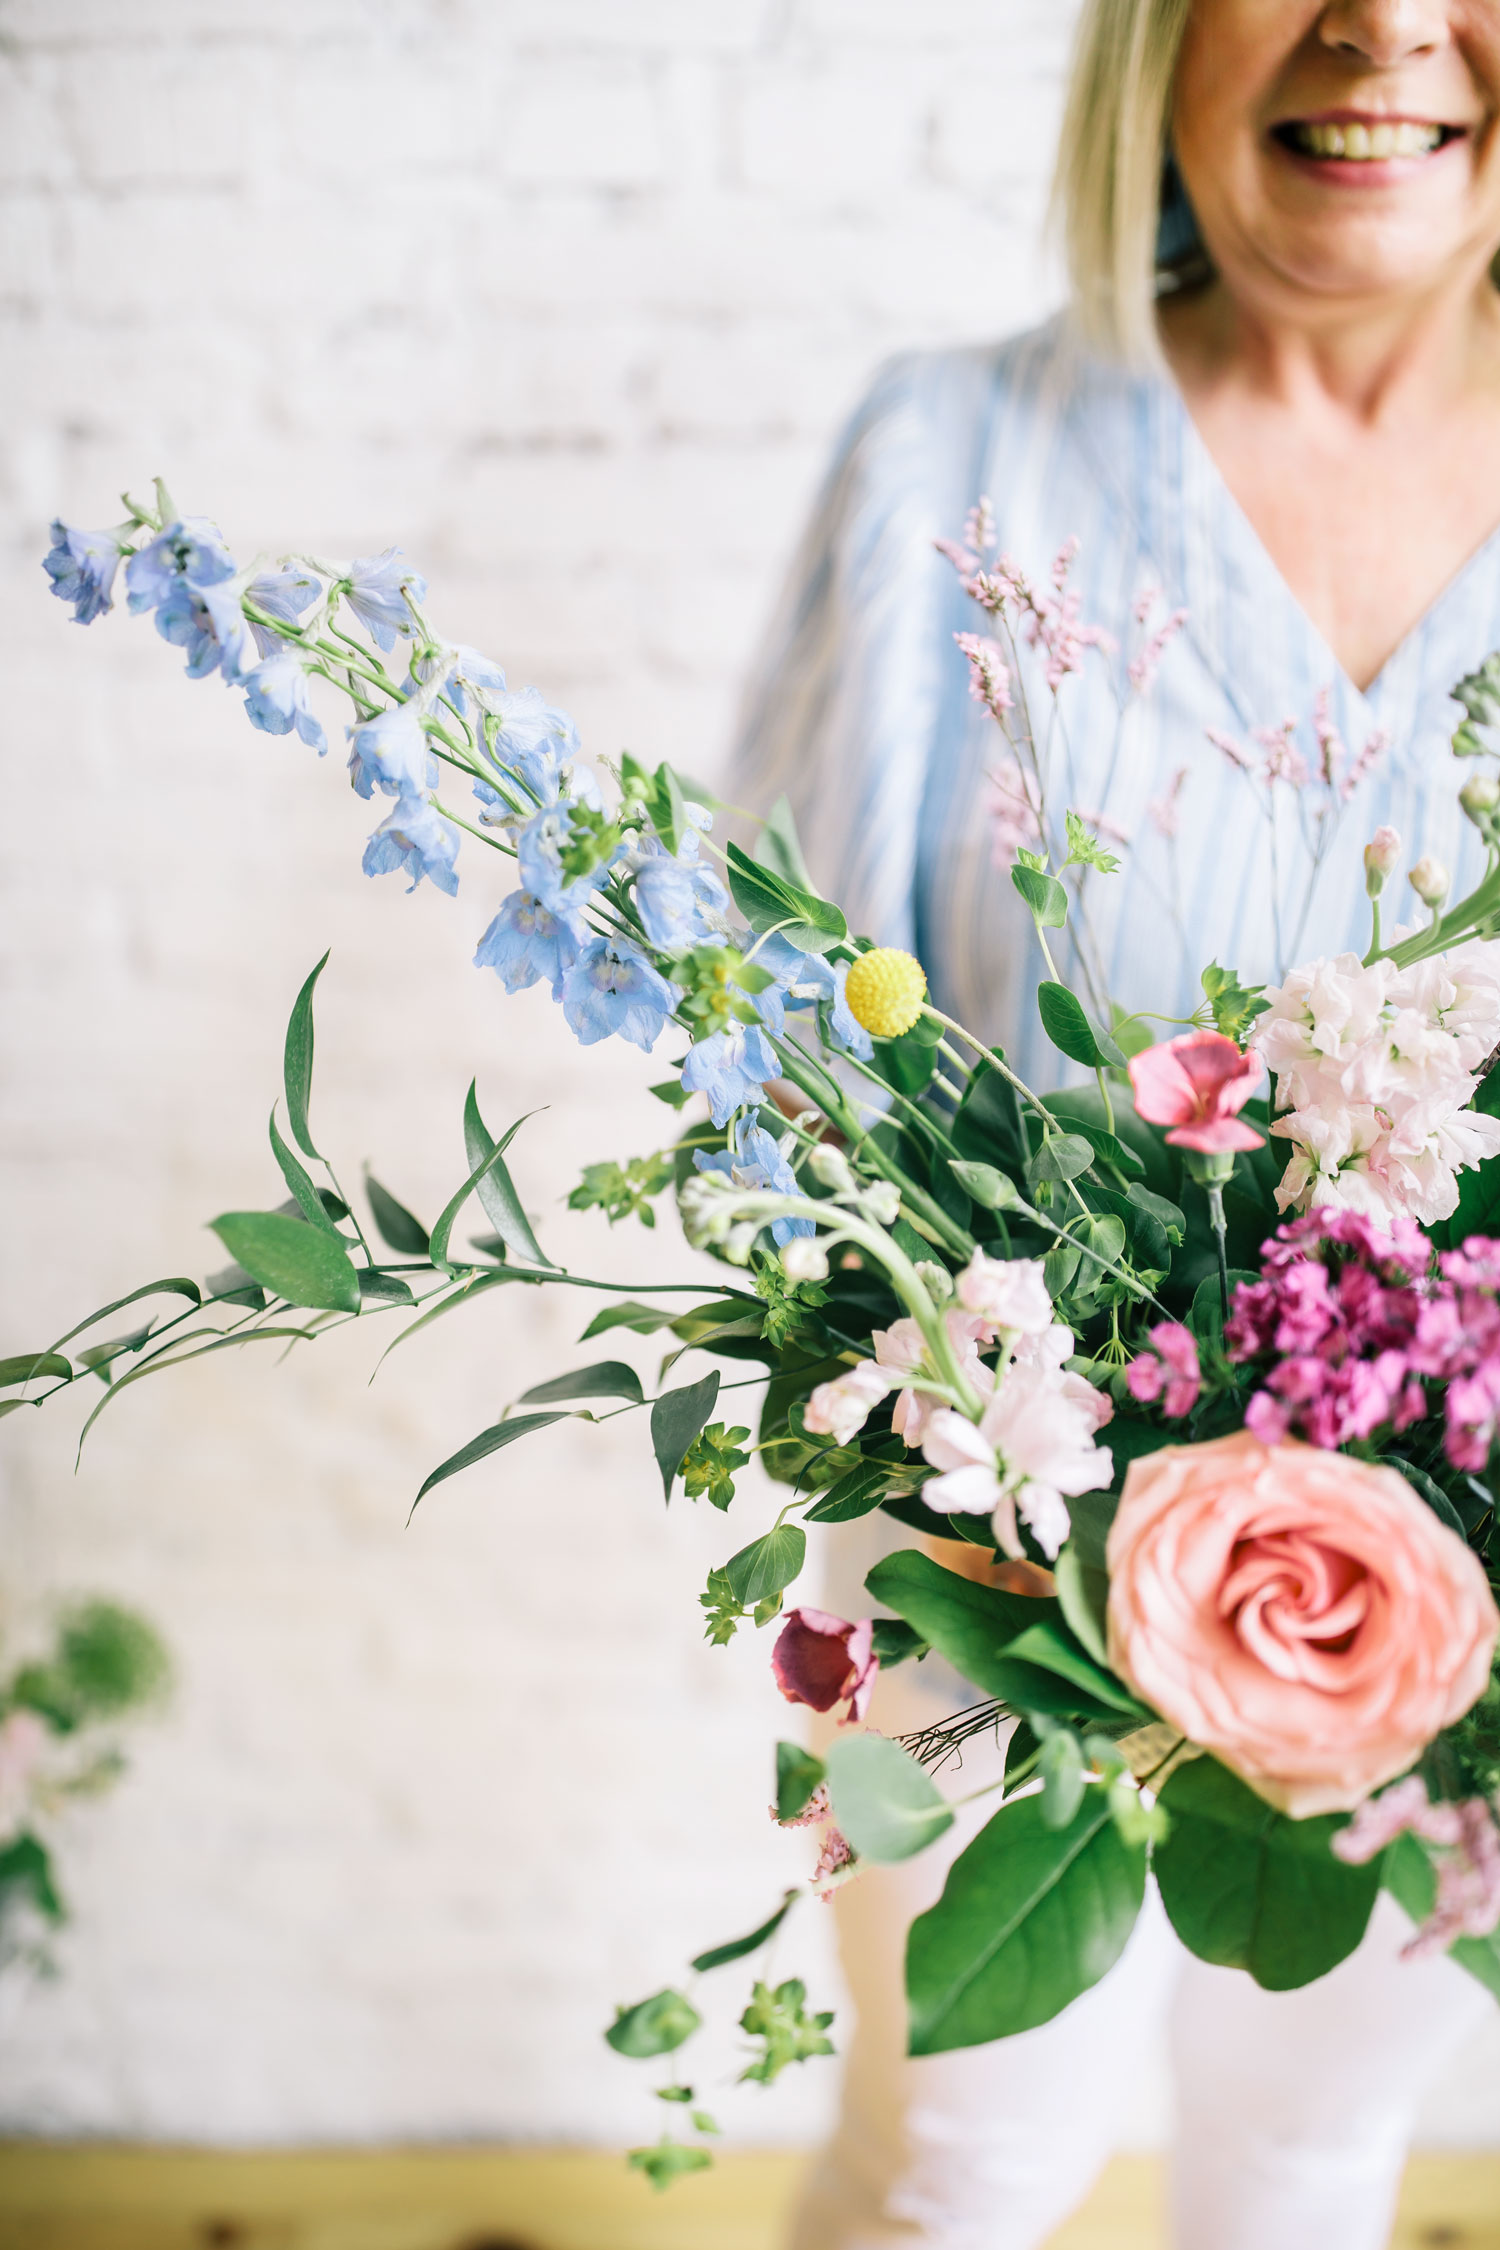
 The rest of the flowers can be added around the rose. The delphinium like to “climb” out to the sides and you can really place the rest of the flowers wherever you feel they “want to go”. The shapes of the flowers seem to dictate where to place them in the arrangement which you will notice as it is coming together. Start with the largest focal flowers first and then add in the smaller flowers in any empty patches. You can also cut off smaller sprigs from flowers such as Limonium to fill in any holes.
Lastly, place your cherry blossom branch into the arrangement. The branch should act as the highest sprig that truly looks like it is reaching up to the sky.
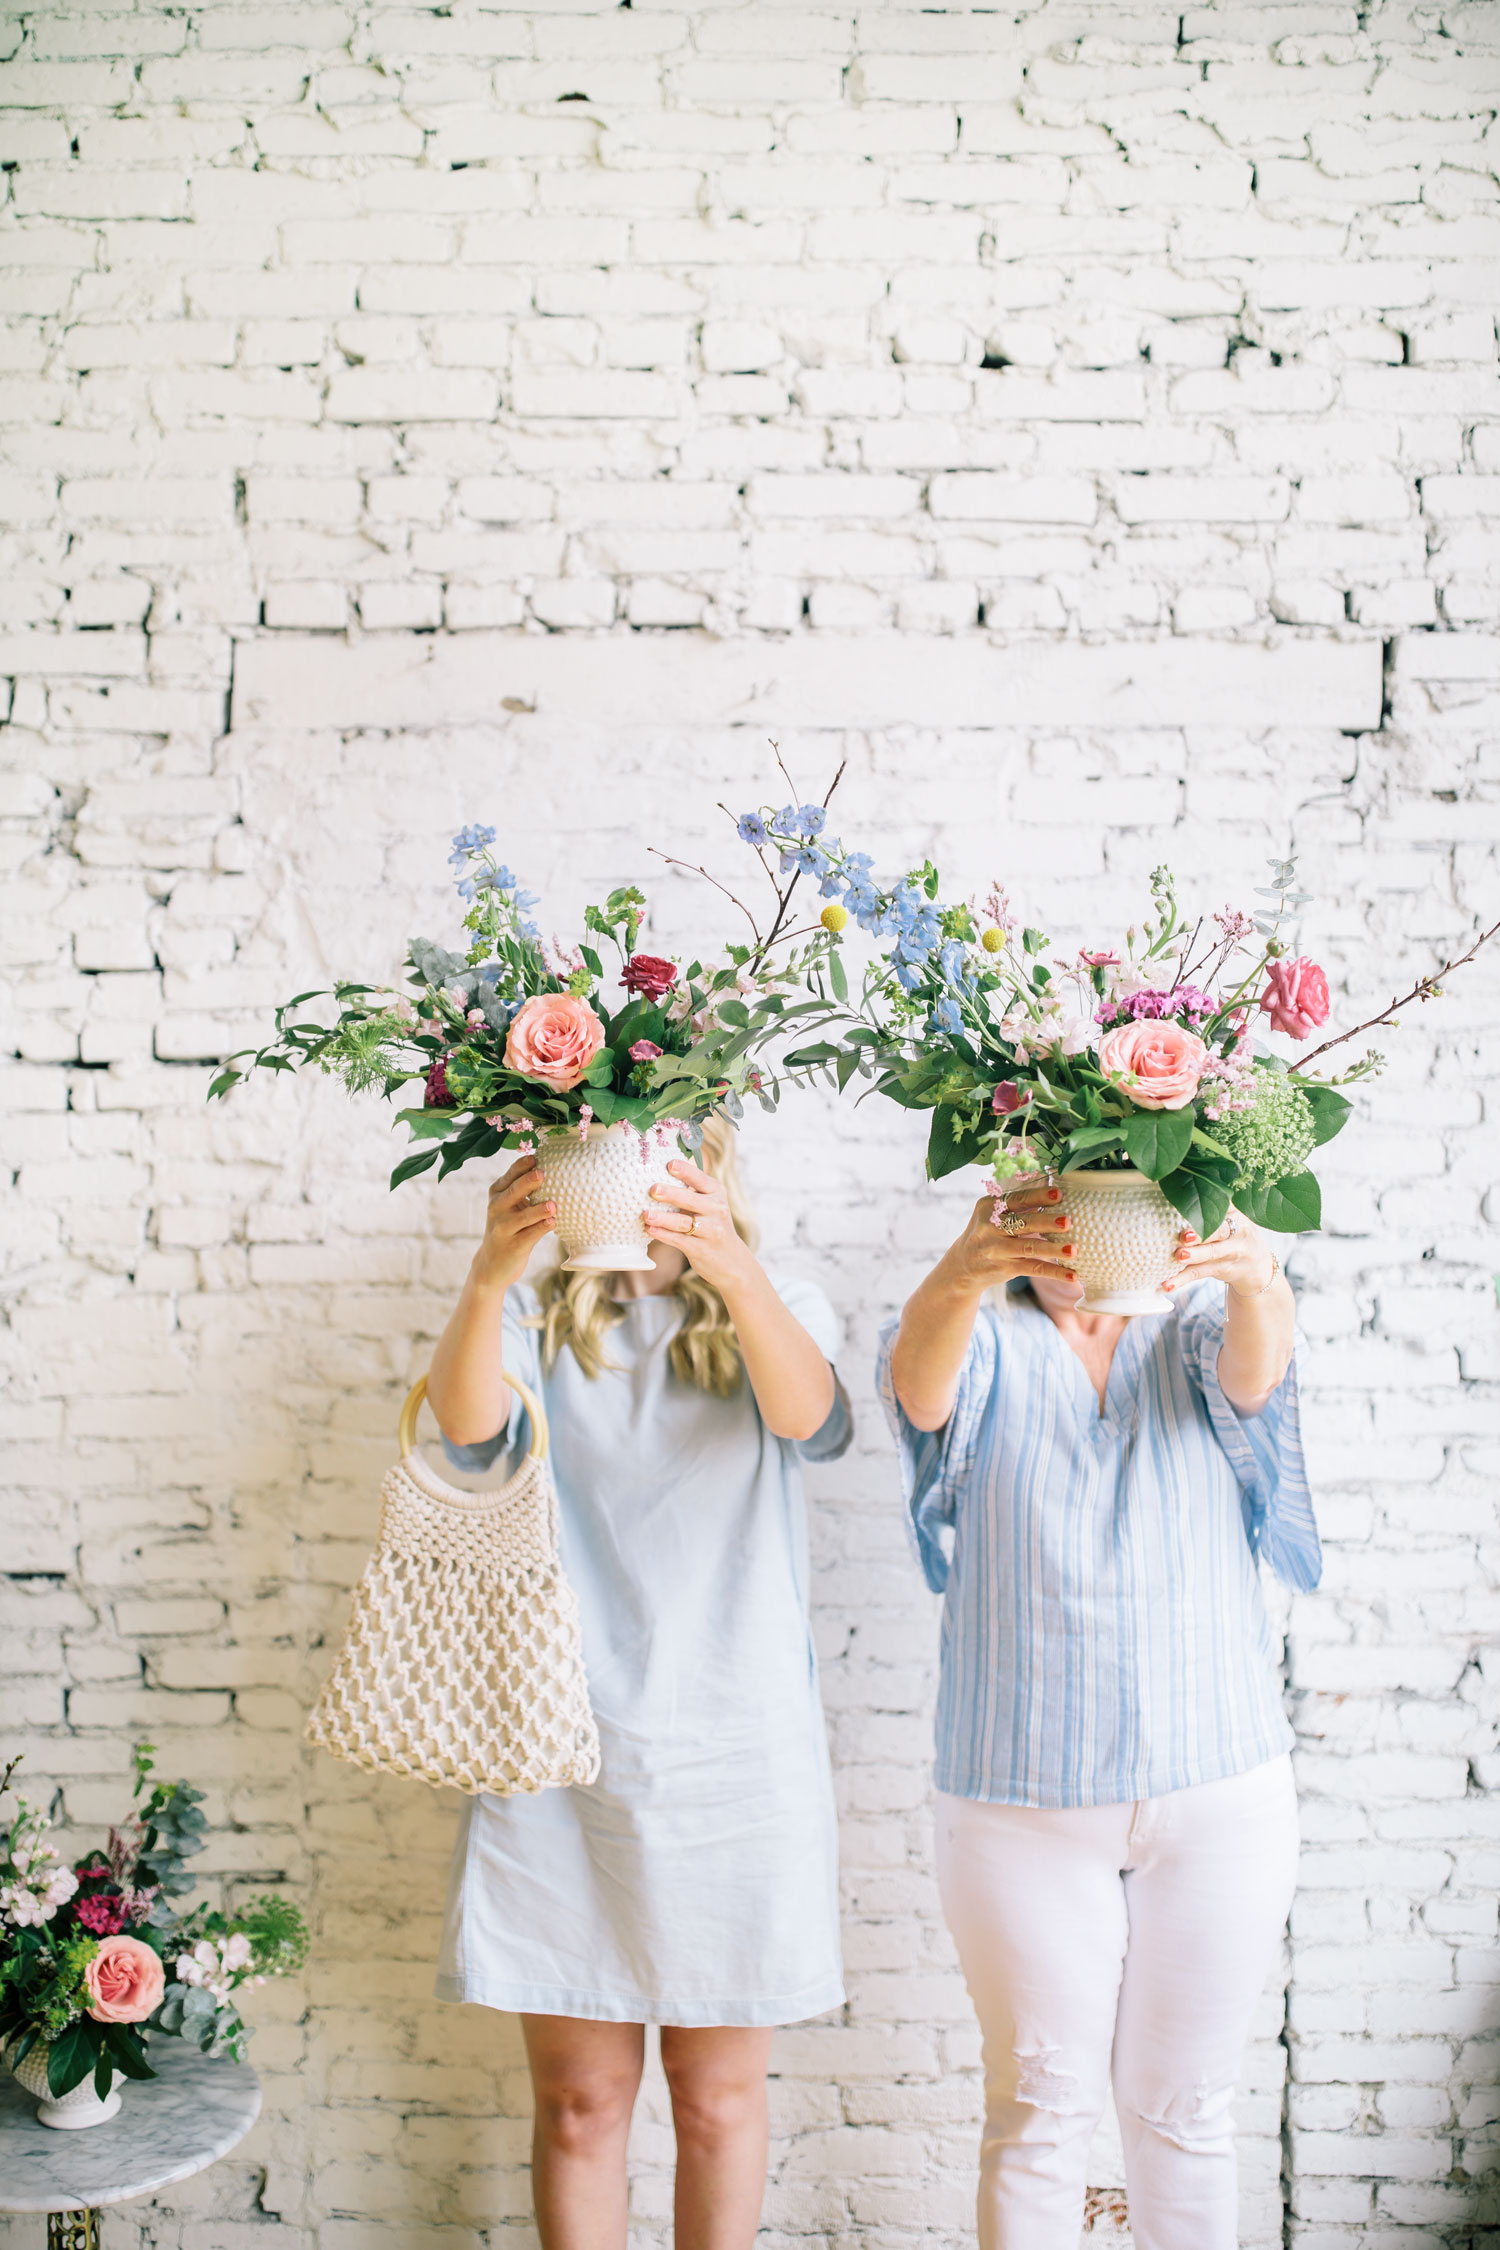

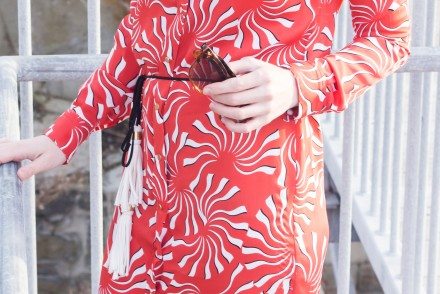
 What I’m Wearing c/o Joe Fresh: Dress (here) // Flats (here) // Bag (here)
What My Mama is Wearing c/o Joe Fresh: Top (here) // Jeans (here) // Earrings (here) // Heels (here)