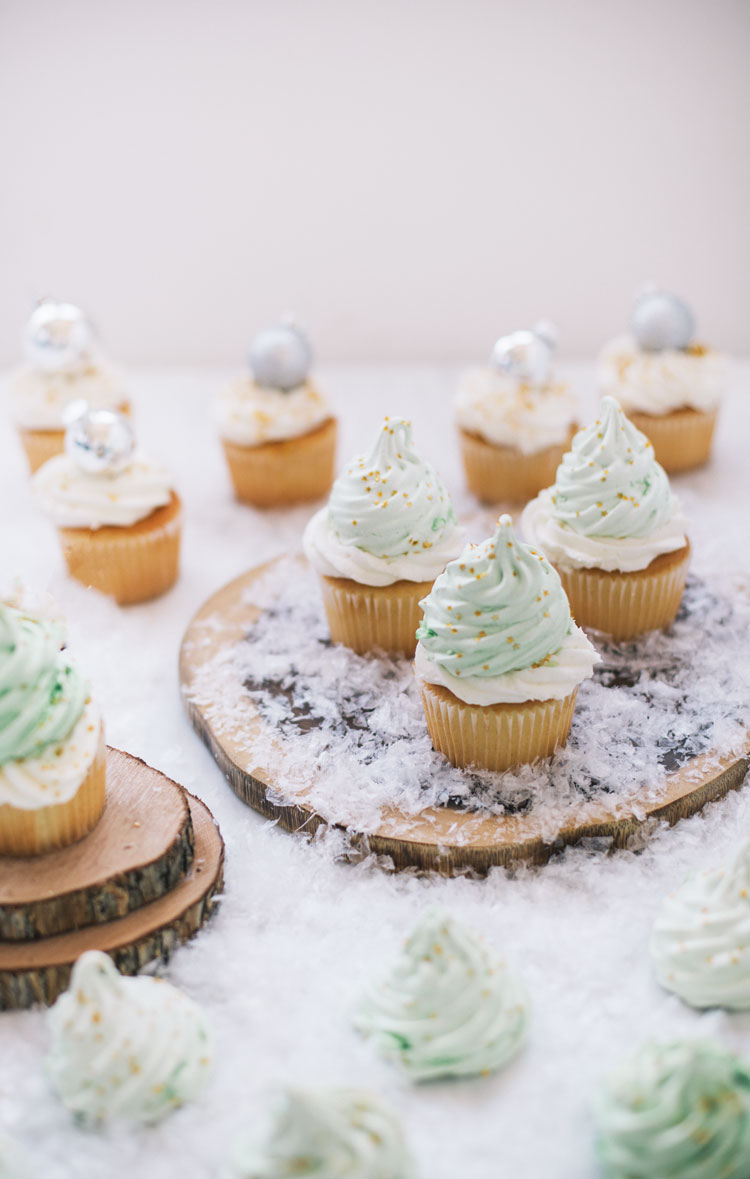
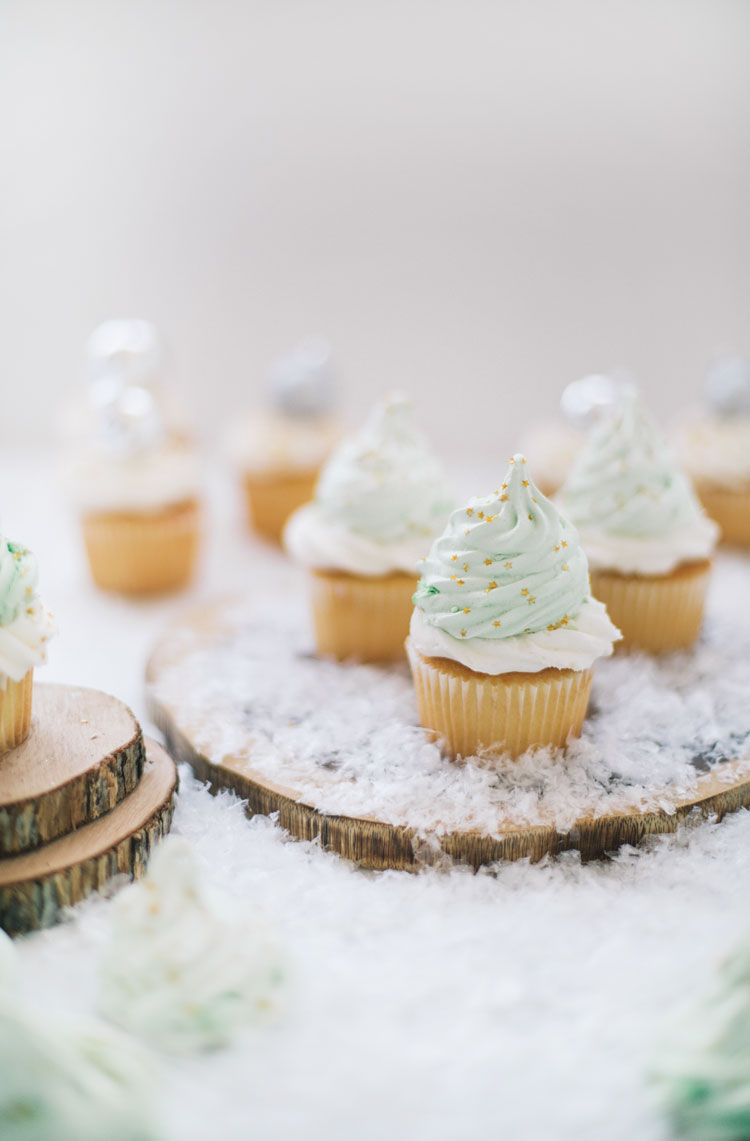
Ever since making lavender meringues back in the summer I have been waiting for the perfect excuse to get back into the kitchen to make another batch. While these are peppermint flavoured, the concept of making them is virtually the same (besides the peppermint extract and green food colouring) and the Christmas tree shapes are so fitting for the holidays. Again, it took me two tries to get the meringues to peak as they can be temperamental, but the finished product was well worth the annoyance of dumping my first batch down the sink. I love these Christmas tree meringues on their own but when set atop cupcakes with white frosting and sprinkled with edible gold stars they look like sparkly Christmas trees sitting on a blanket on snow, don’t you agree?


- 4 egg whites
- the tinest pinch of salt
- the tiniest pinch of cream of tartar
- 1 cup granulated sugar
- 1/4 tsp peppermint extract
- Edible gold stars
- 8-12 drops of green food colouring
- Preheat oven to 200 degrees and line a baking sheet with parchment paper.
- In the bowl of an electric mixer with the whisk attachment, add the four egg whites and beat on medium speed until foamy.
- Add in the salt and cream of tartar and increase the speed to medium high.
- As the egg whites are whisking, slowly add in the sugar.
- Continue to beat the eggs until they become thick, shiny, and hold stiff peaks, while still beating add in the peppermint extract and food colouring one drop at a time until your desired colour is achieved
- Fill a piping bag fitted with a large star tip with the meringue.
- Pipe Christmas tree shapes onto a baking sheet lines with parchment paper
- You can pipe the stars close together as they won't spread when baking.
- Sprinkle edible gold stars onto the meringues
- Place the baking sheet on the middle rack of the oven and bake at 200 degrees for 2 hours or until they are no longer sticky, but rather hardened.
- Remove from the oven and allow them to cool completely on the baking sheet.
- Store the meringues in an airtight container for up to a week.