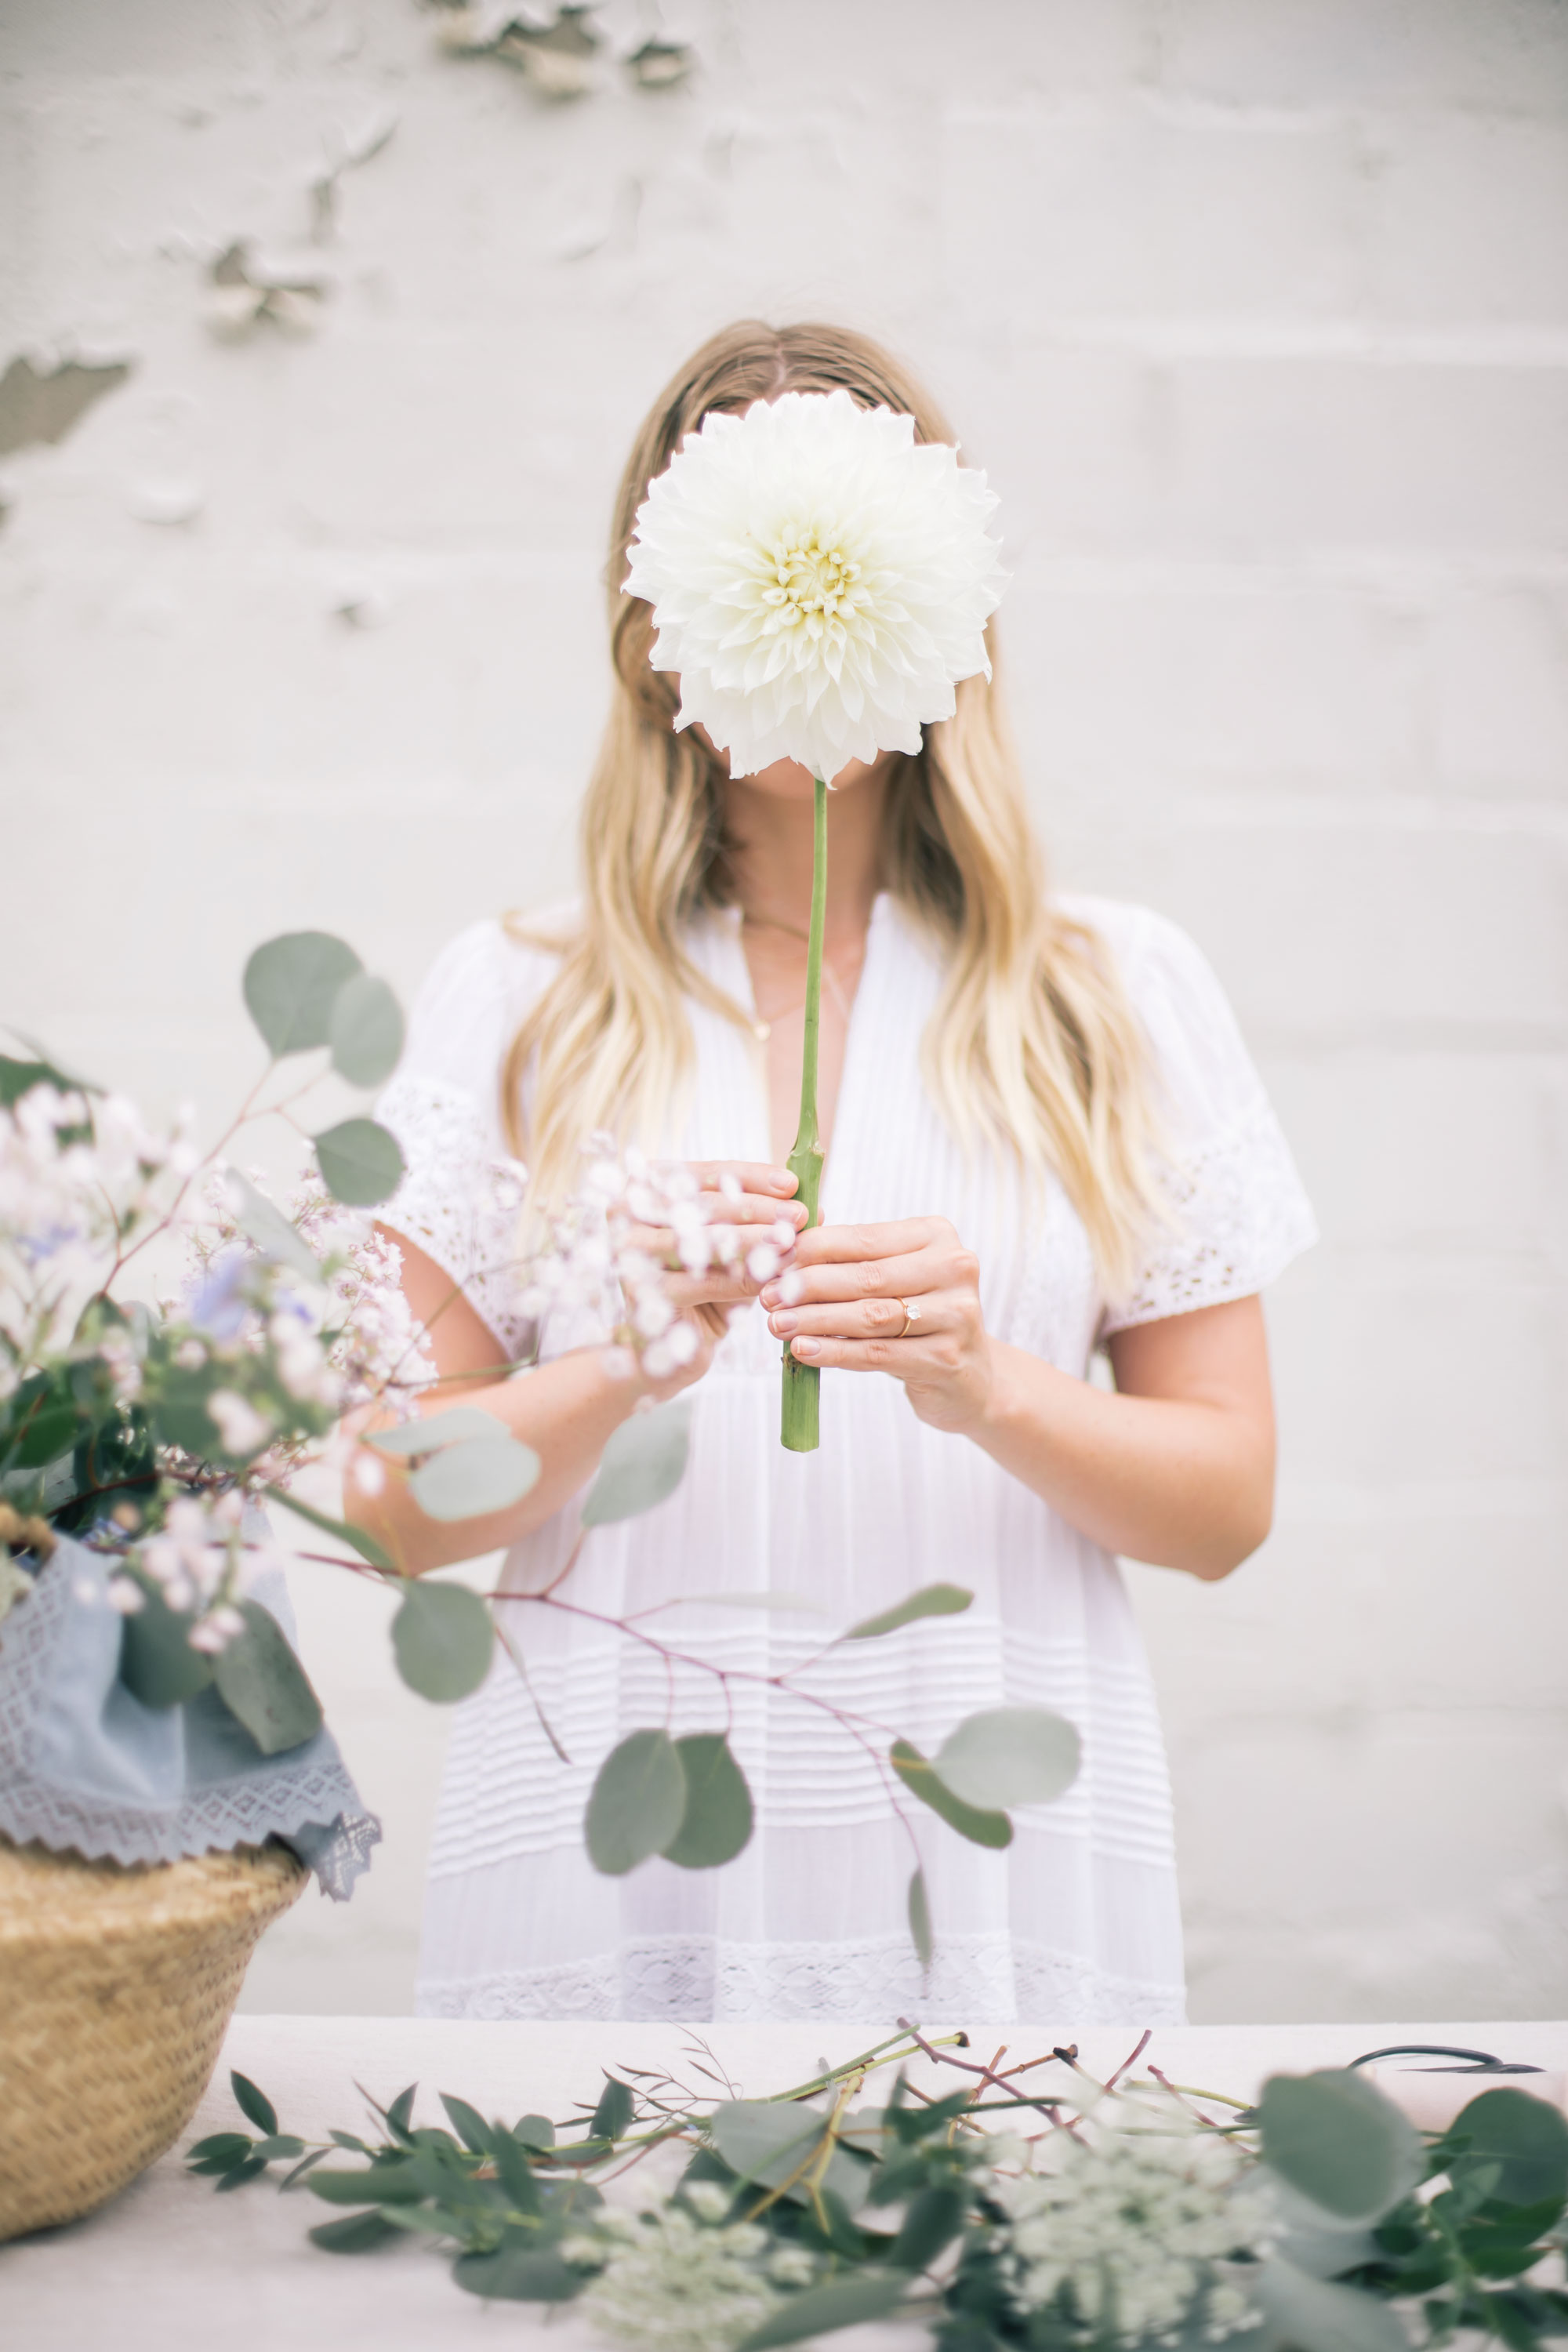
After sharing the post on how I made these maids of honor gift boxes for my sisters about a month ago, I received quite a few compliments on the hand tied arrangements I created for the boxes. Making the bouquets was actually one of my favourite parts of the boxes, as I really think they added something special and organic to the final result. That was the first time I’d ever attempted to create a hand tied bouquet, and even though I ended up feeling extremely proud of myself for how they turned out, the truth is that they really weren’t that difficult to make! I love playing with flowers and incidentally today Jamie and I are actually headed to out first florist meeting for our wedding flowers, so it felt like the perfect time to share a few of my tips on making a hand tied, garden inspired flower bouquet.
 Step 1: I gathered the flowers I’d be using from a couple of local shops in Toronto in the Avenue and Davenport area. If you’re from Toronto, I’d suggest trying out those shops as they typically sell flowers by the bundle and usually have the best selection for a more affordable price point. From the flower shop, I purchased 2 types of greenery (silver dollar eucalyptus is always my #1 go-to because it flows so naturally which helps make arrangements look very organic). I also picked up some Ruscus which helped to add some more dimension to the bouquet and to fill it in, as flowers can be expensive and if you’re on a budget, I’d suggest using more greenery than flowers.
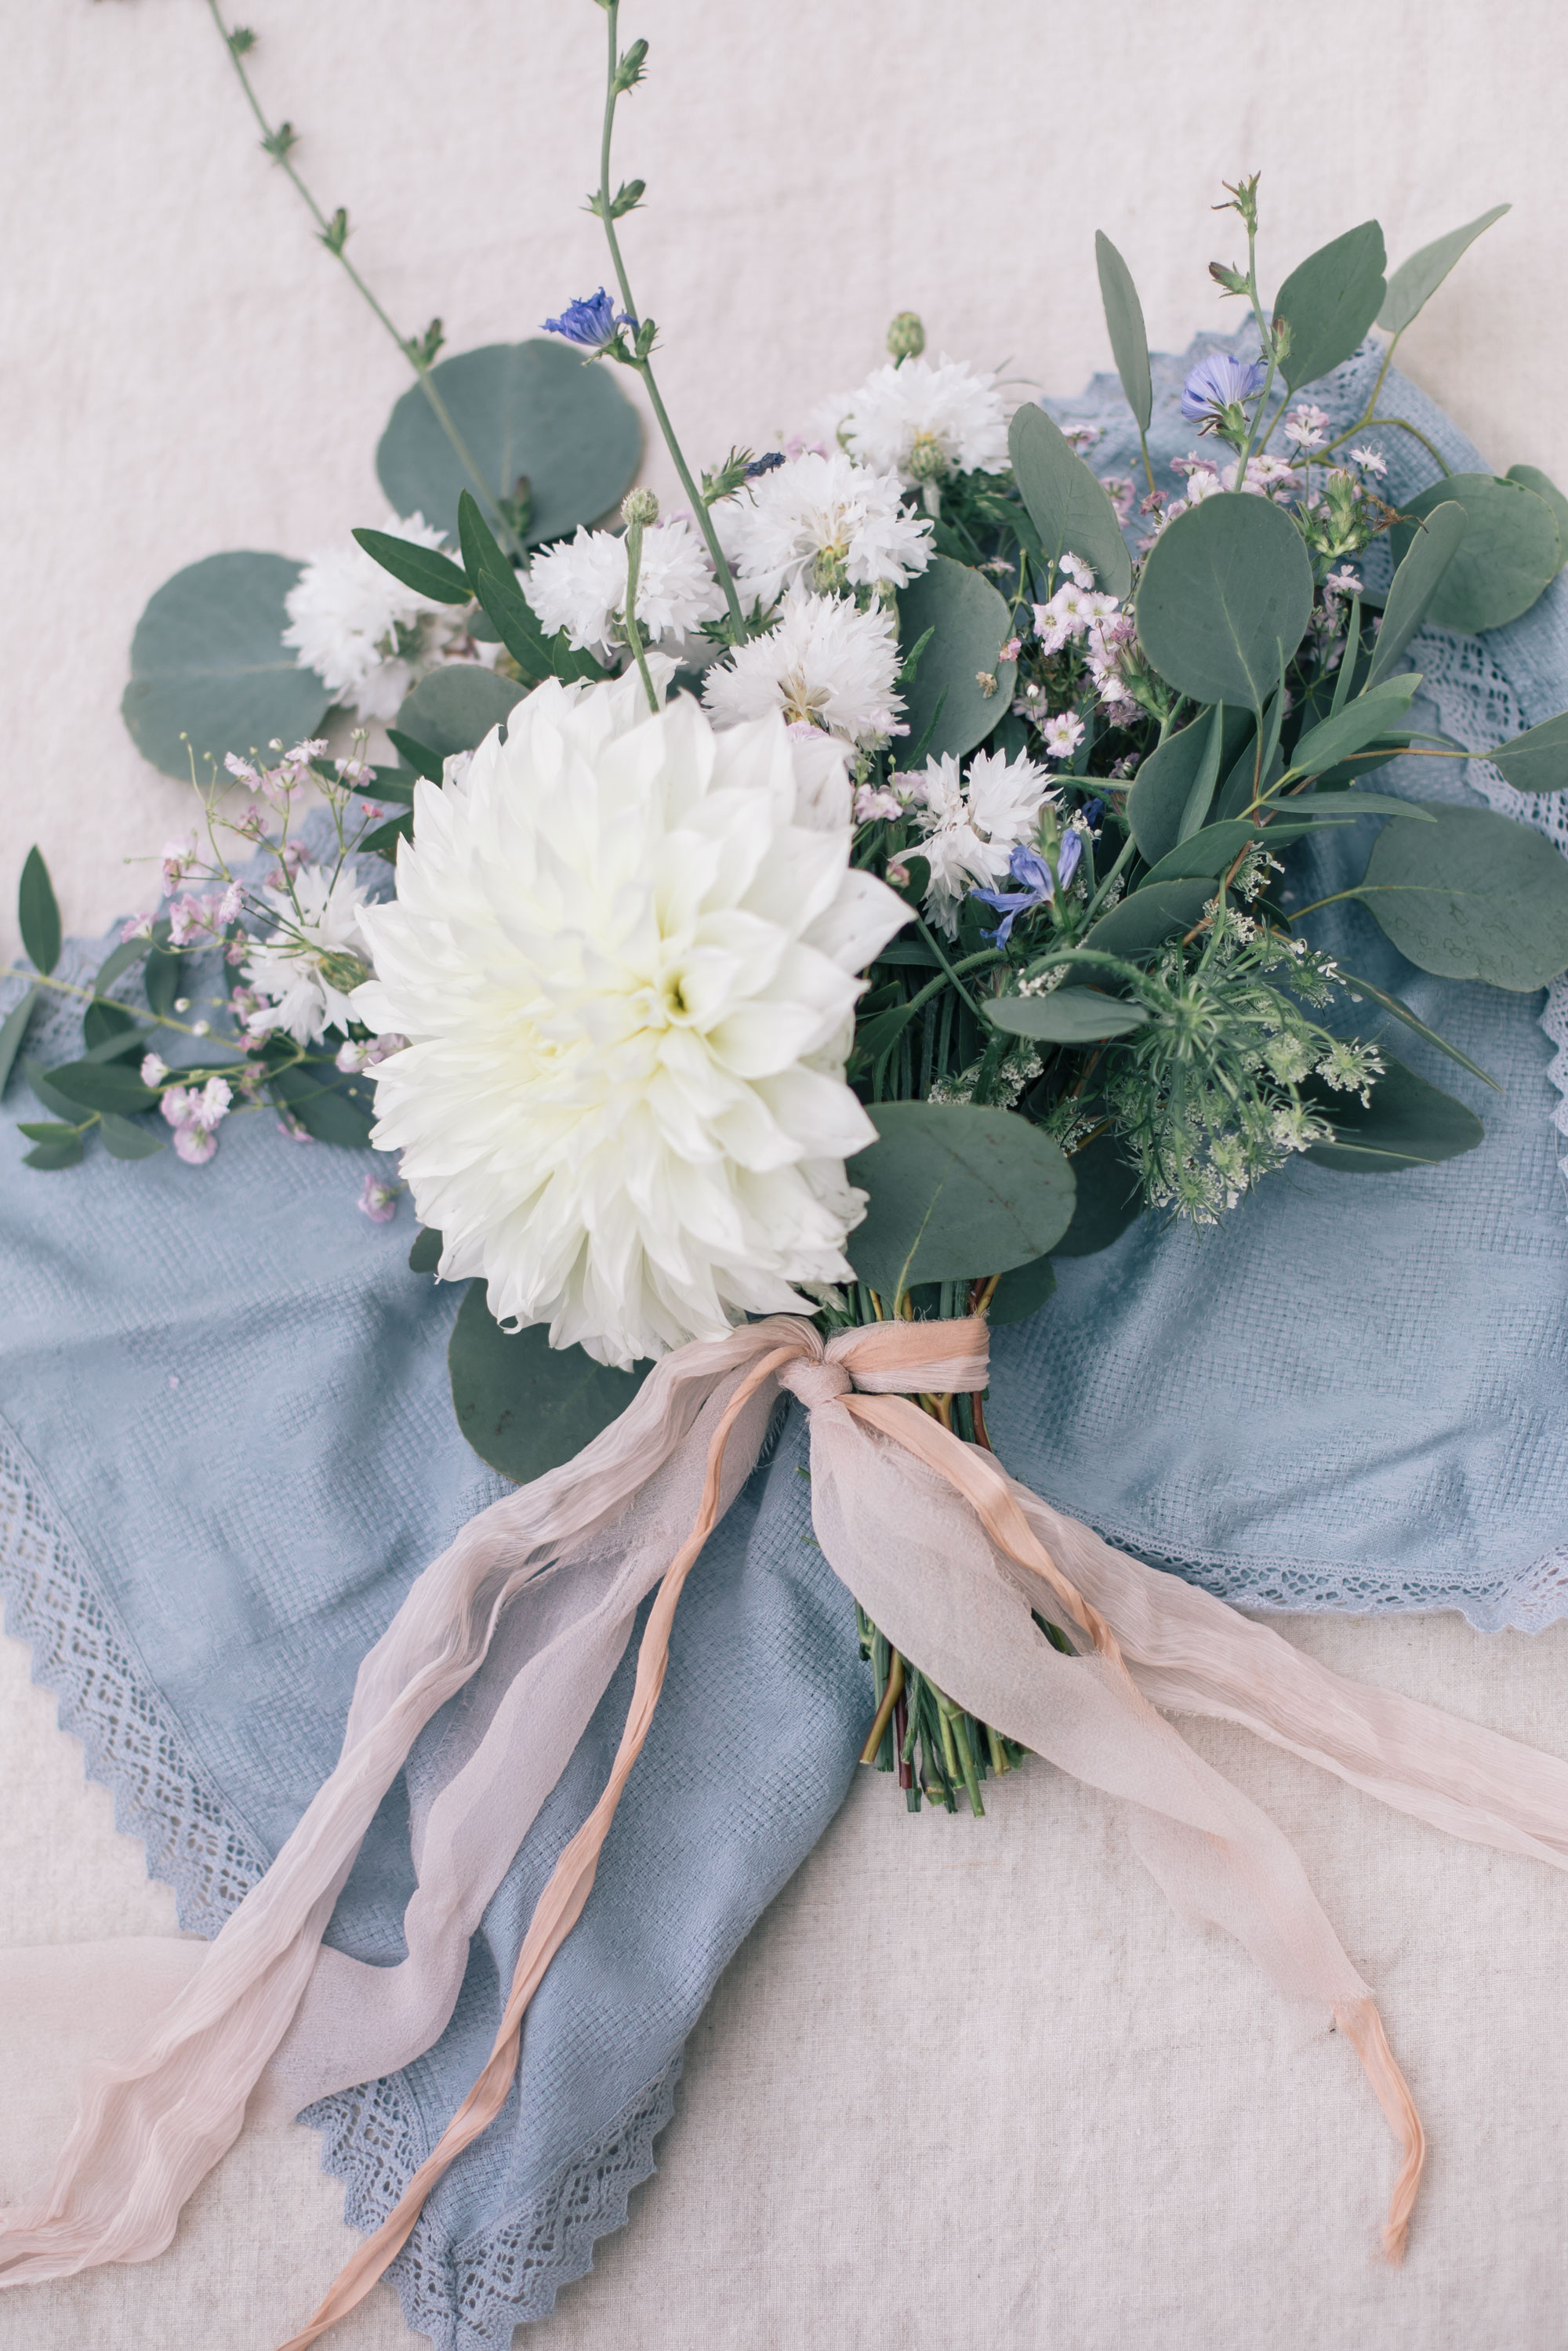
From the flower shops I also used:
-1 large statement Dahlia (you could also use multiple smaller ones so that they’d be scattered all throughout your bouquet, but I liked the 1 large one to add some unexpected impact)
-white Corn Flowers
-pink Baby’s Breath
I also decided to forage a few wildflowers from around my house as it costs nothing and there are so many pretty wildflowers out right now I wanted to utilize them. I used Blue Chicory and Queen Anne’s Lace for this arrangement but just be sure to keep them in water until you’re ready to use them as I found they died pretty quickly after they were cut and outside in the humidity.
Tip* When choosing a colour palette for a bouquet I’d suggest starting out with neutral colours as they will always look good together and sometimes a lot of colour can end up looking messy, especially if you’re not a professional florist. I used mostly whites and made sure to find different textures in flowers as opposed to colour. I added in some light pink baby’s breath and the blue chicory at the end for the tiniest pop of colour amongst all of the white.
 Step 3: Just like a floral arrangement, a hand tied flower bouquet starts with the greenery. I cut all of my greenery to the same length and laid it out on my work station. If some of the pieces of eucalyptus and Ruscus flowed to the left or right direction I placed them facing outward on their appropriate sides. This way, when I picked up the arrangement, it flowed out naturally.
 Step 4: I then added my Dahlia into the greenery making sure that it was front a center.
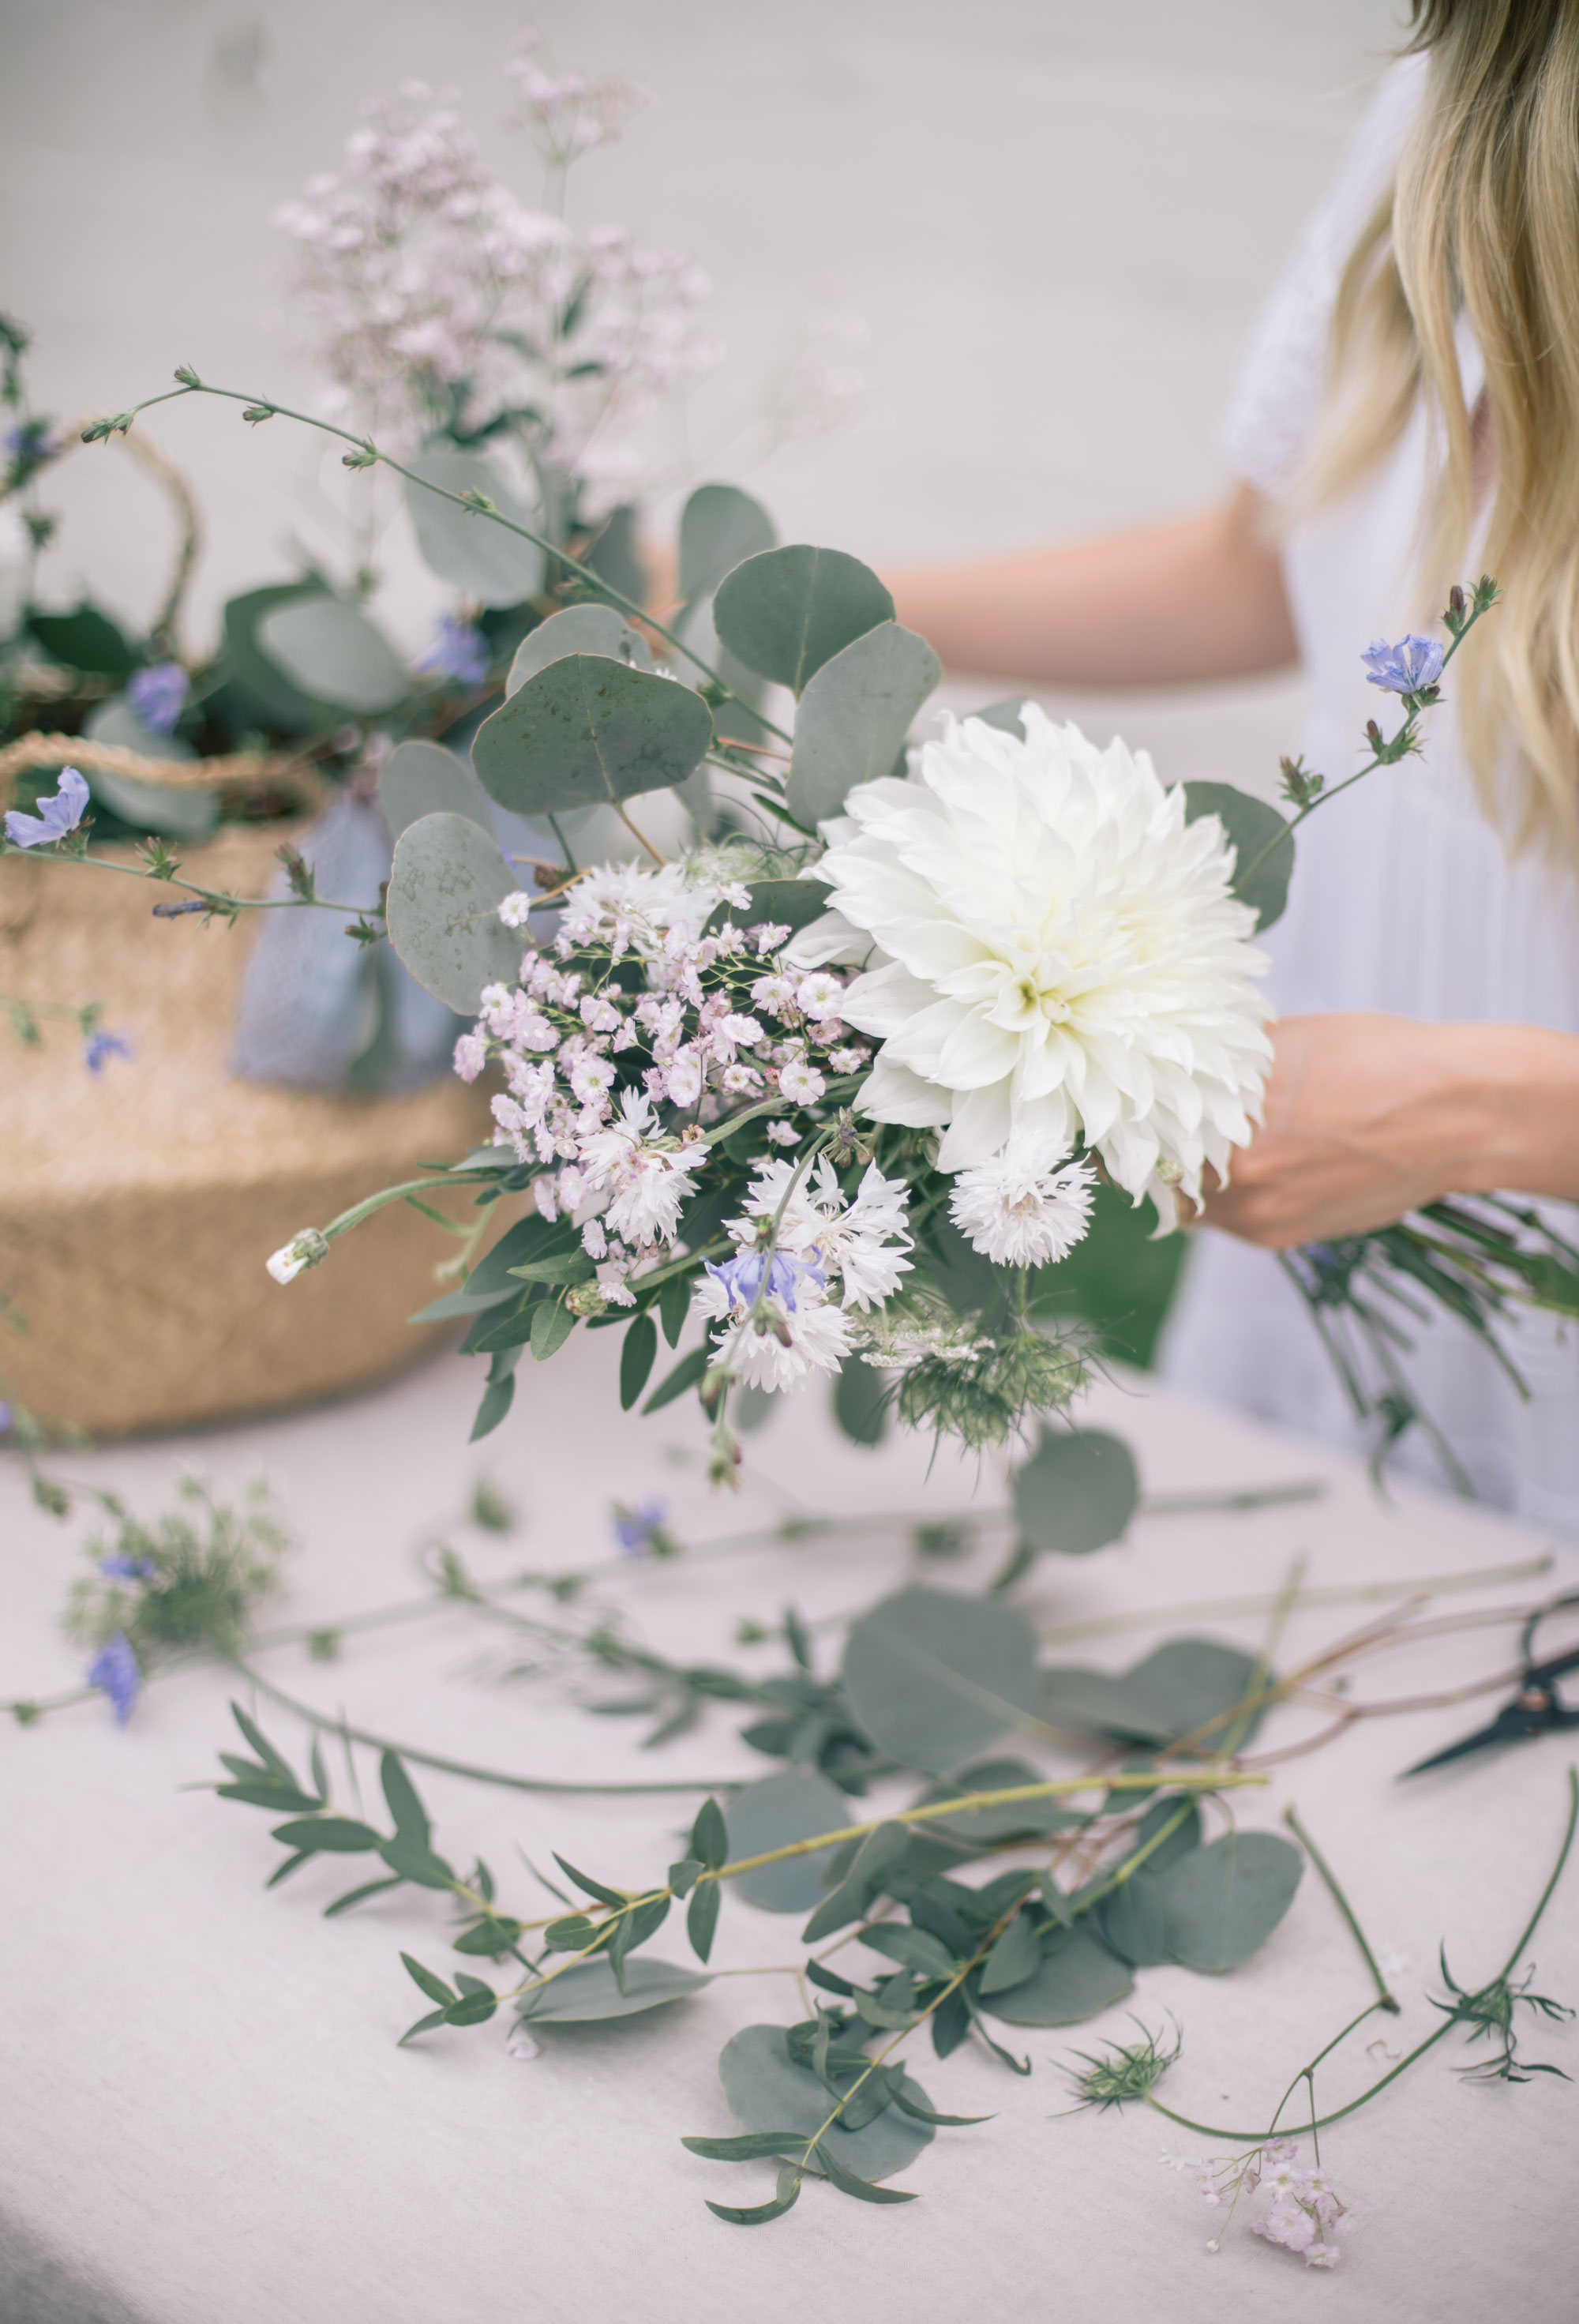 Step 5: After the dahlia, I held my bouquet and simply began adding each flower into the bouquet either sliding them directly into the bouquet or adding to the sides. I loved how the cornflowers stuck out longer so I dispersed a few of them throughout the arrangement to give that very organic, garden inspired feel.
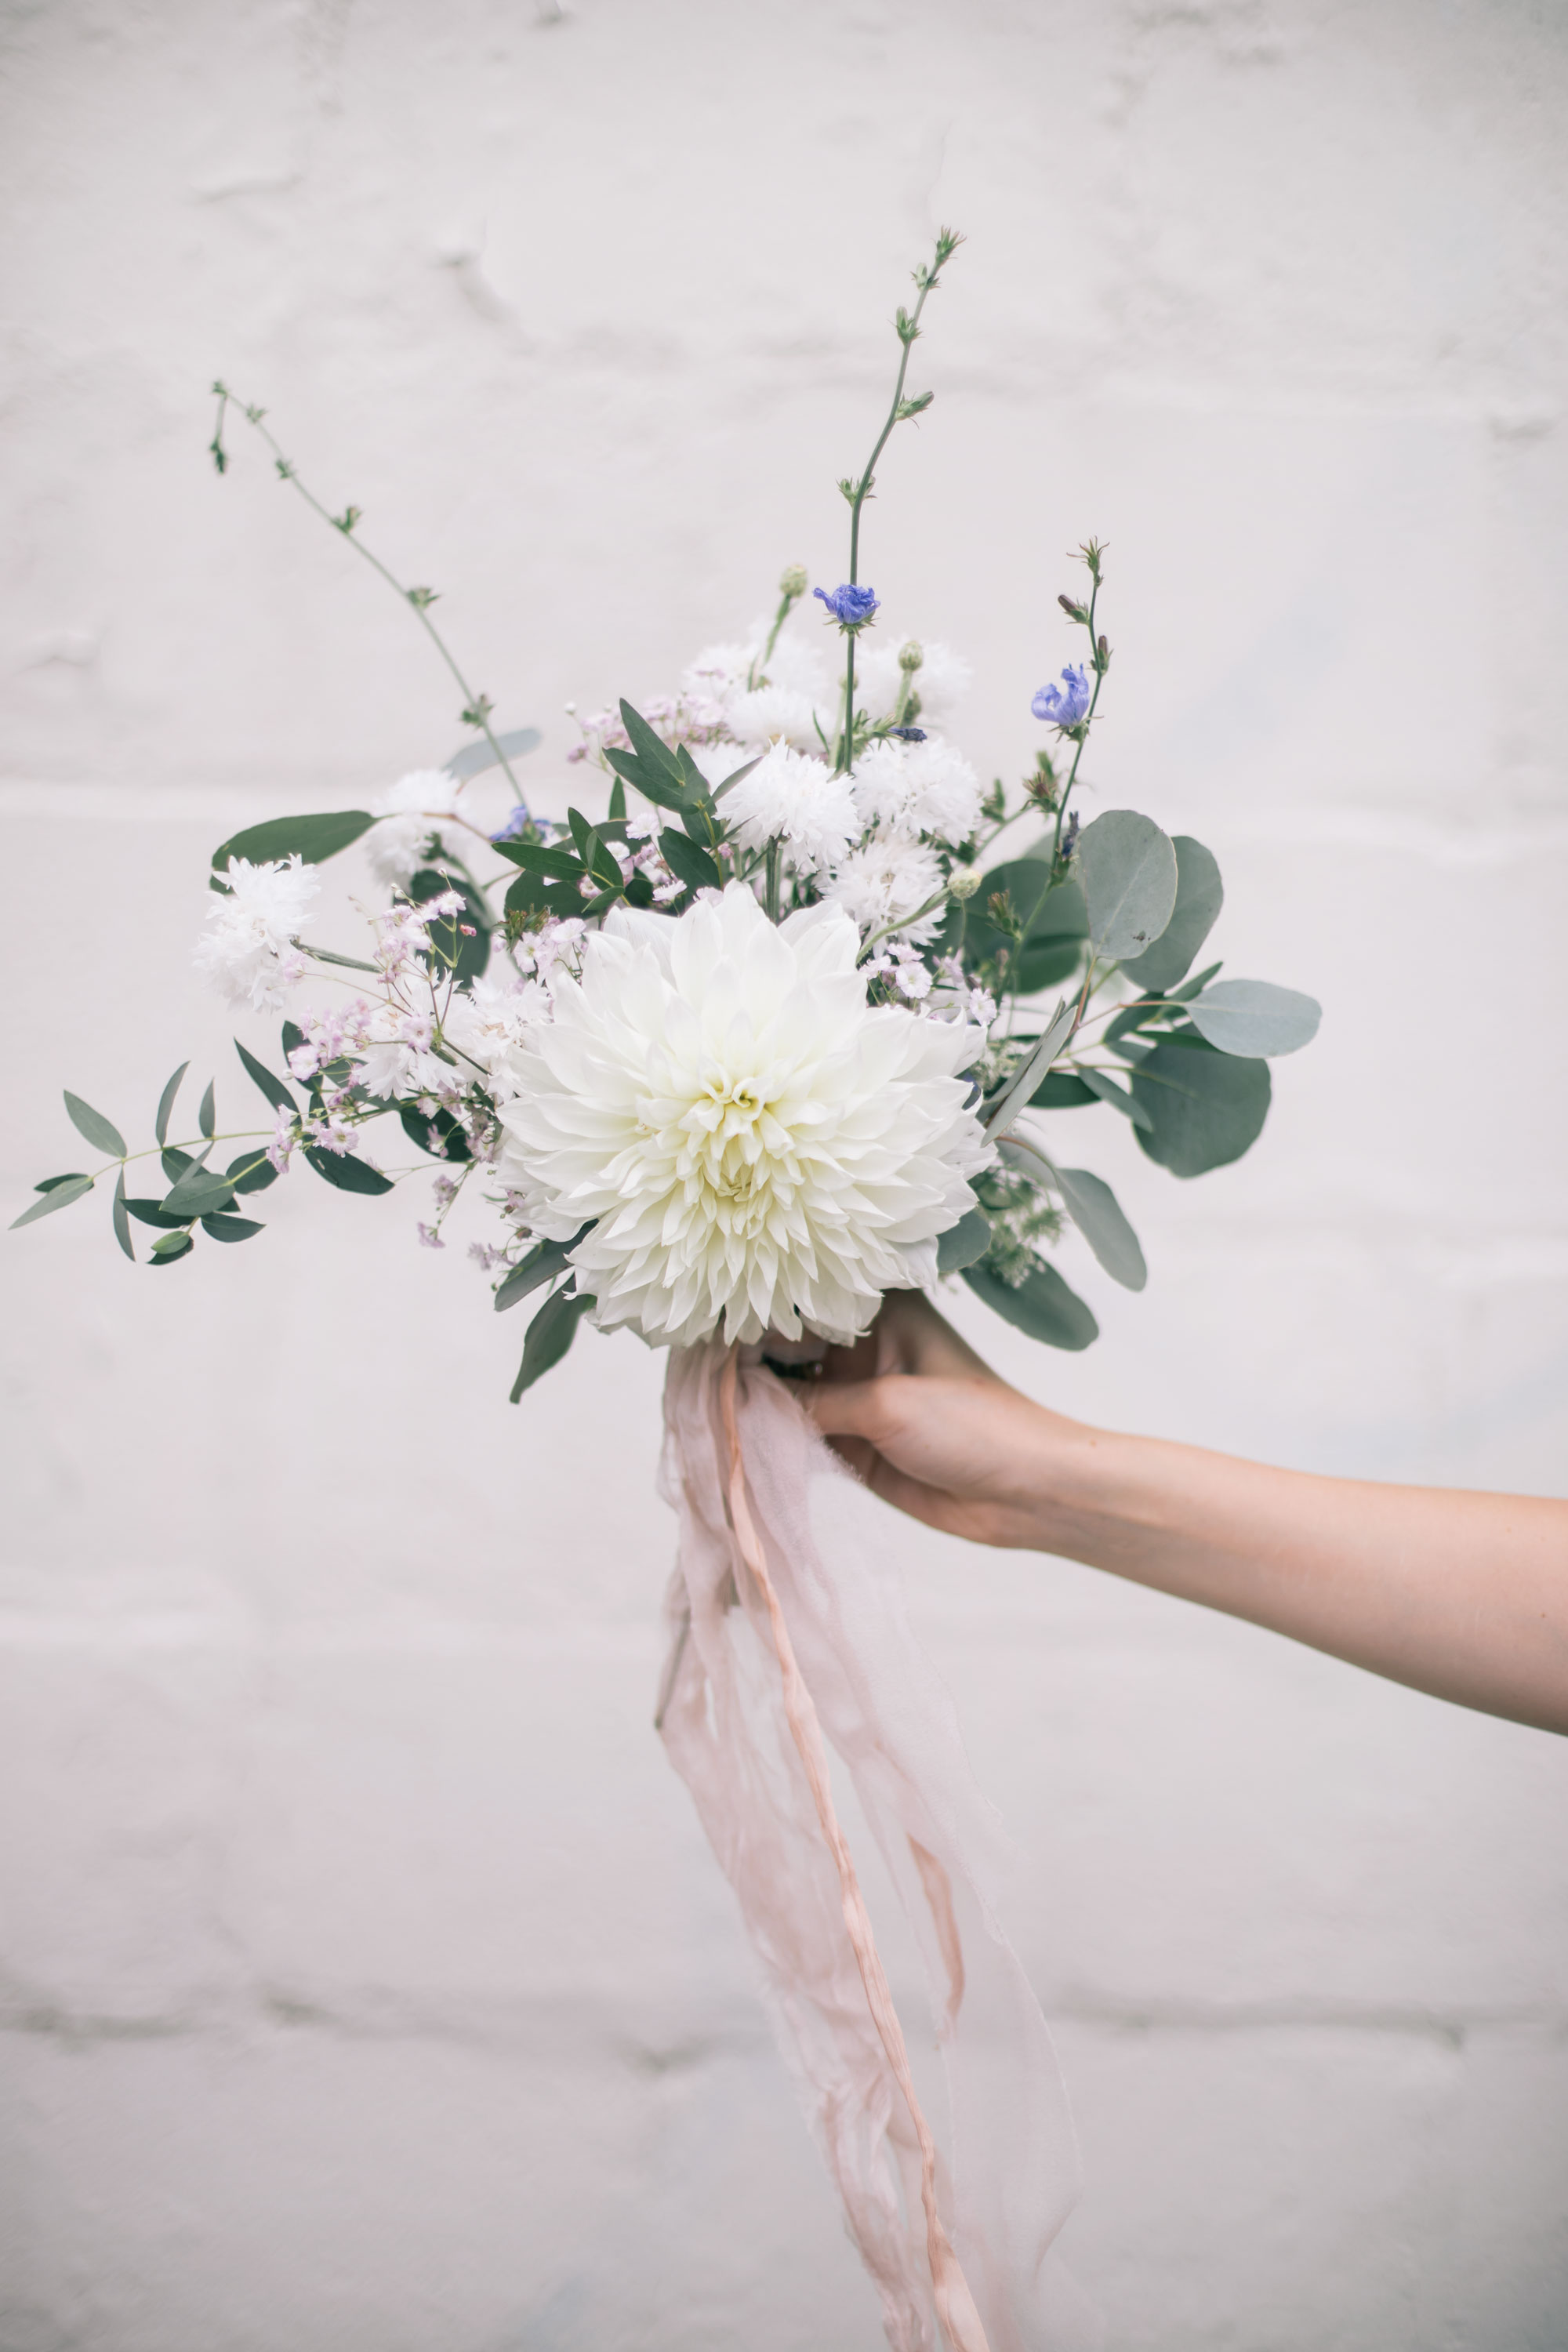
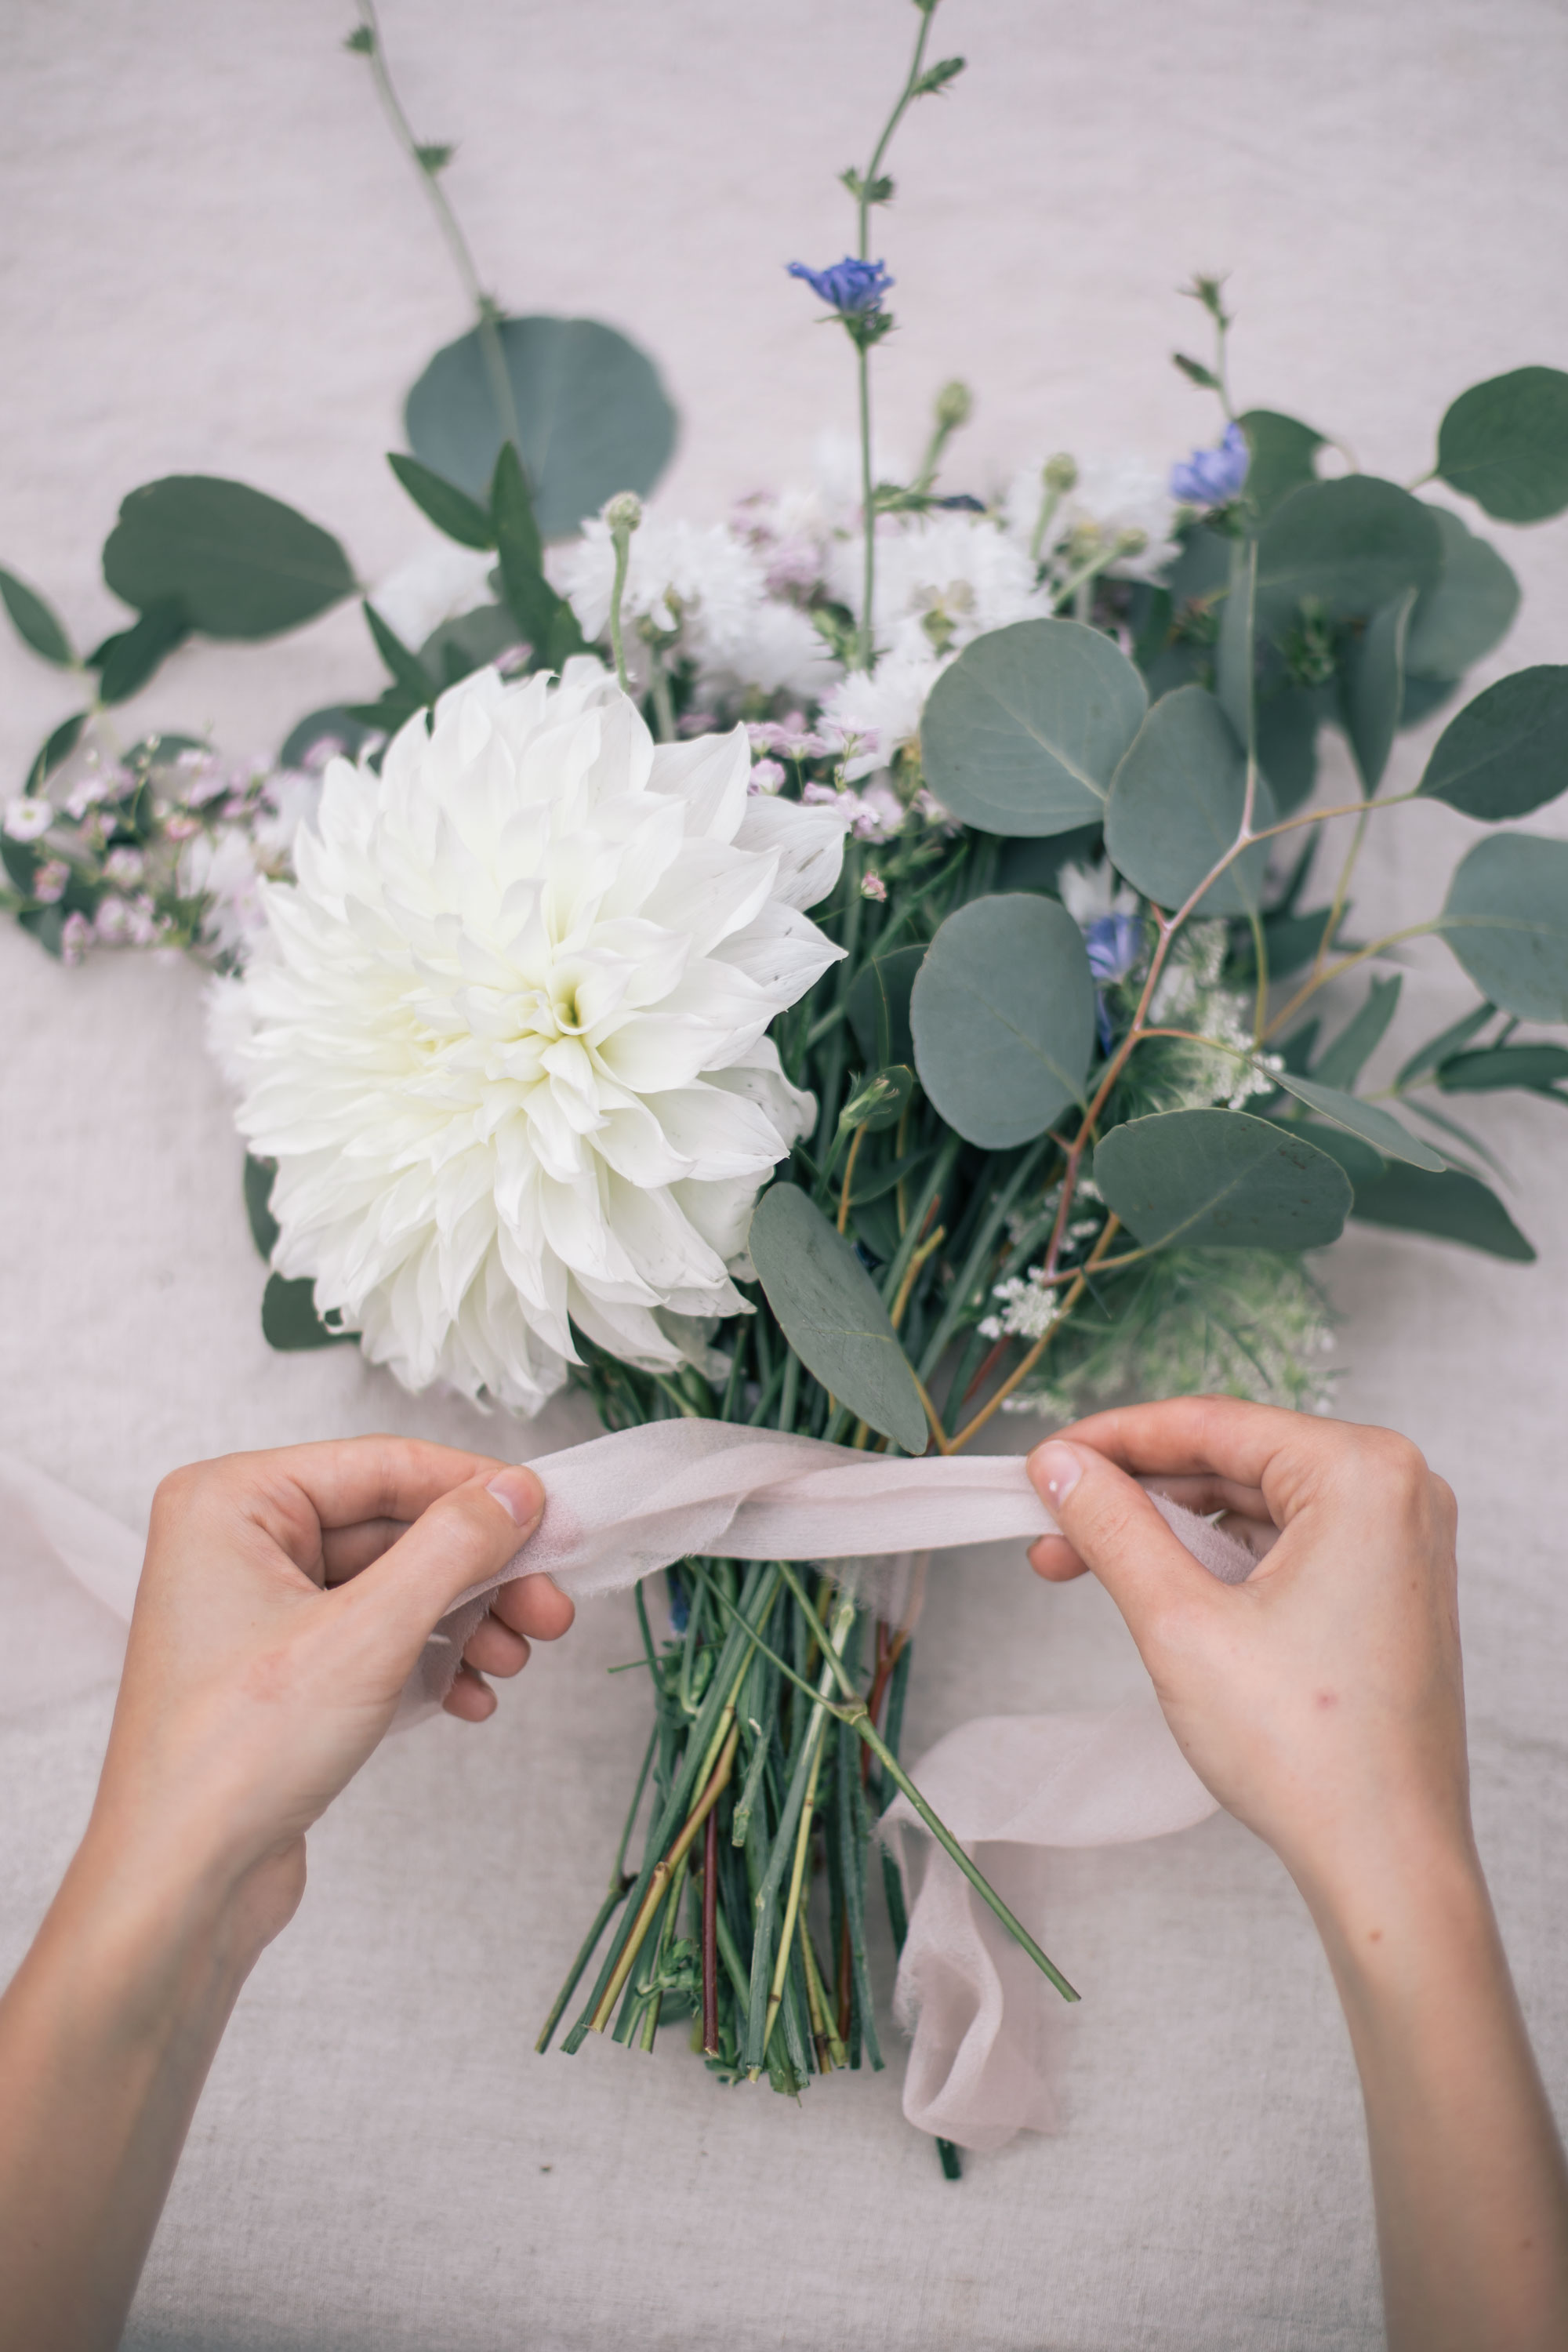 Step 6: Before tying with ribbon, wrap the top of your bouquet in floral wire or floral tape to secure it. I finished my bouquet by tying a different few pieces of silk ribbon to add extra texture and flow. Leave the ribbon long and flowing for a very on-trend garden inspired bouquet.
 PS: 3 DIY Floral Arrangements for Under $20