The evening before my Marilyn Denis show segment I made myself an appointment for a manicure and brow wax at The Ten Spot in Leslieville, because I refused to appear on national television full of paint stained DIY hands and brows that hadn’t been shaped since I don’t know when…whoops. Although I was half asleep while getting my nails done because of the intense weekend I had had, creating an entire DIY bedroom, I fell completely in love with the service I received and knew that I would definitely be coming back asap. Funny enough Jamie suggested to me that because I started this new “Toronto Tips” segment on my blog (past posts here & here) that I should incorporate The Ten Spot into my march post. I totally agreed with him and pitched the concept to the lovely owner, Katherine of having an Esthetician take me through the steps of how to achieve the perfect manicure at home. I received some amazing tips on my tips from Ashley who gives one hell of an manicure, and now feel confident that I can recreate a salon-worthy mani at home. Although I am quite positive that going to get a relaxing manicure is always the best option.

1. Ashley started off my manicure using a sugar scrub that both exfoliated and cleansed my hands which removed any dead skin cells and left my hands feeling super soft. The scrub that she used was The Ten Spot Get Nailed brand in Fresh N’ Fleurty.
2. For the shape of my nails I went short and squared off, mostly because I have a nail-biting problem which I hate to admit, but also because I like the look of shorter nails. Ashley simply filed my nails, evening them out and shaping them until she achieved my desired nail shape. While filing my nails Ashley gently buffed the top of my nail removing the small white lines that appear on nails from previous polish applications. Nail polish also does not adhere well to shiny nails, so buffing and evening out the surface of the nail will allow for a clean, adherent polish application.
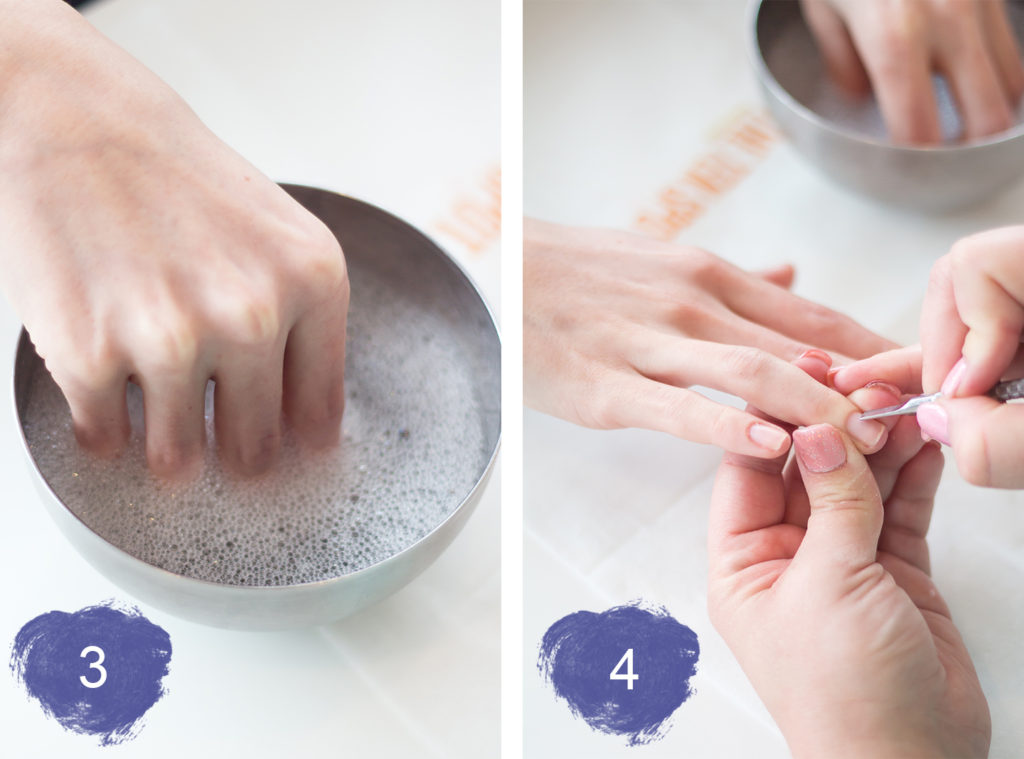
3. After each nail was shaped and buffed she soaked each one of my finger tips in warm soapy water to soften my cuticles. Although this doesn’t serve any particular purpose, The Ten Spot Leslieville adds a few marbles into the bottom of the soapy bowls which I found served as almost a calming device.
4. After my cuticles were nice and soft Ashley used a cuticle pusher to do exactly that. She pushed back the cuticles and removed the layer of dead skin underneath the cuticle called the eponychium, the actual cuticle is not removed. 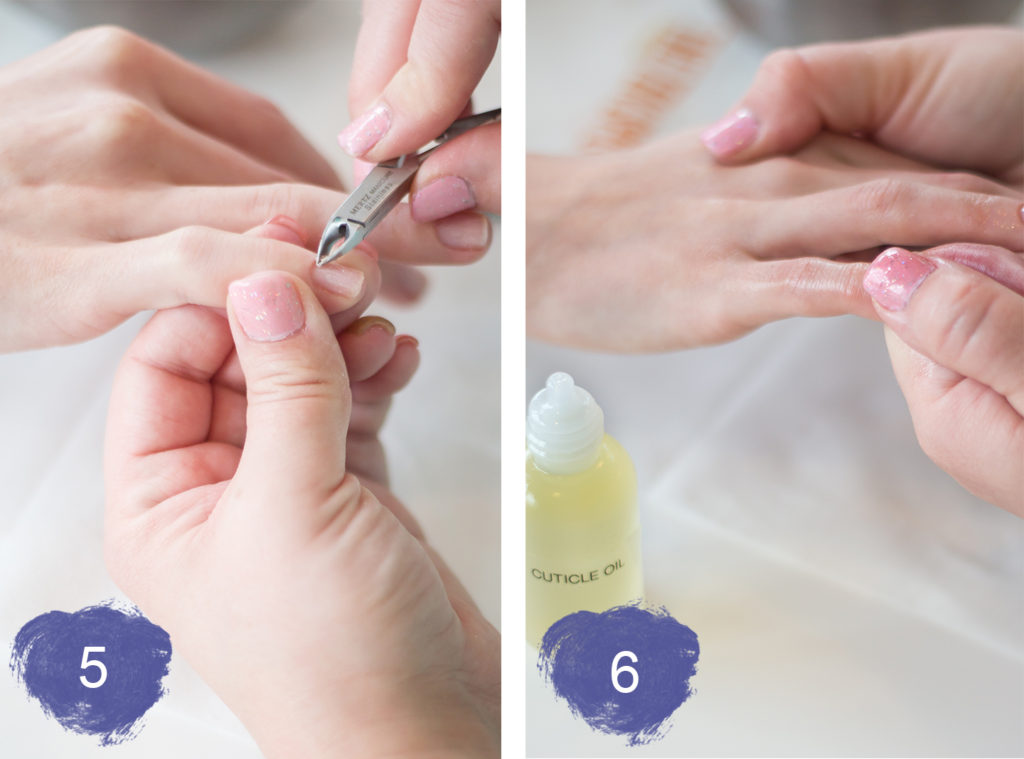
5. Ashley got rid of the rest of the dead skin around my nails with a cuticle nipper making my nails look perfect for the polish. She also went around my nails one last time with a file just to make sure there was no left over dead or dry skin.
6. To give my nails a boost of hydration, Ashley rubbed a small amount of cuticle oil into each one of my nails.
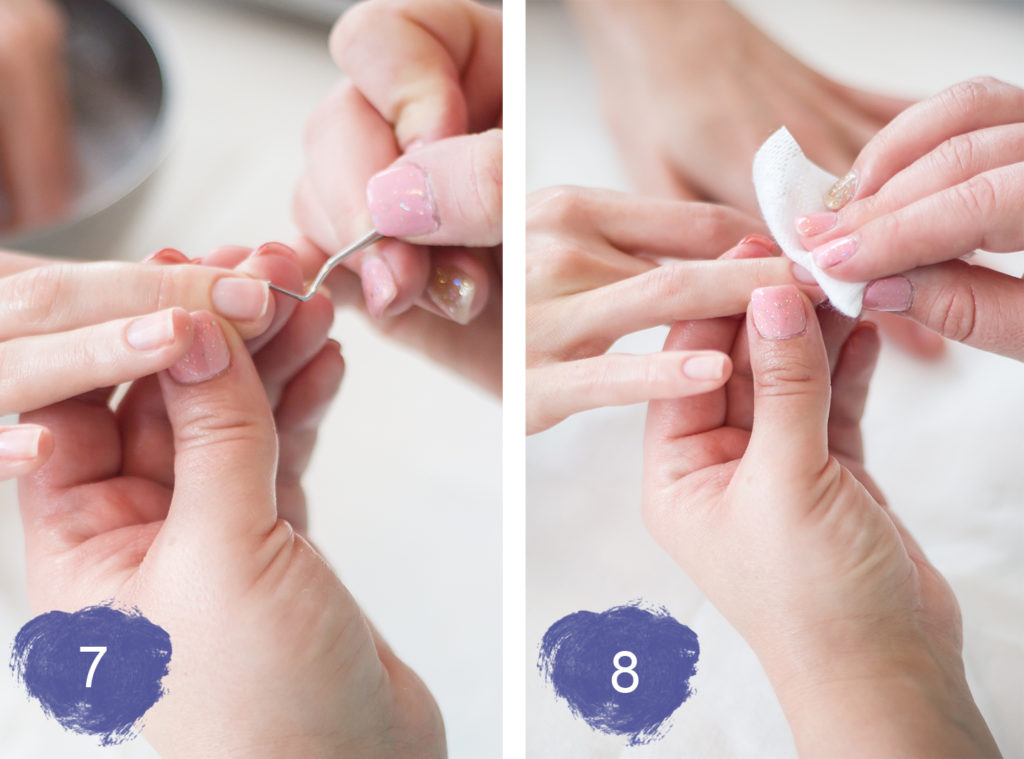
7. A step that I’d never thought of when doing my nails at home is making sure to clean underneath my nails even if there isn’t any visible dirt. There will always be a bit of residue from the filing and oil left underneath the nail beds so Ashley used a tool that looked almost like a metal tooth pick to remove any built up reside.
8. Any oil that is left on your nails can allow the polish to lift, so before applying my base coat Ashley used gauze with some acetone on it to clean each of my nails. Ashley also let me know that using gauze over cotton works better because cotton balls break down easier and can leave cotton pieces behind.
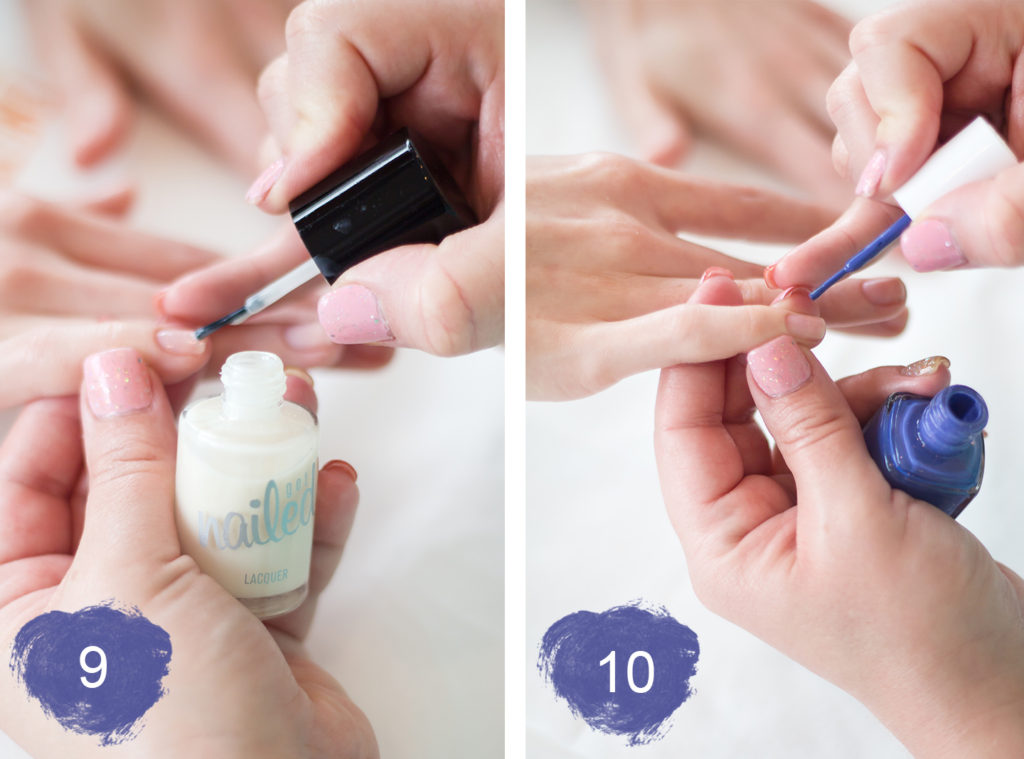
9. For the base coat and top coat The Ten Spot uses their own brand of Get Nailed polishes. What I liked most about this base coat was that it has a built-in ridge filler that fills in any small cracks or scratches that are on in your nails.
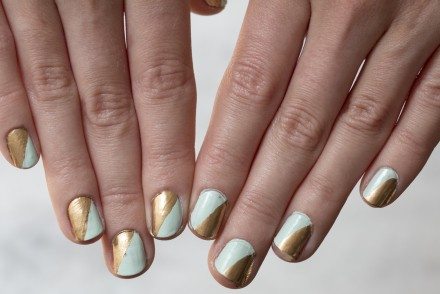
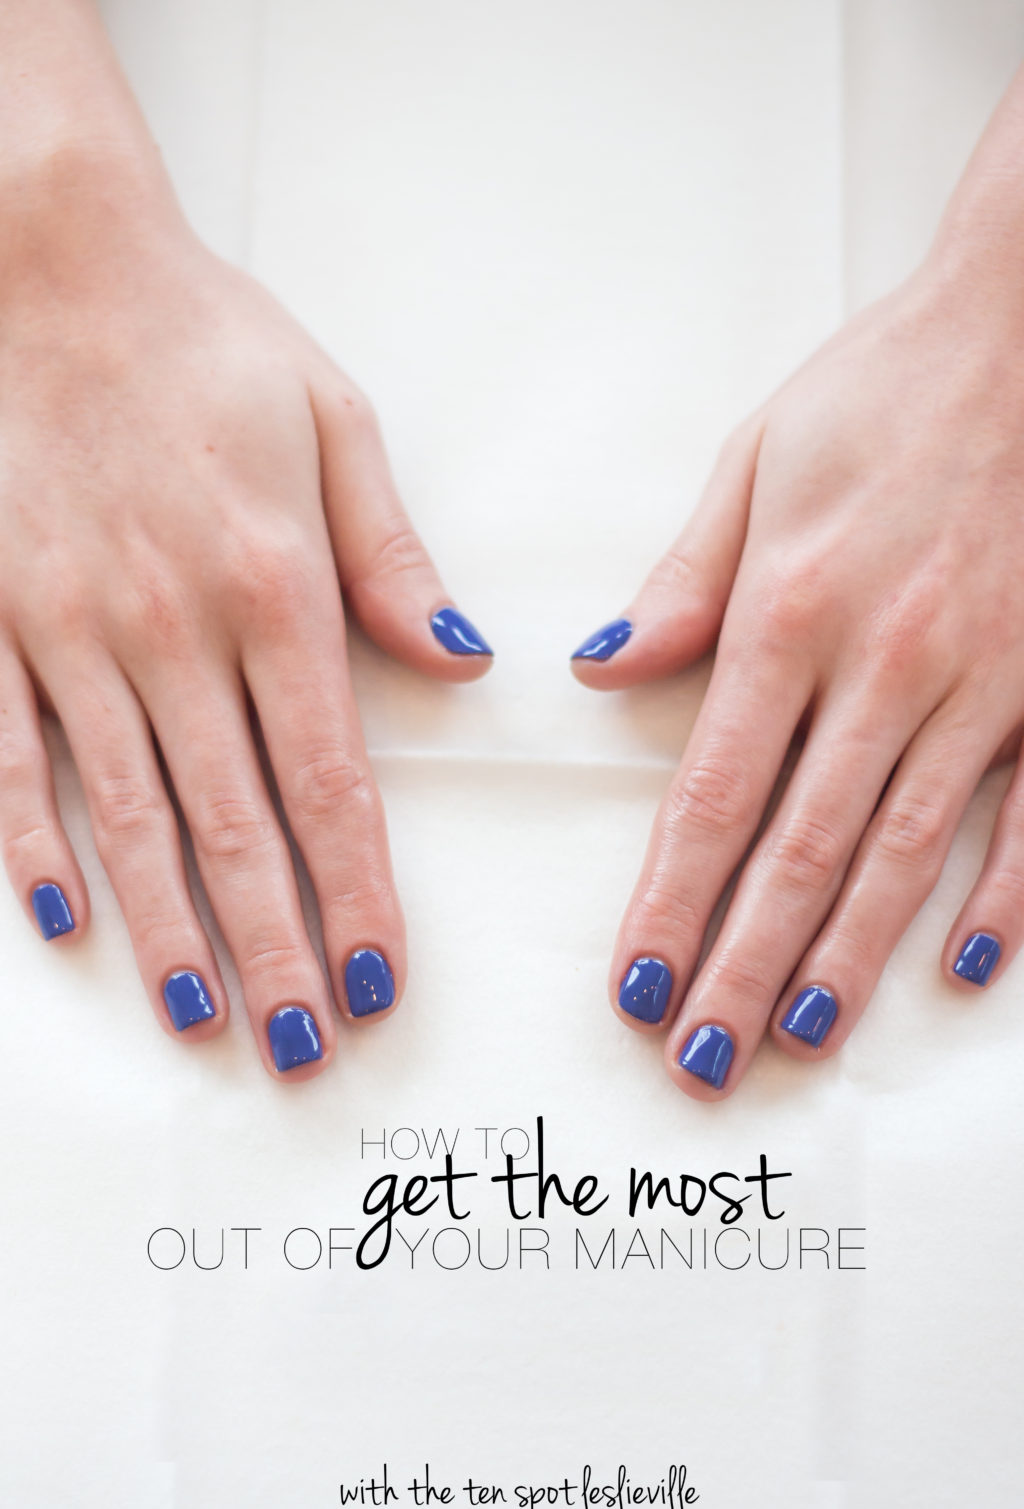
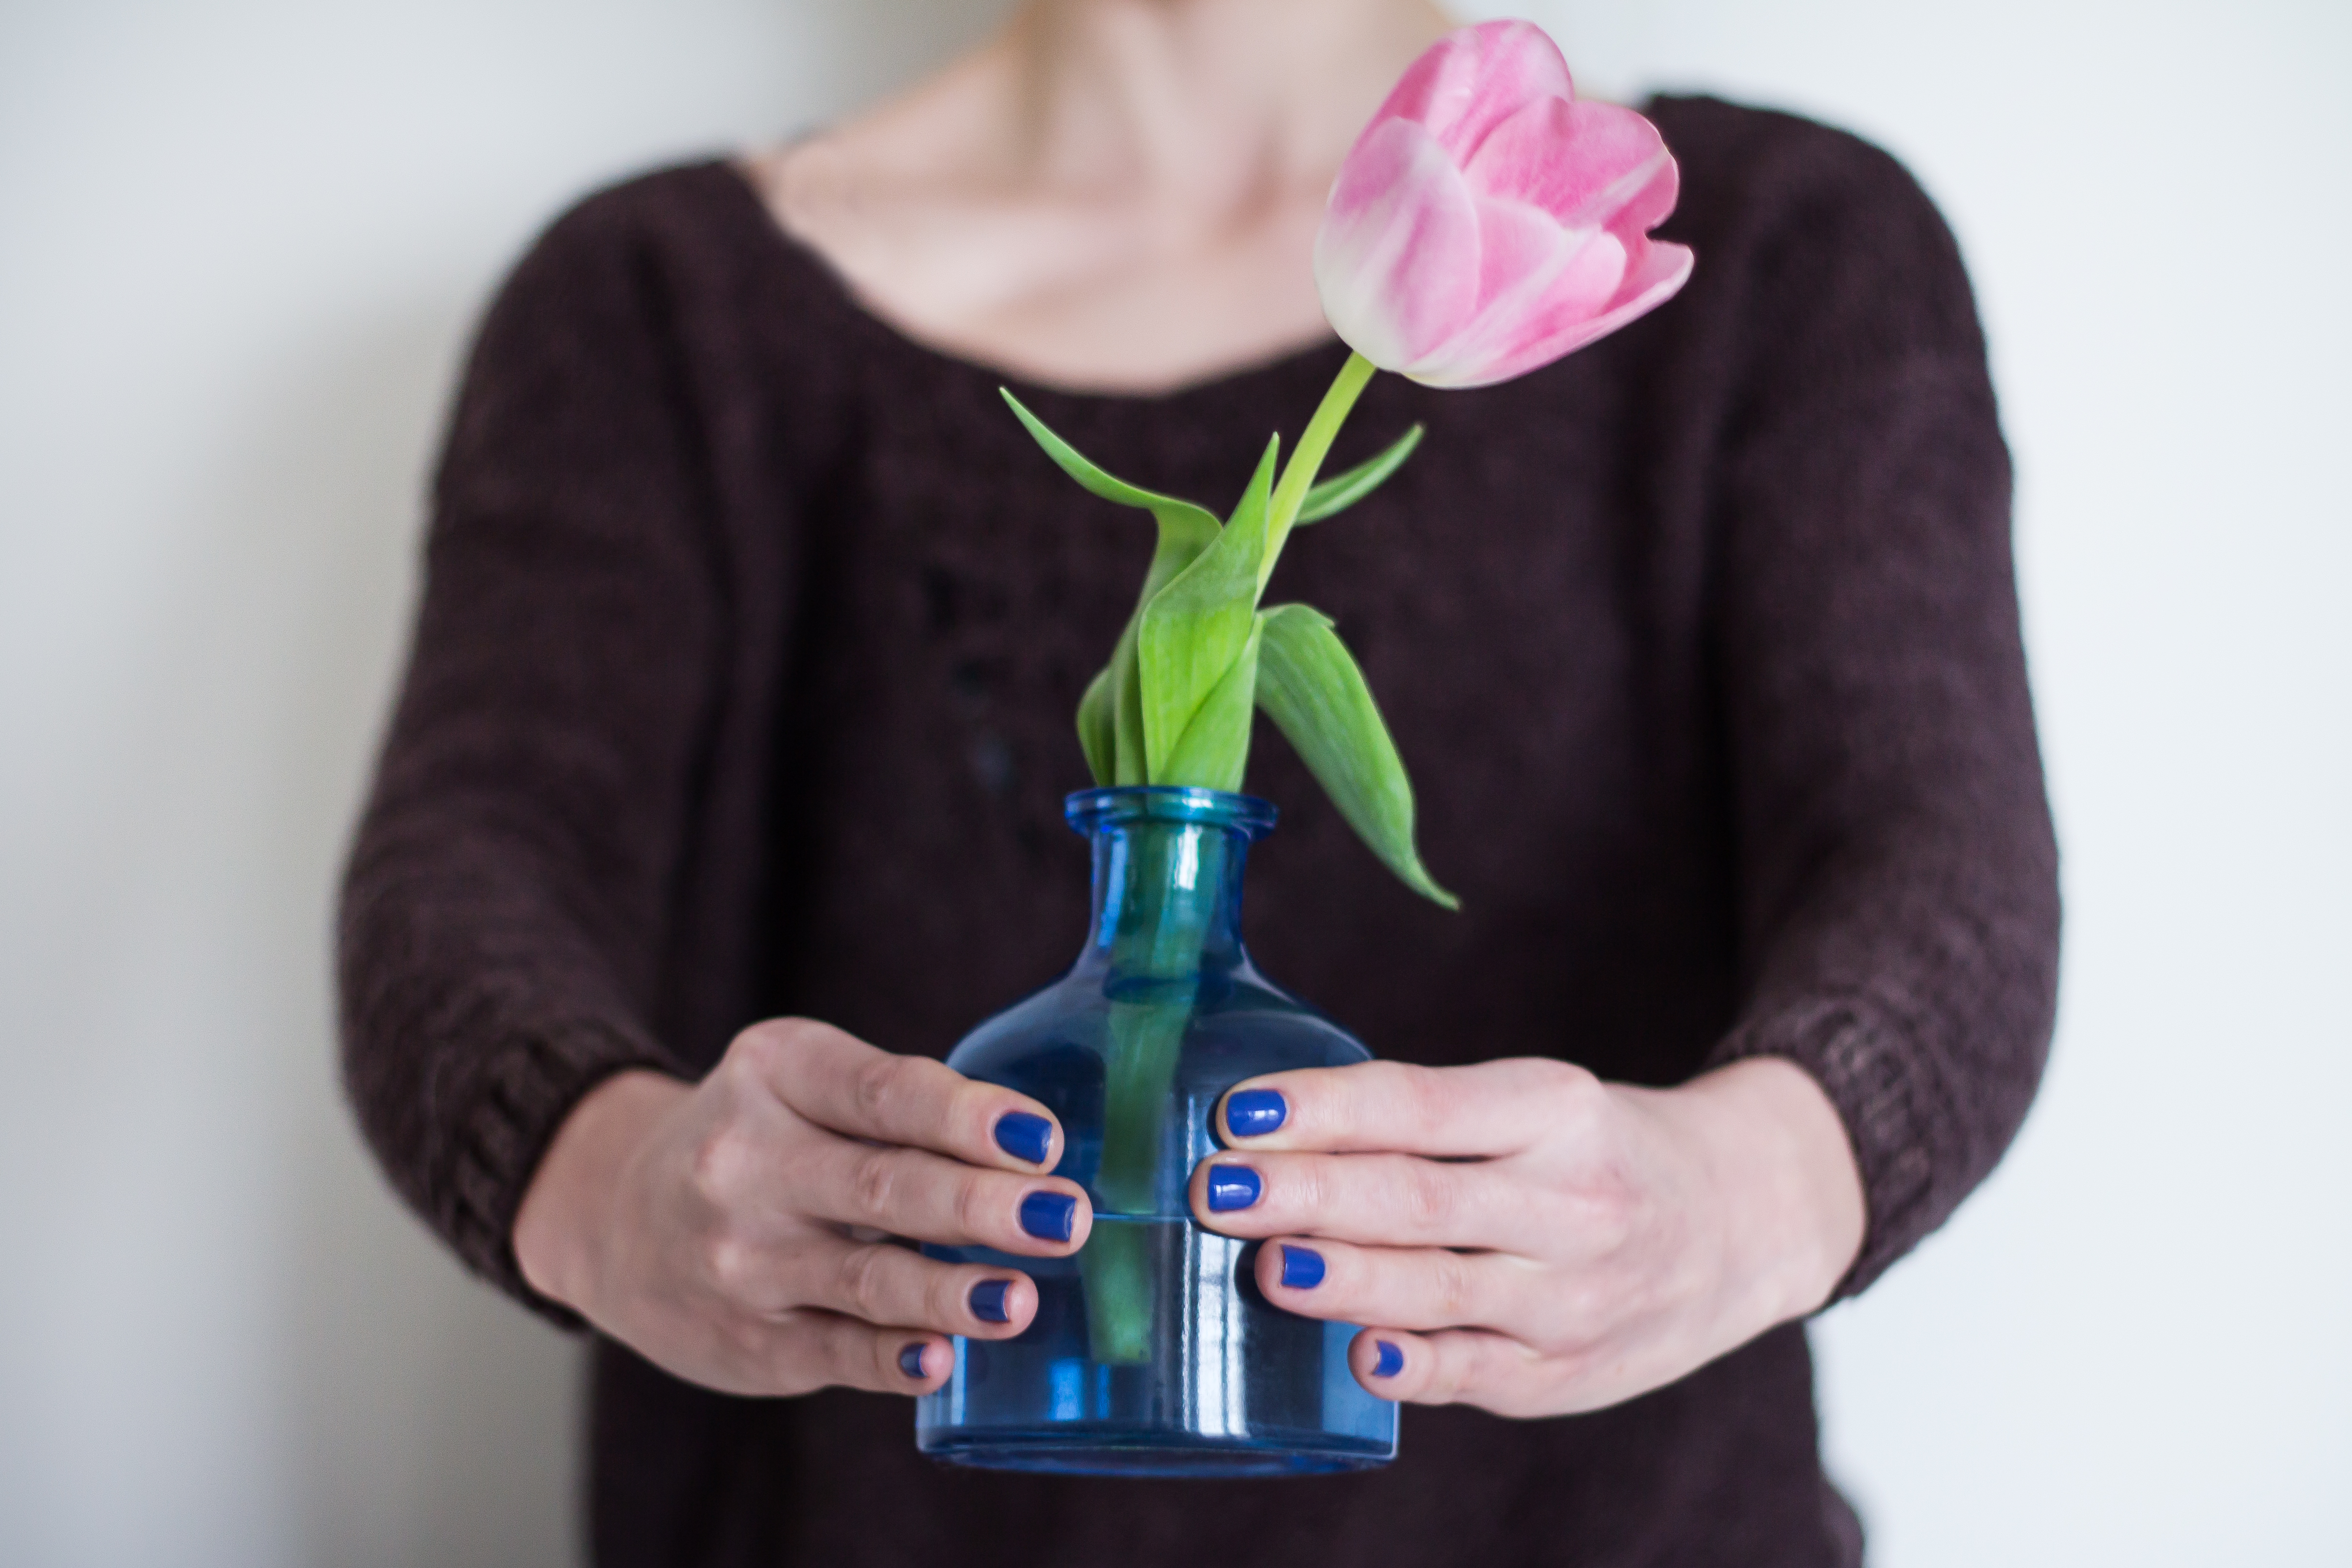
10. The colour I chose for my manicure was Essie’s Suite Retreat, I felt like it was the perfect blueish-purple shade for spring and reminded me of Easter. Ashley did two coats of this polish and told me that when painting nails a tip is to push down both sides of the skin with your opposite hand to expose the entire nail and paint as close to the end of each side as you can. Ashley also suggests applying the polish as close to the cuticle as possible without actually touching the cuticle which will make the polish last longer.
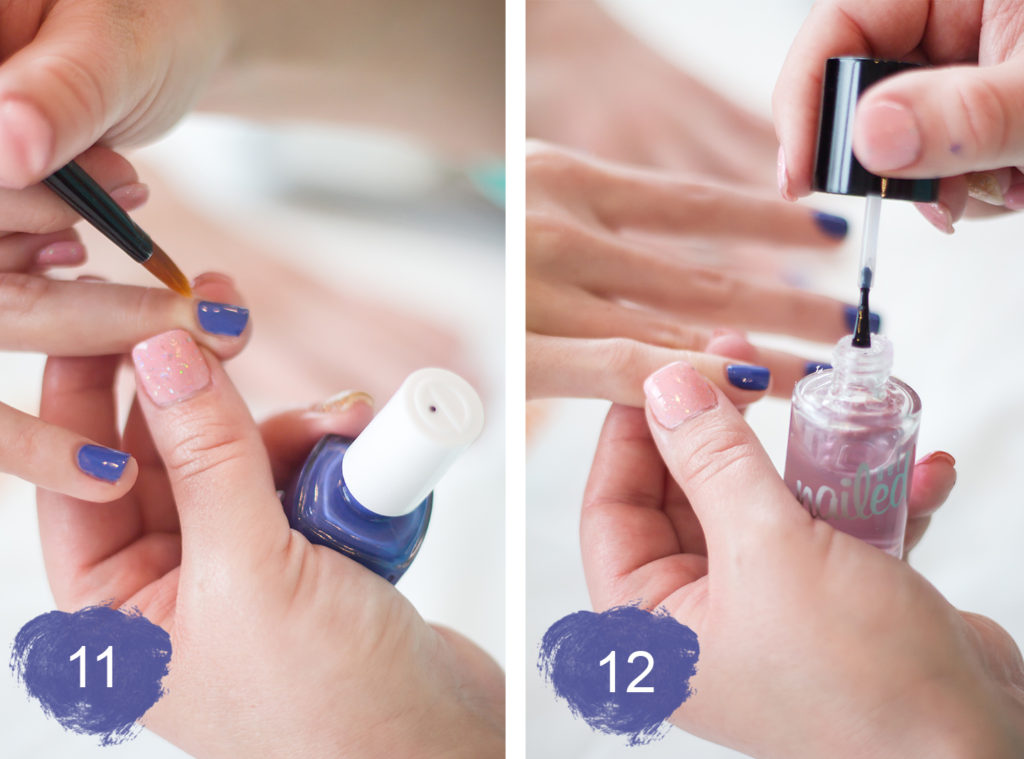
11. After the polish was complete, Ashley’s magic hands dipped a thin brush in a small amount of acetone and swiped along the bottom of my nail where the cuticle met the paint and made the lines of my manicure absolutely perfect.
12. For the final step Ashley used the Get Nailed top coat, making sure that the entire nail was covered by the polish. When going from the bottom of the nail to the top Ashley stopped at the top of the nail and did a very fast swiped from side to side motion at the very tip to seal the nail.
 *Although this manicure was complimentary, I have not been compensated for this post. Alll opinions on the manicure and product are my own. The Ten Spot Leslieville is amazing and so are all of the lovely ladies who work there!