Last Saturday I had the pleasure of attending one of Shoppers Drug Mart’s #LipsAndScents Beauty Boutique events where I was treated to a crash course in how to create an ombré lip and find my signature scent. I was also treated to a flower wall, Italian soda, and macarons from Nadegé but I’m trying not to remind myself of how many of those I ate, haha! The loveliest makeup artist Laura, who is a regular makeup artist at the Eaton Centre location, was such a delight and eagerly gave me a step by step tutorial on how to create this gradient inspired lip using products available at the Shoppers Drug Mart Beauty Boutique. If you’re at the Shopper’s Drug Mart Eaton Centre location and need some beauty tips/advice I highly recommend you asking for her! When we were deciding on what sort of lip to do, Laura and I thought it would be a good idea to compliment the pink lace pants that I was wearing (see yesterday’s post) with a moodier lip. I absolutely love a dark, vampy lip so I was all for the idea and couldn’t wait to see the end result. When Laura was finished and I got to see my ombré lips I was OBSESSED. I have always been game to play around with lip looks since I’m not too adventurous with other aspects of my make-up, and I just loved the contrast between my natural face and statement lip. I knew that I had to try this lip trend at home for myself and share with you, so without further ado here’s how I created an ombré lip at home with the help of Shopper’s Drug Mart Beauty Boutique and the #SDMBeautyGala.
What I used:
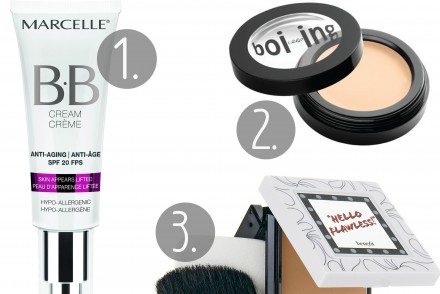
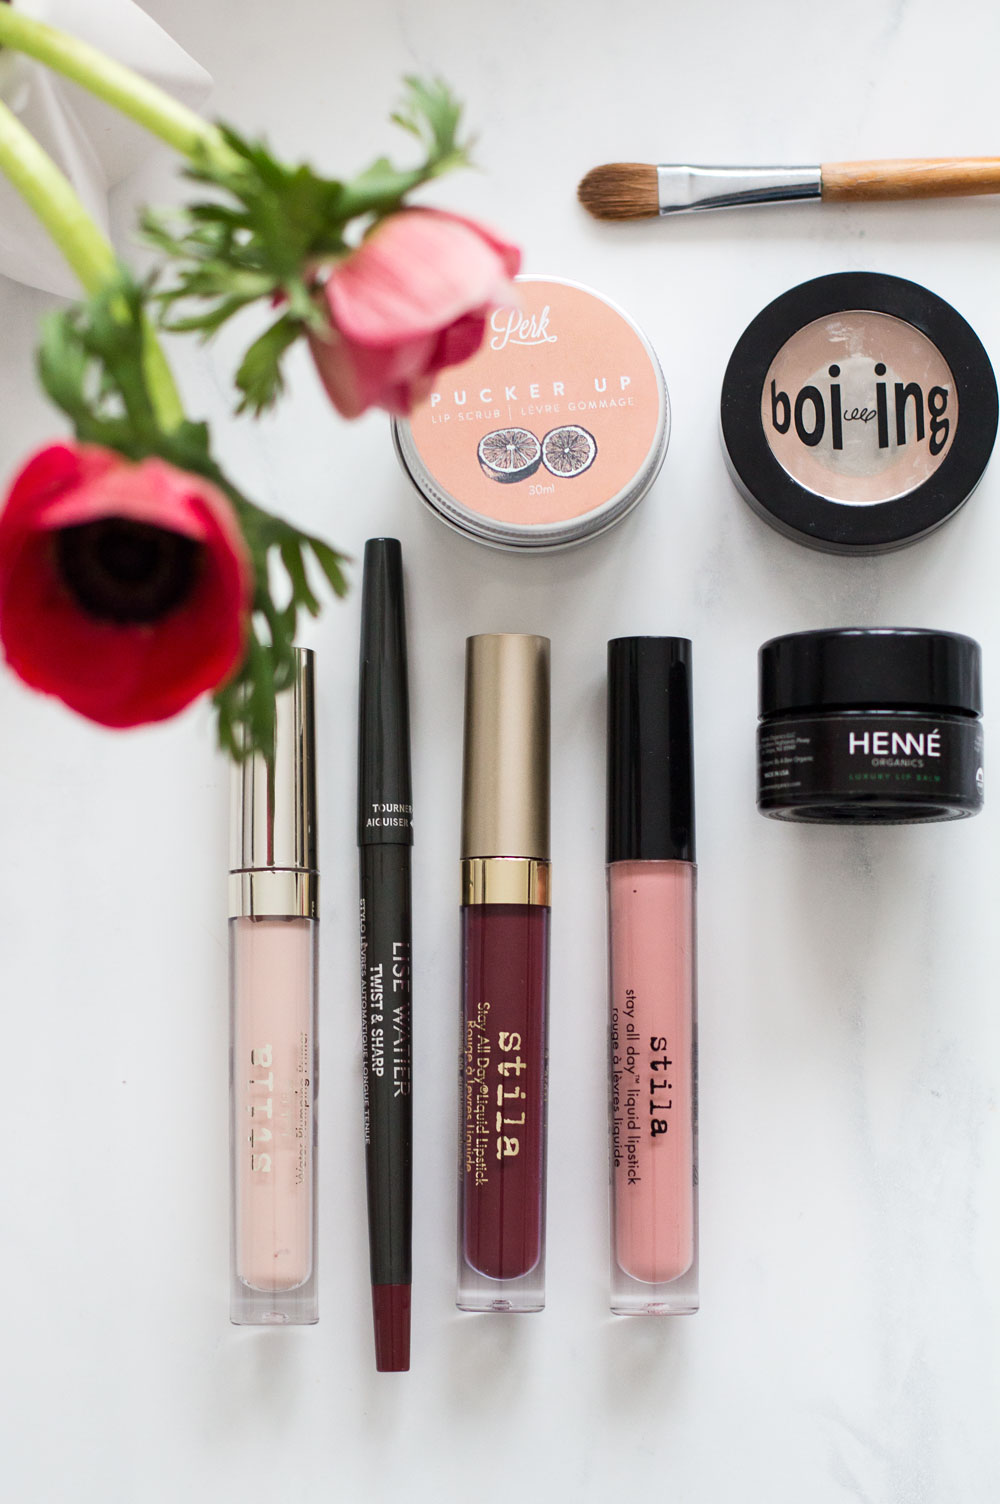
1. Perk Pucker Up Lip Scrub
2. Henné Organics Luxury Lip Balm
3. Stila Lush Lips Water Plumping Primer
4. Lise Waiter Twist and Sharp Lip Liner in Vino
5. Stila All Day Liquid Lipstick in Ricco
6. Stila All Day Liquid Lipstick in Bellissima
7. Optional: rose hued eye shadow (I used “Dust” from the Naked 3 Palette)
8. Concealer and a concealer brush (I used Benefit Bo-ing)
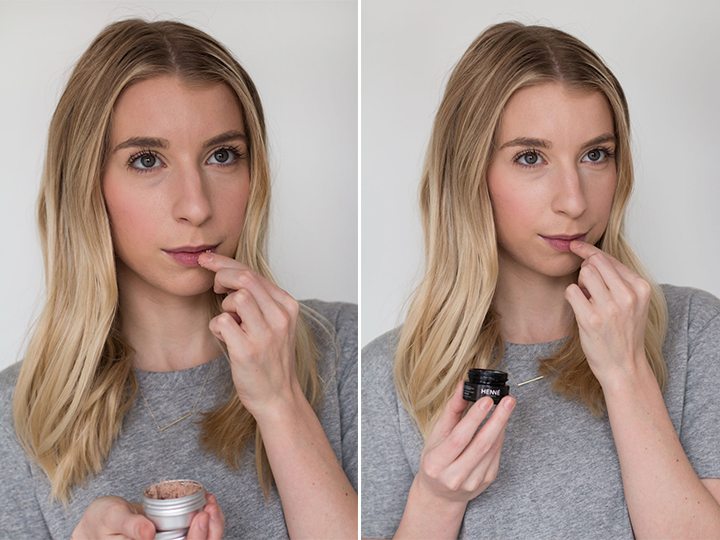
Step 1: I always prep my lips with an exfoliant before applying any type of product to them, especially in the winter. Because I’m not a huge fan of accidentally ingesting my lip scrub, this all natural option from Perk is my choice. I rub a small amount in a circular motion for about a minute and then rinse it off. It leaves my lips prepped and ready for moisture.
Step 2: I apply a small amount of Henné luxury lip balm to my lips and allow the moisturizer to sink in while I finish up the rest of my makeup. When my make up is done I rub off the balm and my lips are ombré ready!
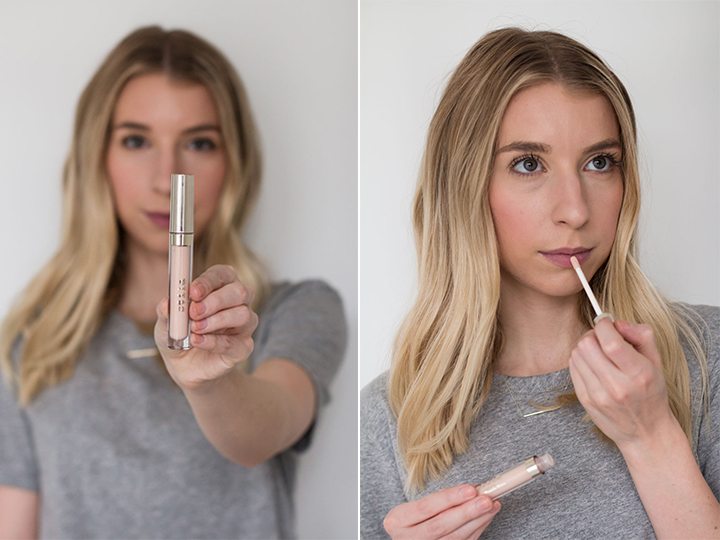
Step 3: I’d never thought about using a lip primer until Laura showed me just how useful and effective they can actually be. Not only did my lips feel protected and plumped from this Stila primer but my lipstick lasted until I washed my makeup off around 9pm that night…that’s a solid 9 hours of not reapplying ladies! I only use a small amount of this and lightly pat it on my lips. After it dries I’m ready to start creating my ombré lip.
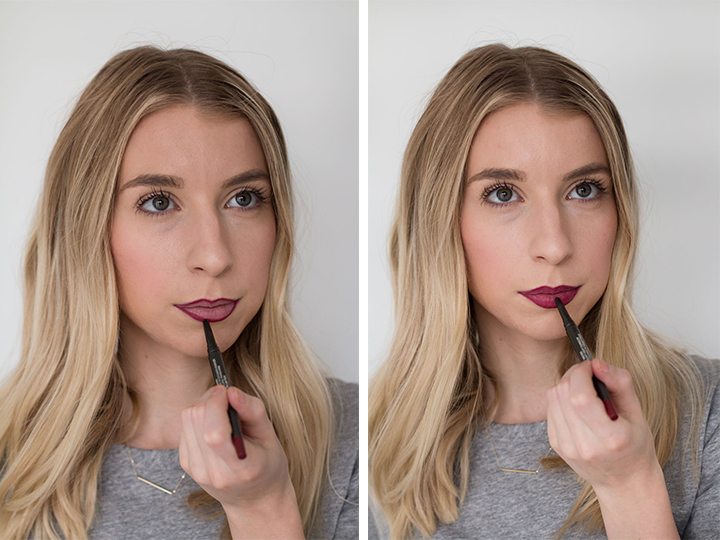
Step 4: Using the Lise Watier lip liner in vino (such a great colour) I carefully line my lips starting with the bottom half and then going from each side of my cupids bow downwards. Don’t worry if you make a mistake, you can cover it up with concealer later.
Step 5: I filled in my lips fully using the Lise Water liner.
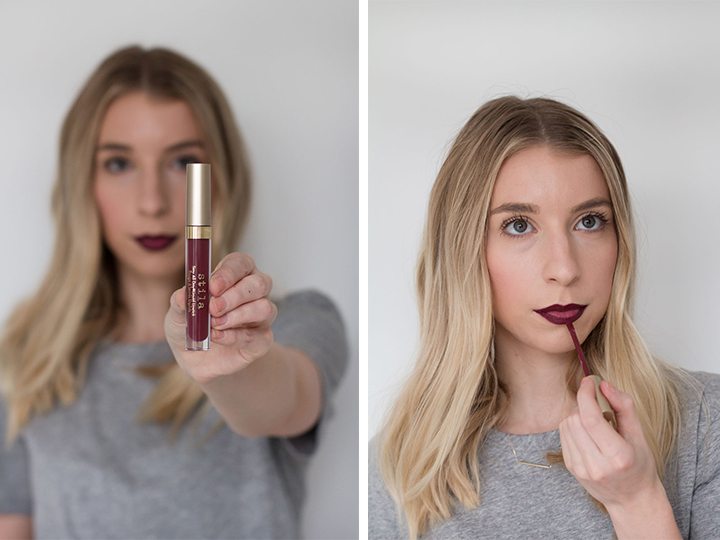
Step 6: Using Stila liquid lipstick in Ricco I carefully applied it around the outside of my lips making sure to keep a pretty even line and being careful to not coat the entirety of my lips. You can see from the second picture above that I left the center of my lips bare with just the Lise Waiter liner covering them .
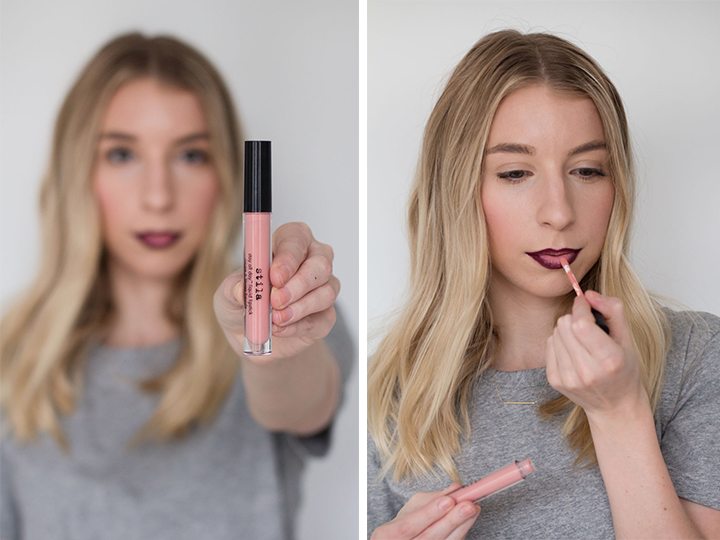
Step 7: Using the Stila liquid lipstick in Bellissima I gently dabbed a very small amount just on the centre of my lips. I then used my index finger to blend, blend, blend! This gave me that ombré effect that I was trying to achieve. I also pursed my lips together a couple of times to blend even more! If you haven’t realized…blending is key here!
Step 8: I put a small amount of Urban Decay eyeshadow in “Dust” on my index finger and gently patted it on the center of my lips only to create a subtle shimmer effect. It gave a really pretty and unexpected look to my lips which I loved.
Step 9: With my concealer and brush I cleaned up any mistakes around my lips and blended throughly. Using the concealer also allows the lips to stand out fully.
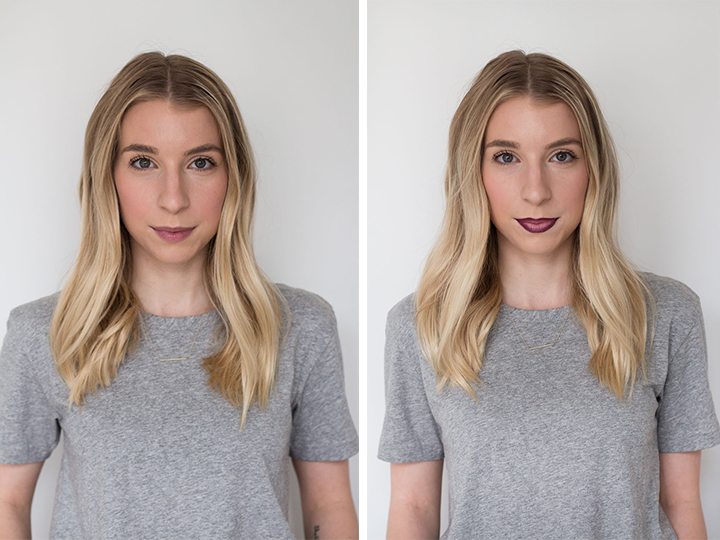
Before and after

This blog post was sponsored by Shoppers Drug Mart Beauty Boutique but the opinions are all my own.