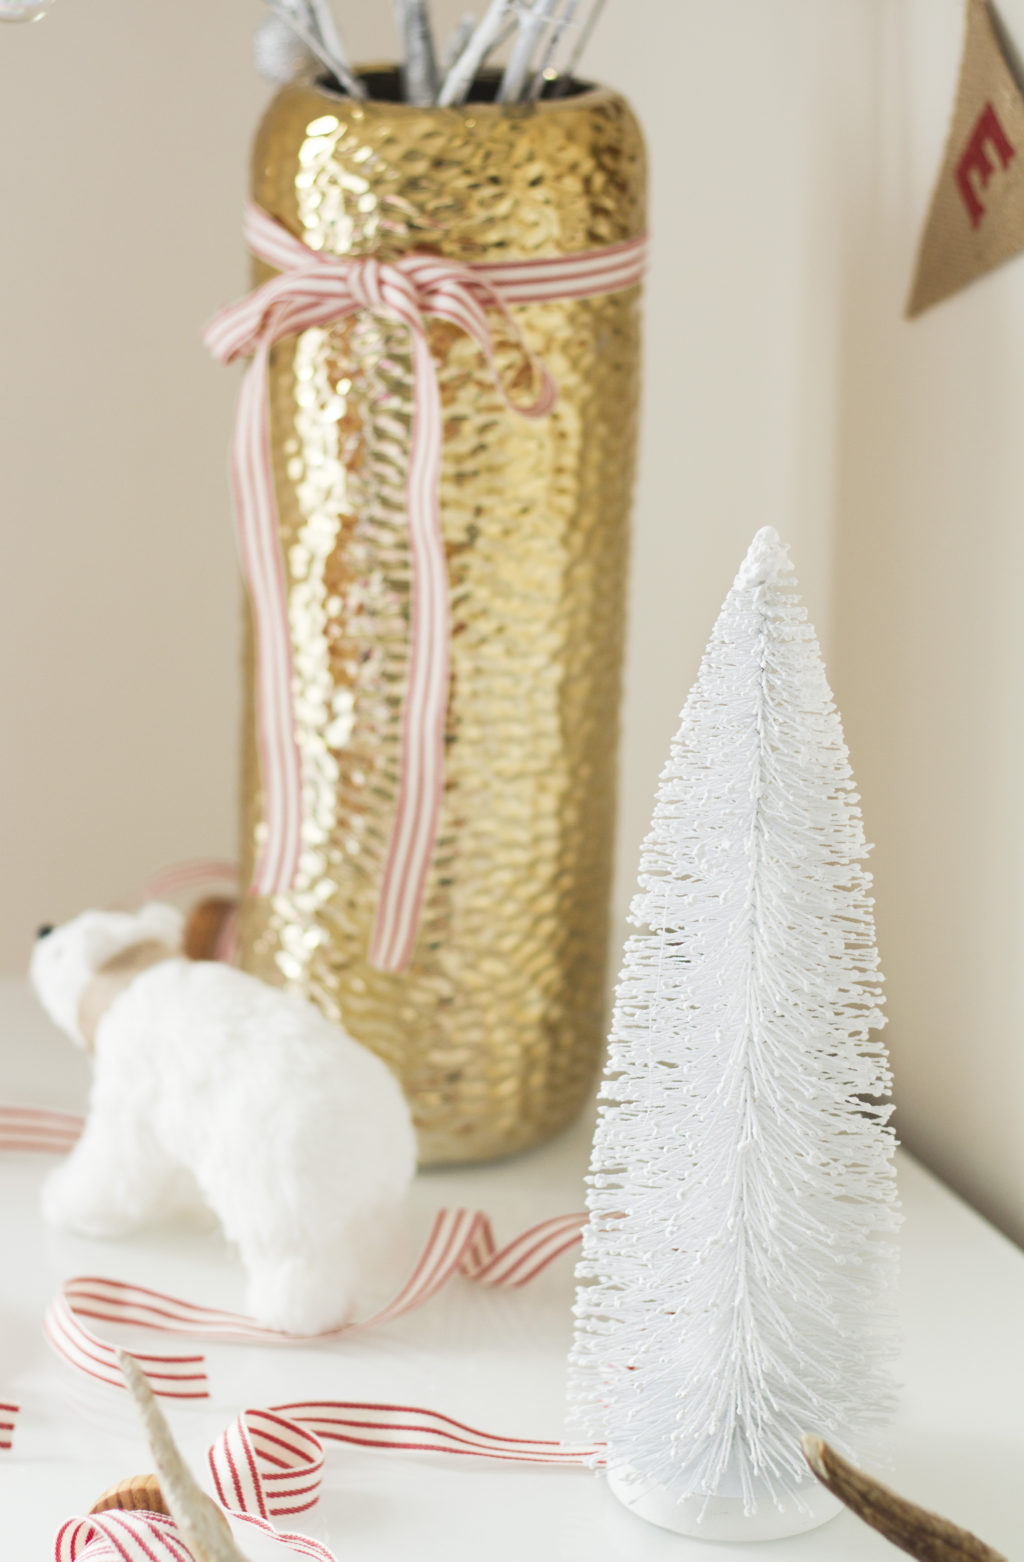
When it comes to decorating our house for Christmas, the week of November 15th is when I get really excited for the holidays. I put up the tree, start Christmas baking, and begin feeling festive. In our home we usually stick to decorating the living room pretty simply, and leave everything else as it is, as we know we won’t be staying in Toronto over the holidays. This year, however, I got a huge spark of inspiration when I was in target (obviously), and was wandering around the Christmas section. I picked up a white Christmas tree and this adorable polar bear figurine. That same night, my sisters, boyfriend and I ventured out to a near by wooded area to cut down some branches. The next morning, my sisters and I painted the tree branches, set them in a vase and strung ornaments to it. With a few items from Target, It created, what I think, is a beautiful Christmas vignette, right in my bedroom.


What You Will Need:
1. Branches
2. Scissors
3. White acrylic paint
4. Shimmering opal paint
5. Sponge paint brush
6. Mini ornaments
7. White String
To Make:
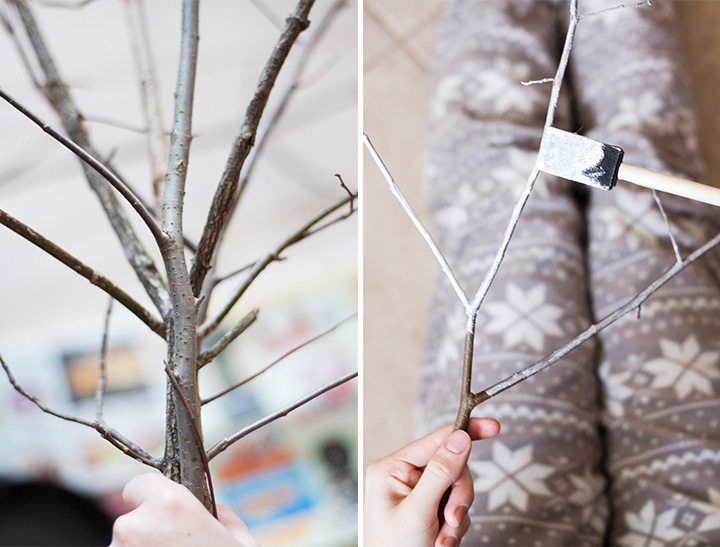
1. Begin cutting the tree branches to size and testing them out in a tall vase before painting.
2. Paint the branches using a shimmering opal colour and allow to dry.
3. When the first layer of paint is dry, dab a few areas of the branches with white acrylic paint, to make it look like snow has fallen onto the branches.
4. Tie white string into the ornaments and then tie those around the branches. This will make the tree look like the ornaments are floating.