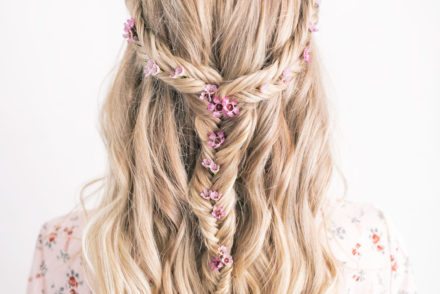
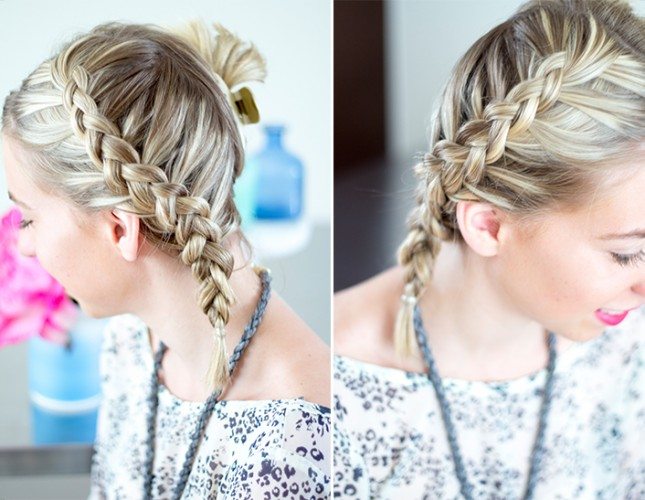
 As per yesterdays post where I discussed practical versus impractical dressing, I thought I’d go a step further and discuss the same for hairstyles with this easy step-by-step tutorial. No hot blow dryer or curling iron needed for this look, all you need is an elastic headband and about 5 minutes. It’s a great hairstyle when you have little time to get ready and it can go from day to dinner as it looks casual enough but still put together. And when you take the style out at the end of the day your hair has curl and body that you didn’t have to spend an hour in the hot bathroom achieving.
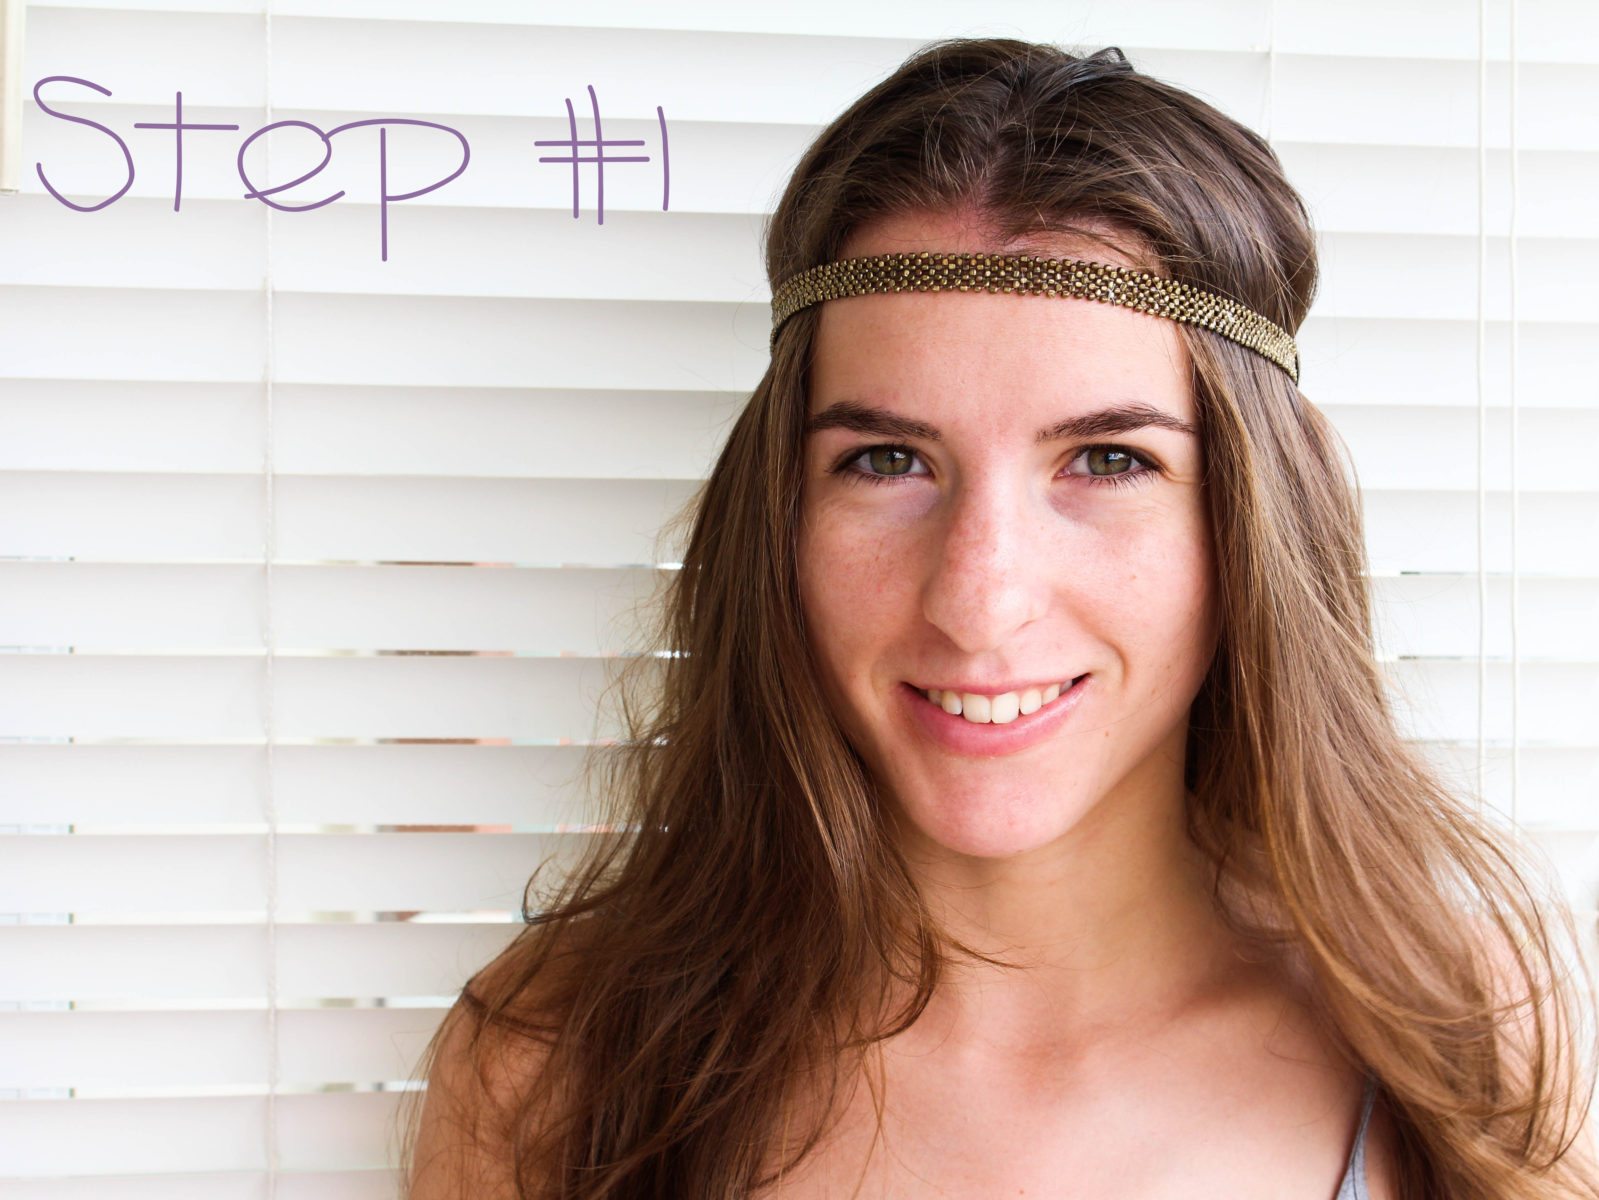 I started by Placing the headband over my sister’s head as if I were creating a simple boho-chic look.
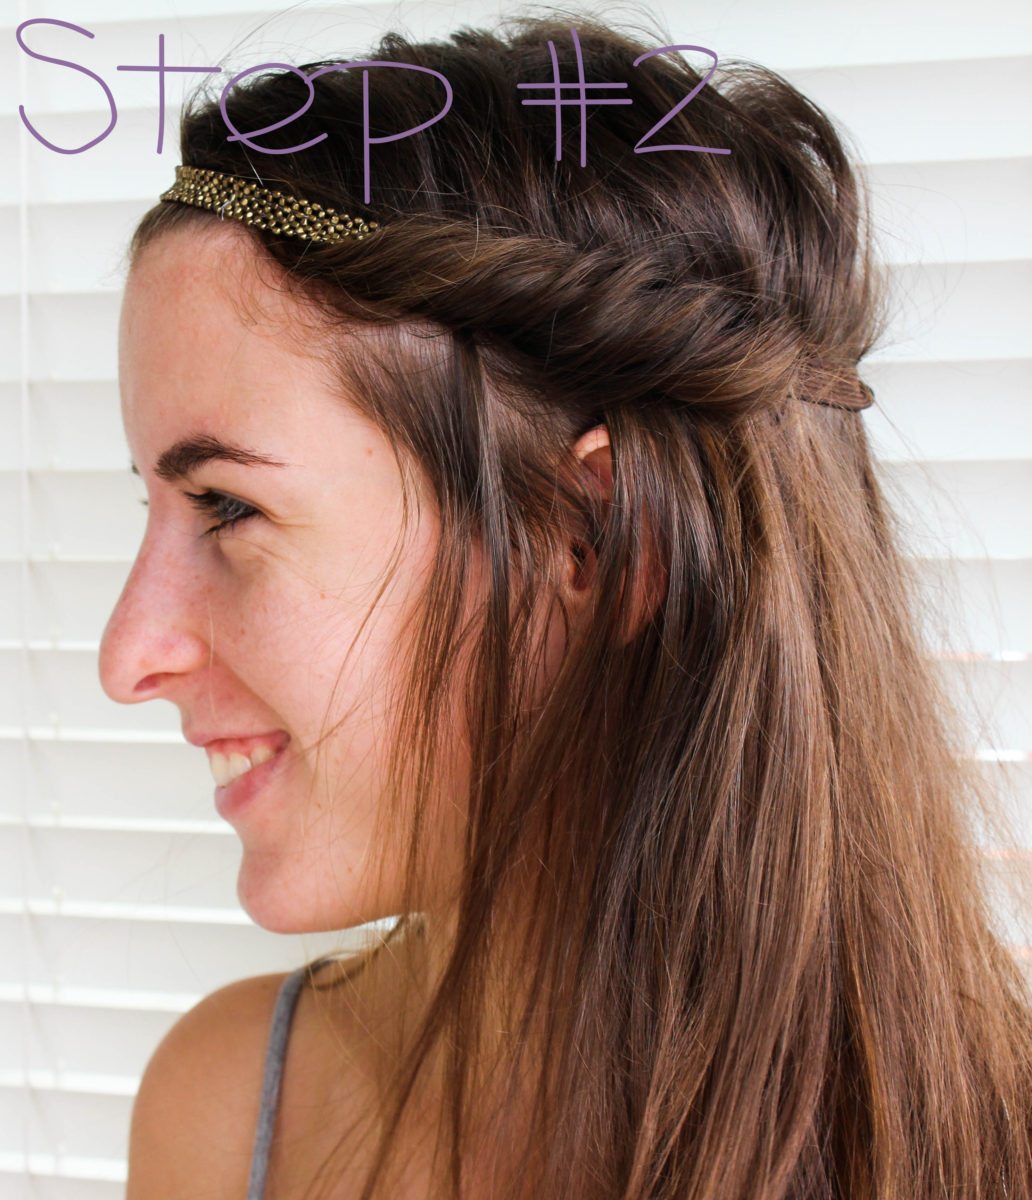 This look can be done two ways; either you can do the full hair wrap as pictured above or you can do a half wrap as pictured here. To achieve the half wrap look, I took small pieces of hair and wrapped them over top and then underneath the headband. I started on one side of the hair and worked my way around, adding more hair until I couldn’t see the headband.
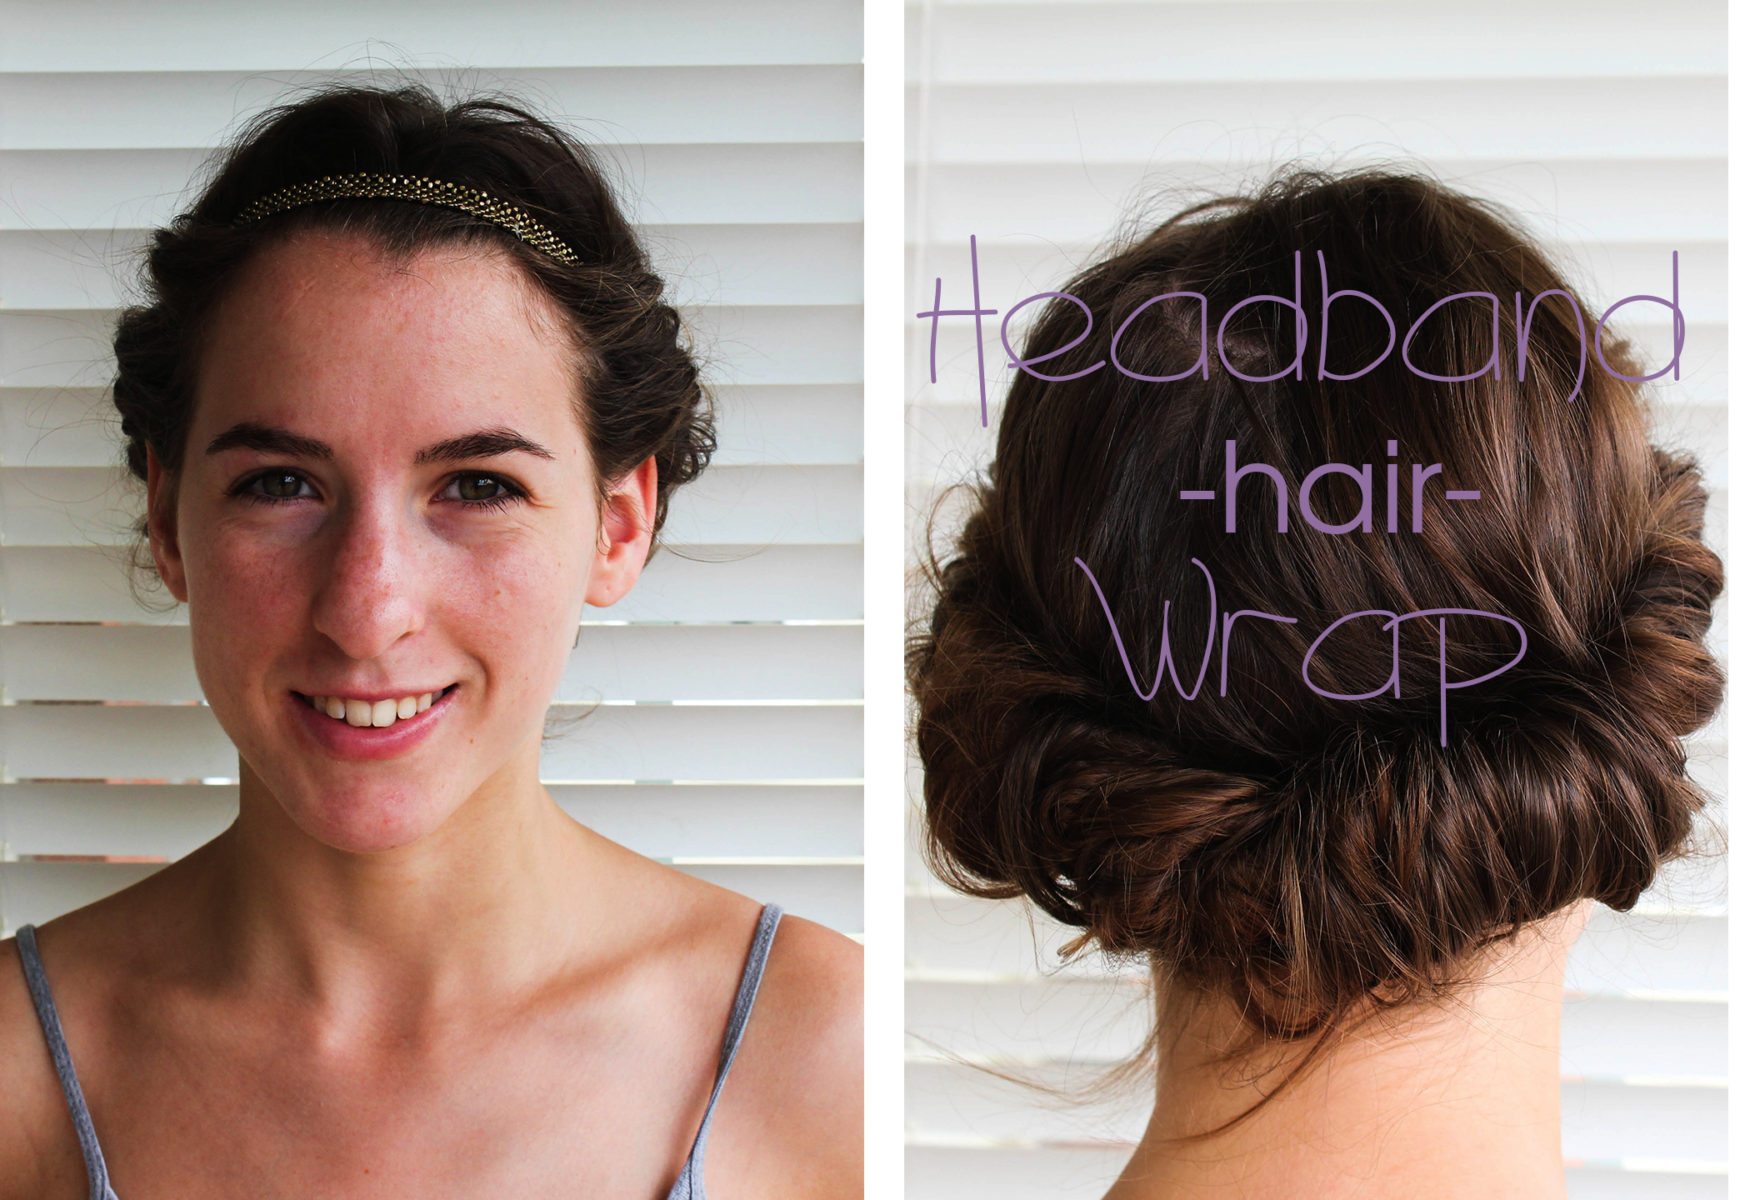
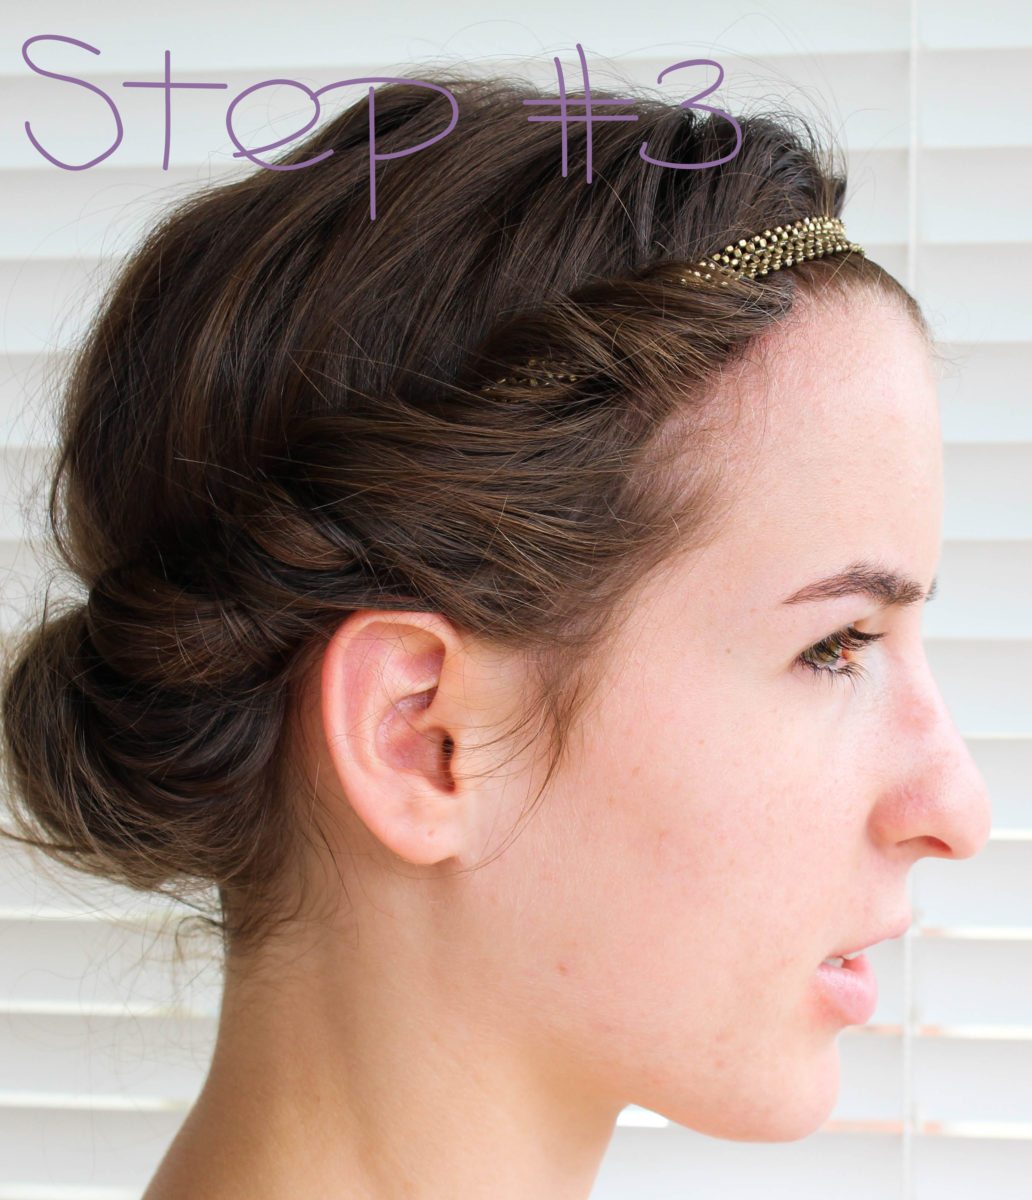 The full head-wrap style is achieved the same way as the half wrap except I utilized all of my sisters hair and used bigger strands to give it more volume. At the end, I took both of my hands to twist the hair upwards to make the style tighter so it stays in place throughout the day.
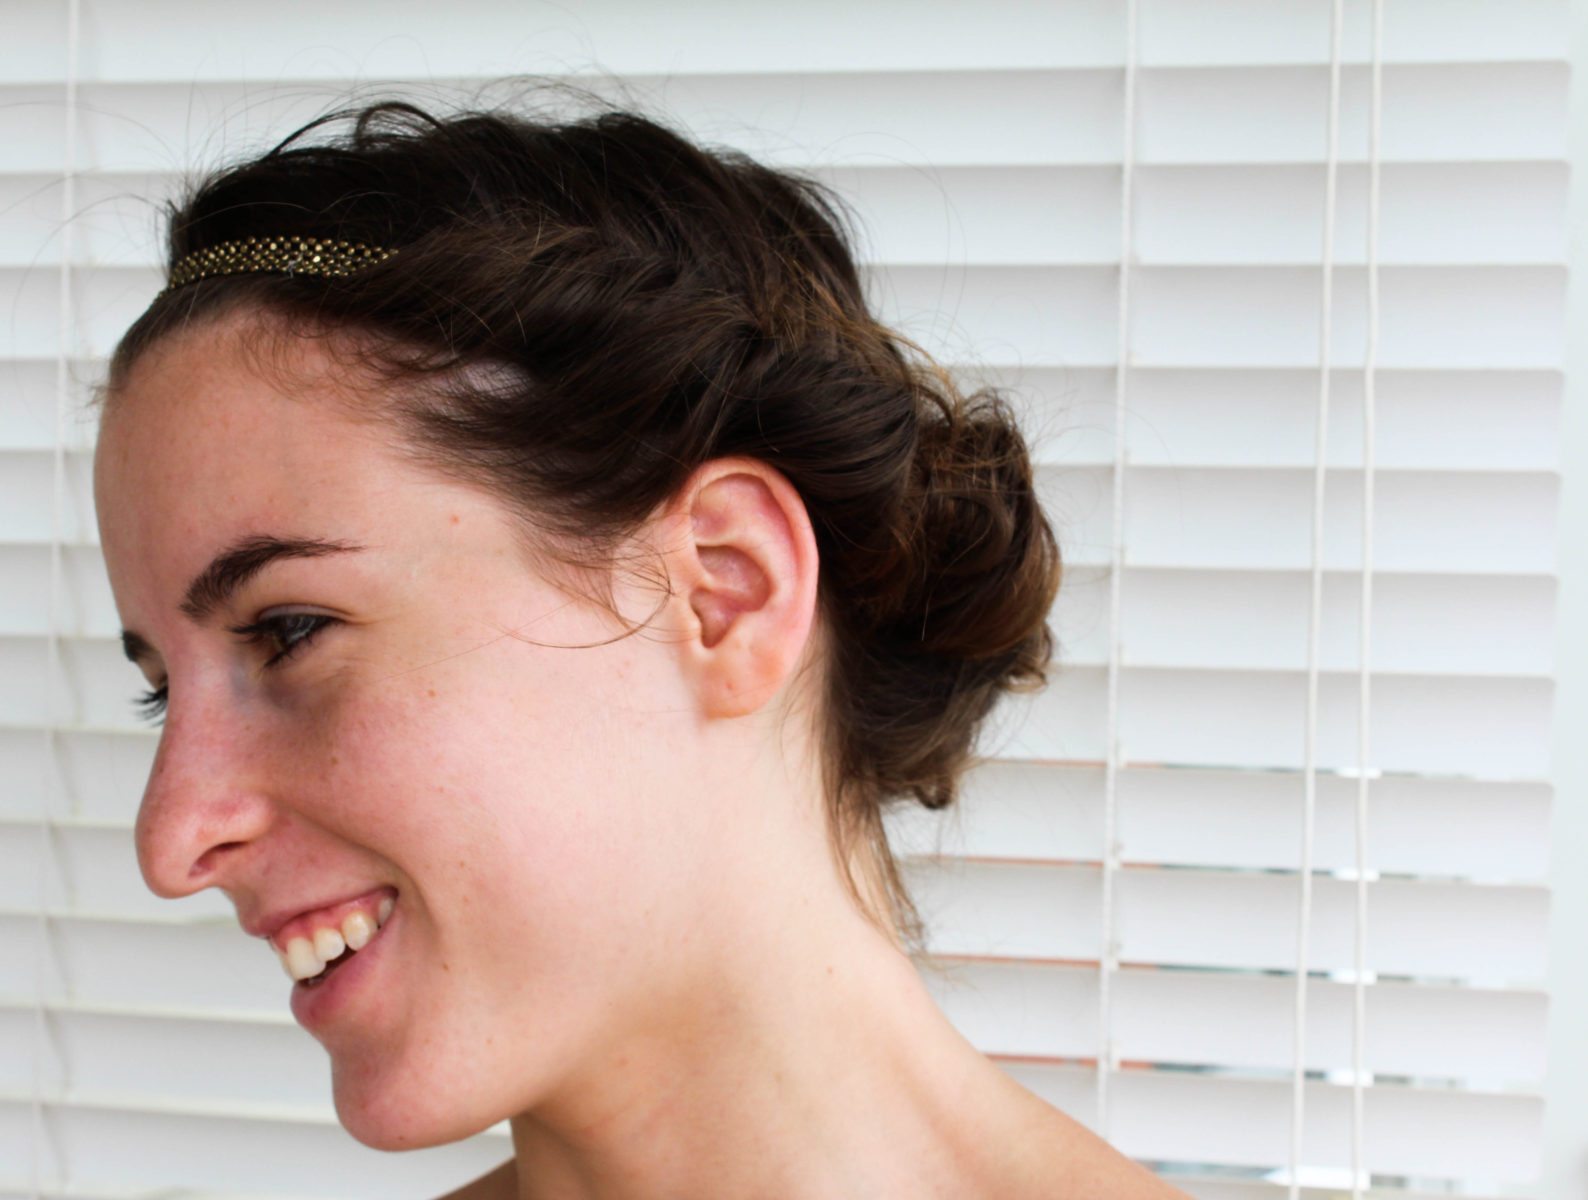 The final look
Don’t worry if it’s a bit messy, you want the style to have that undone look. Even pull a few strands out near the front to frame your face.