 I’ve always been a fan of adding a couple of DIY elements to a wedding. They’re cost efficient, a fun bonding experience for you and your fiancé to create together, and I love that they add a personal touch to the wedding day.
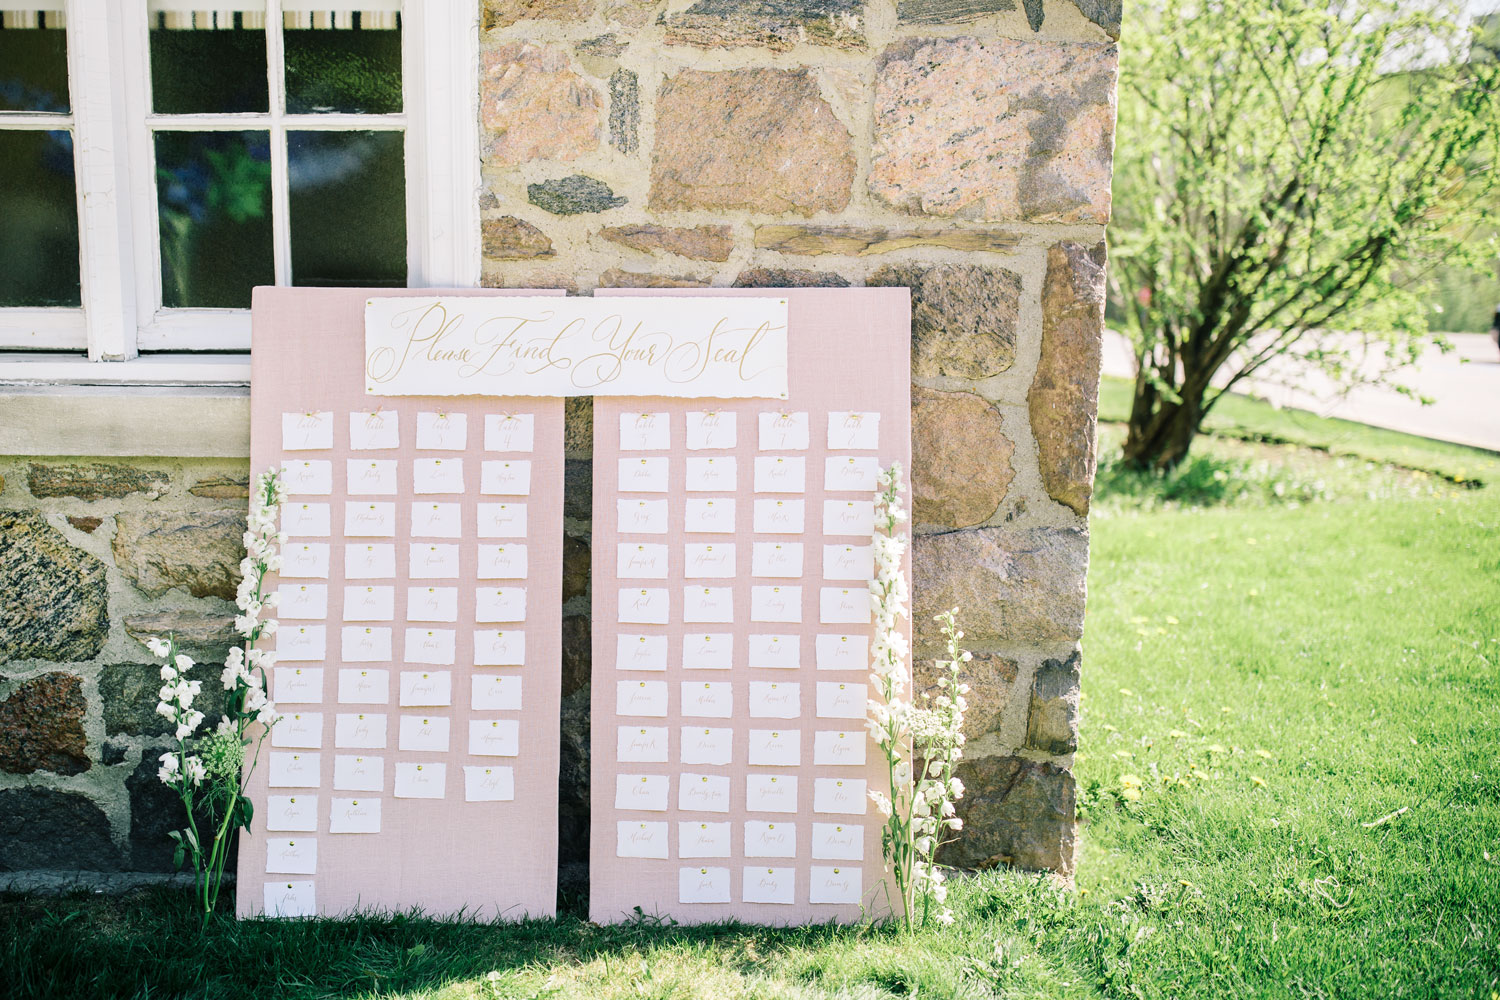
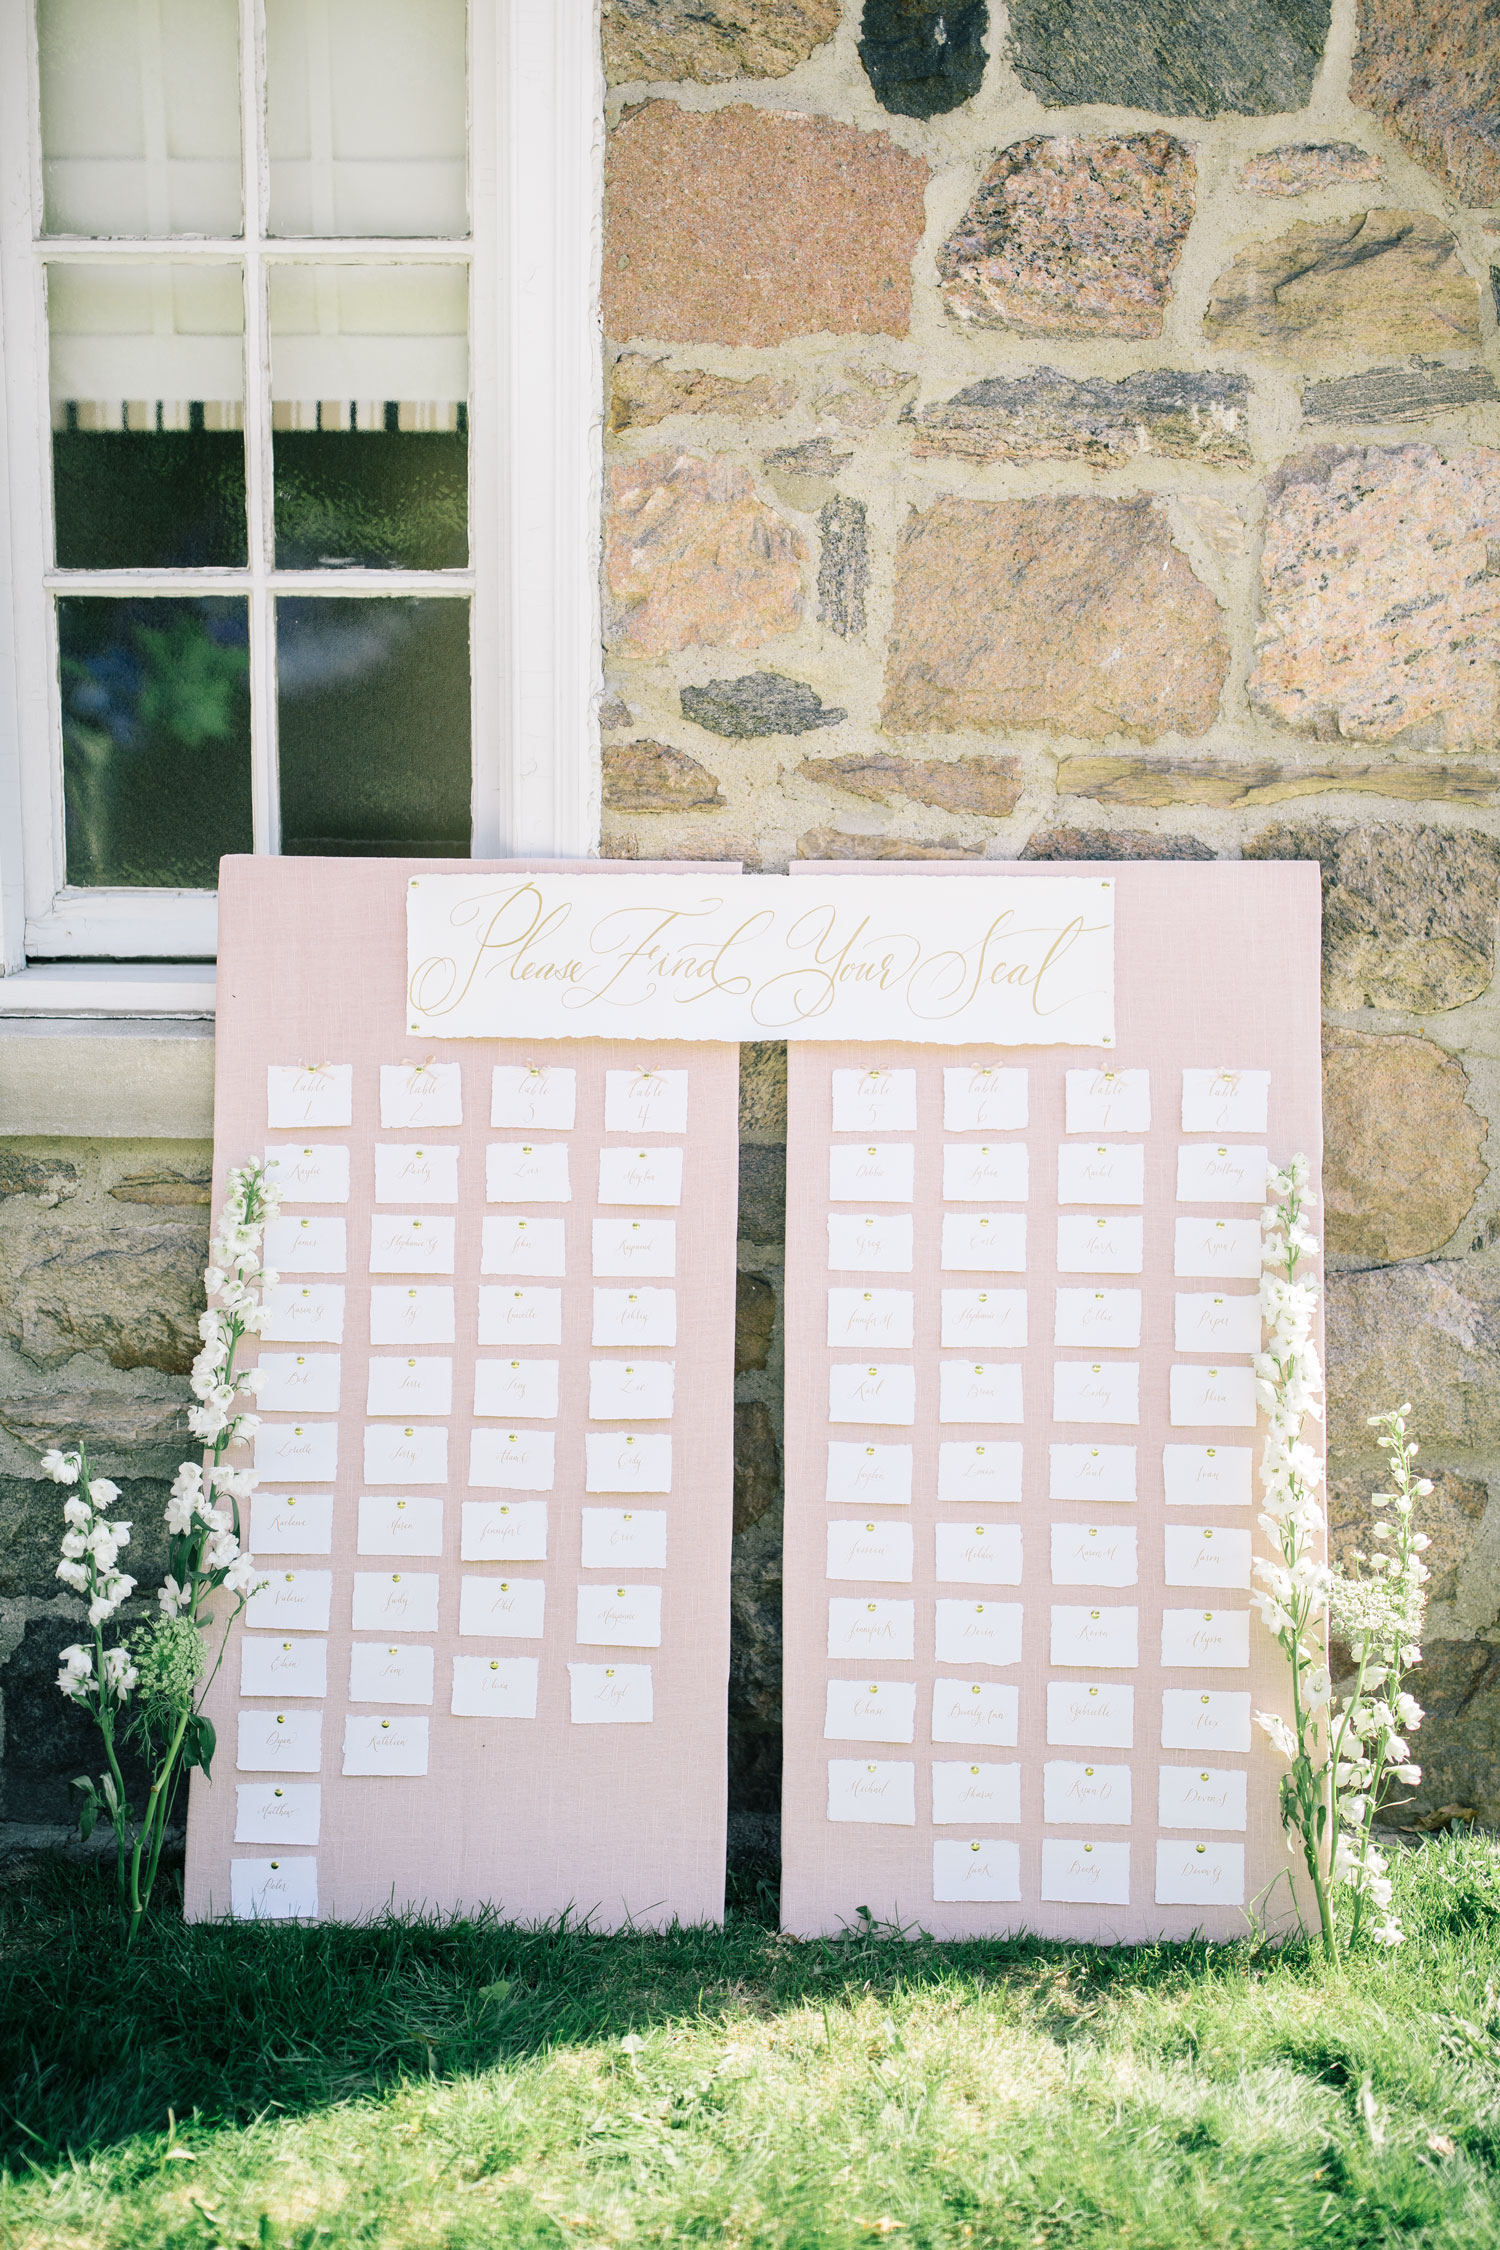
While planning our wedding, I’ve thought endlessly about the few elements I want to DIY. One thing I kept going back to was our seating chart. There is SO much seating chart inspiration available out there and after taking the Makeful “What’s Your Wedding Style” quiz a few weeks ago and landing on “modern bride”, I figured that us modern gals should definitely add a little something DIY’d to the wedding day (PS: shouldn’t “something DIY’d” be added to the something old, something new tradition!?).
Jamie and I quickly got to work on this little wedding DIY project and we ended up being so happy with how it turned out. While a pretty simple project all in all, I think this seating chart ended up looking elegant and modern, which is exactly the bridal style Makeful let me know that I was. Honestly, I don’t think I could have purchased a seating chart that I love more than this, and that to me is a sign of a successful DIY project. I hope you guys love it as much as I do and for more beautiful wedding inspiration like this greenery filled wedding décor and tips for creating a high-end style while staying under budget, be sure to head on over to Makeful.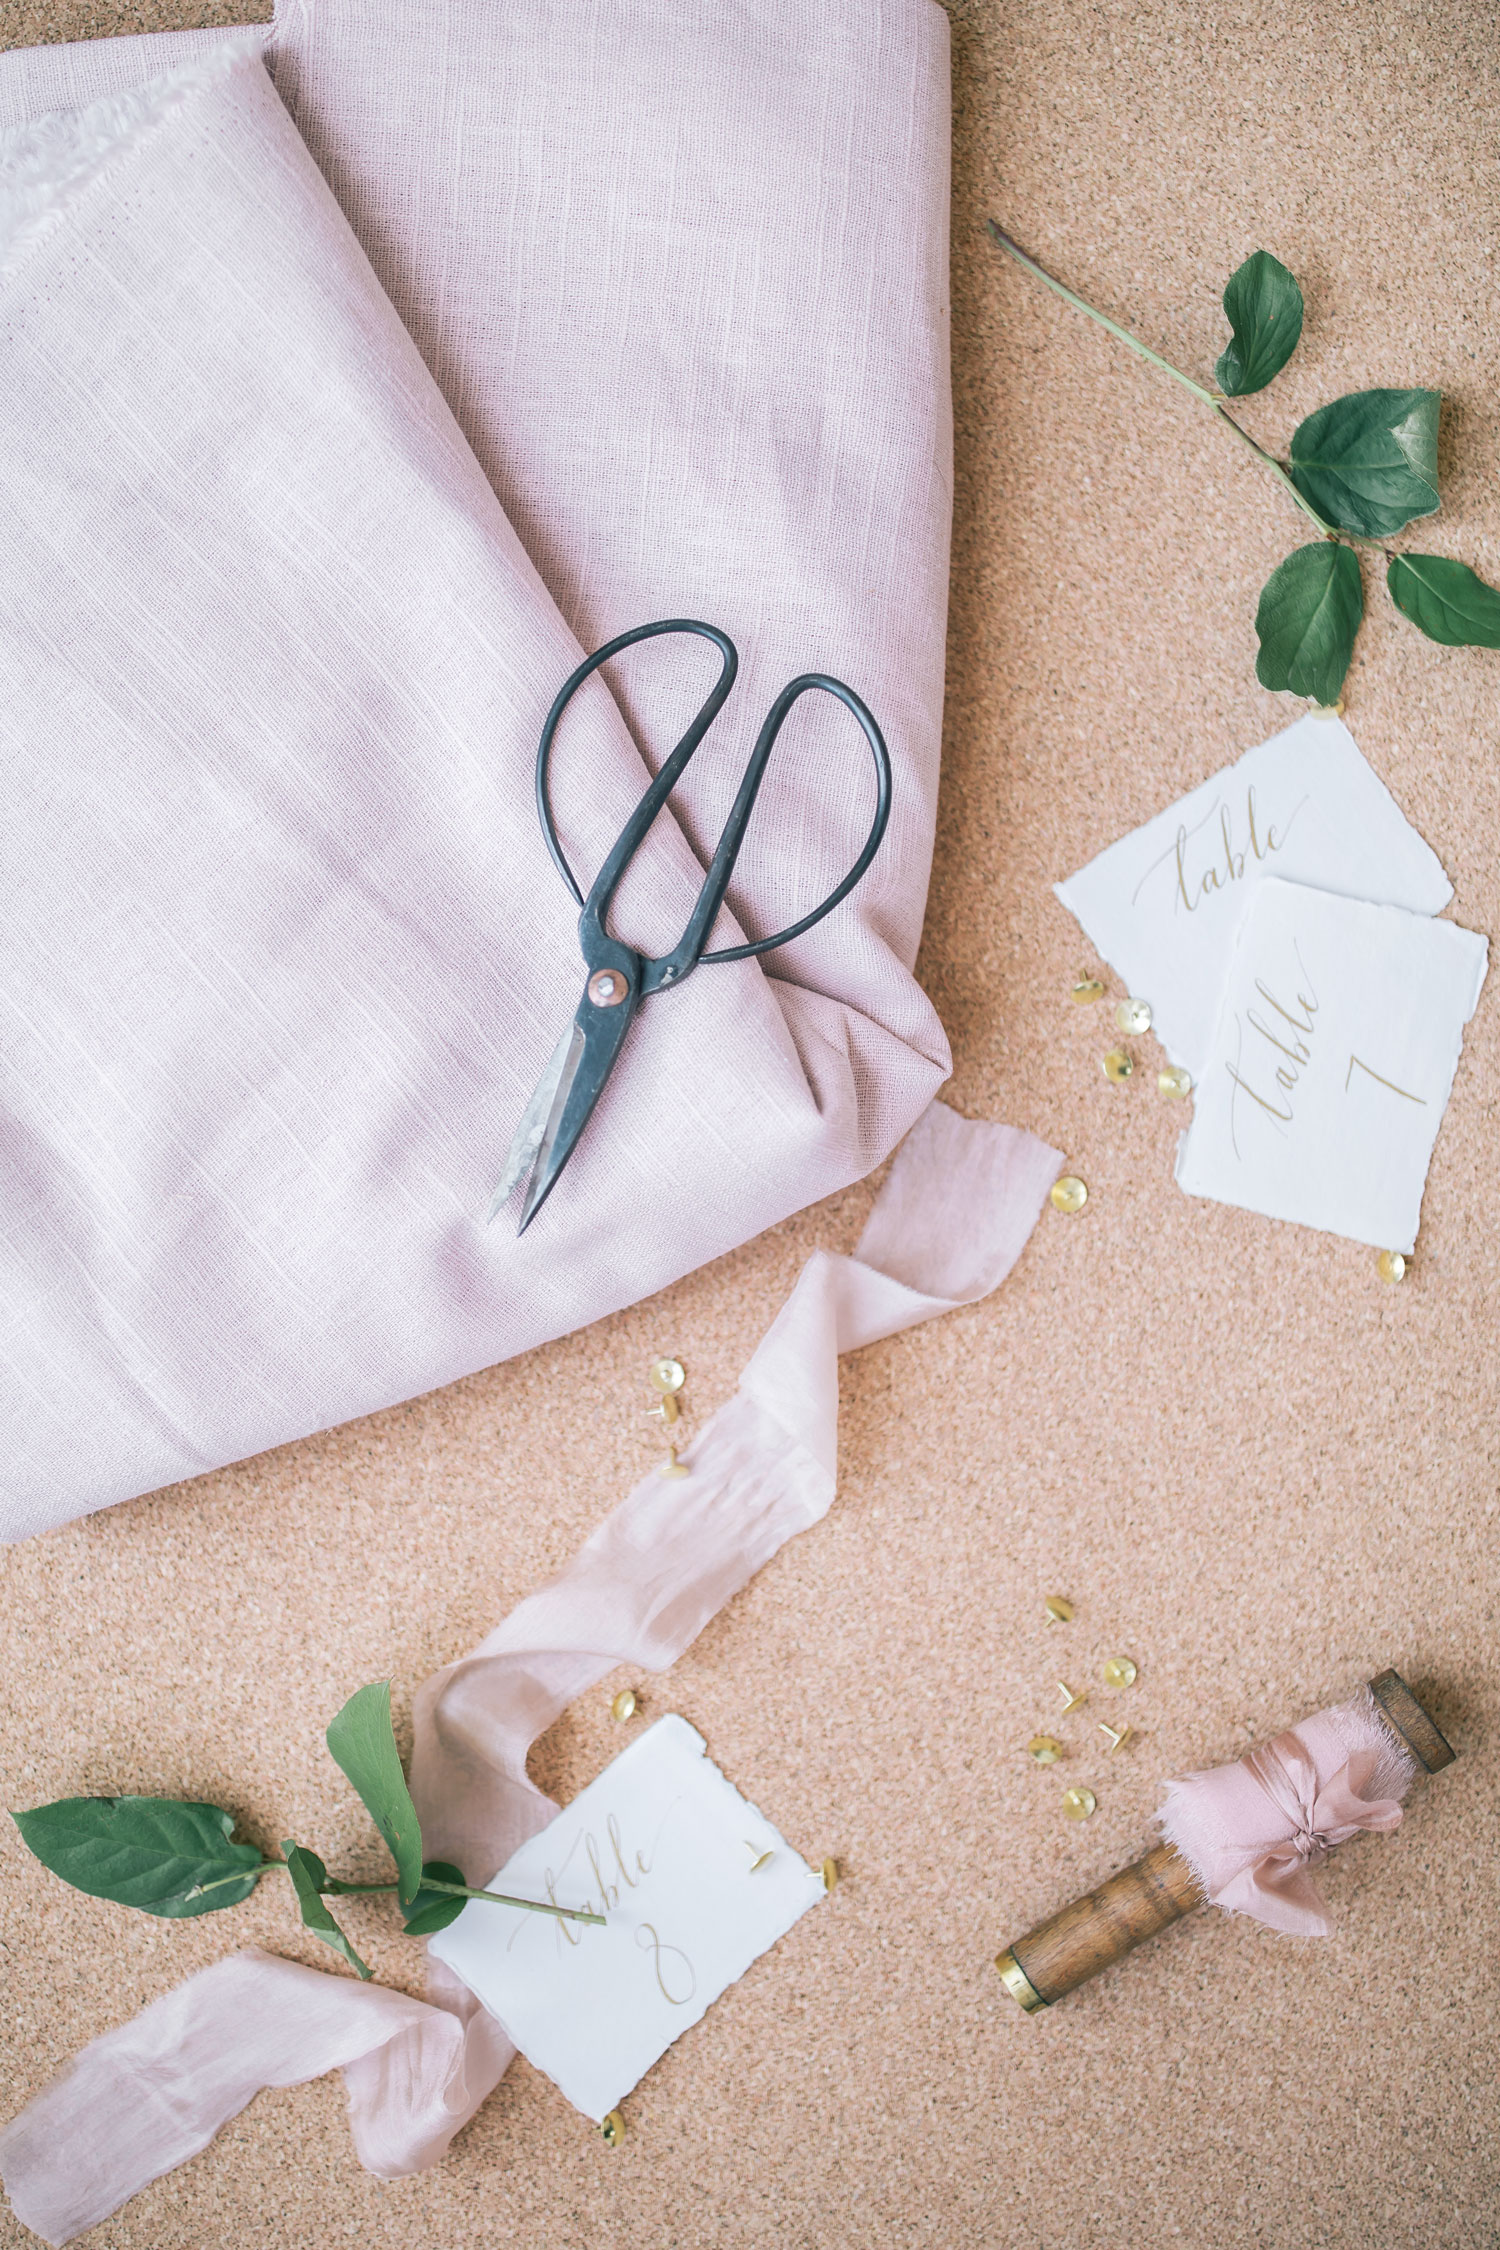 What You Will Need:
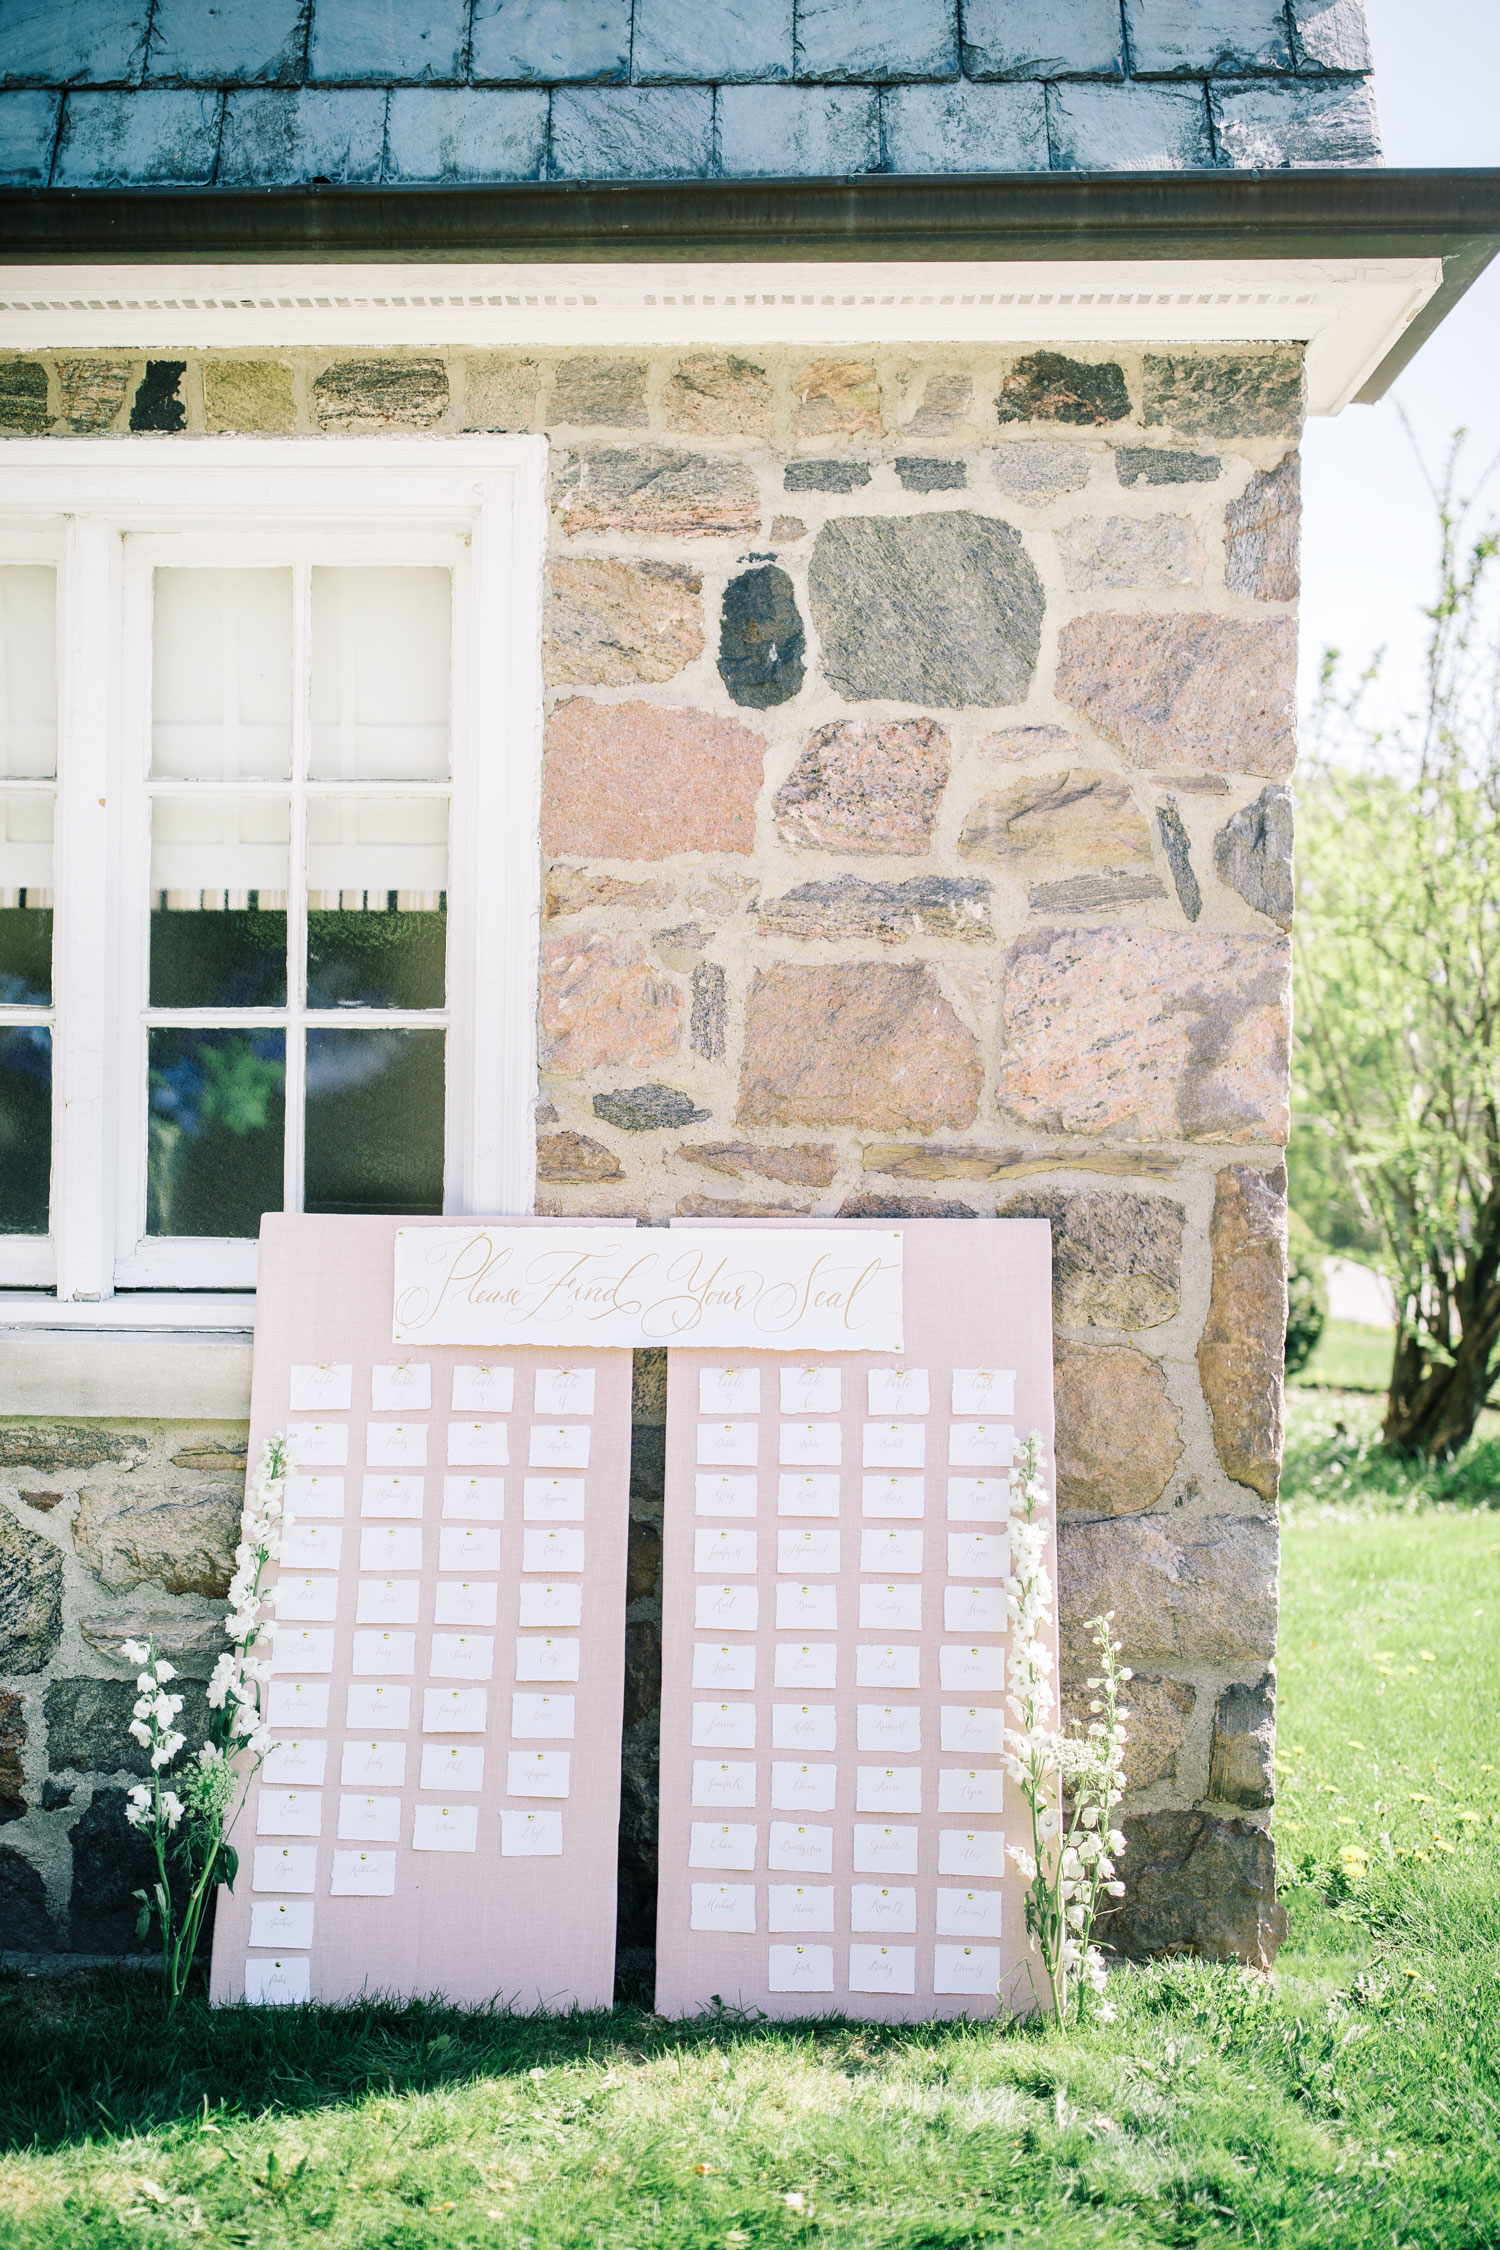
- Cork board: The size will depend on the number of guests attending your wedding. We found our cork board at the Home Depot and bought 2 right off the shelf without needing to cut it.
- Linen Fabric or any other fabric you like: Purchase fabric a few inches bigger than the cork board so it can easily fold over the back
- Staple gun
- Paper & Calligraphy pen (I decided to forgo DIY’ing the nametags and sign as I have terrible handwriting but if you feel comfortable you can do it yourself. If not, here is where I ordered my name tags and sign)
- Gold thumbtacks
- Silk ribbon (optional, but you can find mine here)
- Scissors
Step 1: Lay the fabric onto a clean, flat surface and place the cork board face down on top of the fabric making sure that it is centered.
Step 2: Fold the fabric over the first side of the board putting it as taught as possible (it helps to have a partner for this). Hold the fabric in place and using your staple gun, staple directly into the cork board.
Step 3: Continue step 2 for all sides of the board making sure to fold and tuck the corners evenly so that no fabric puckers at the corners of your chart. Staple as you go.
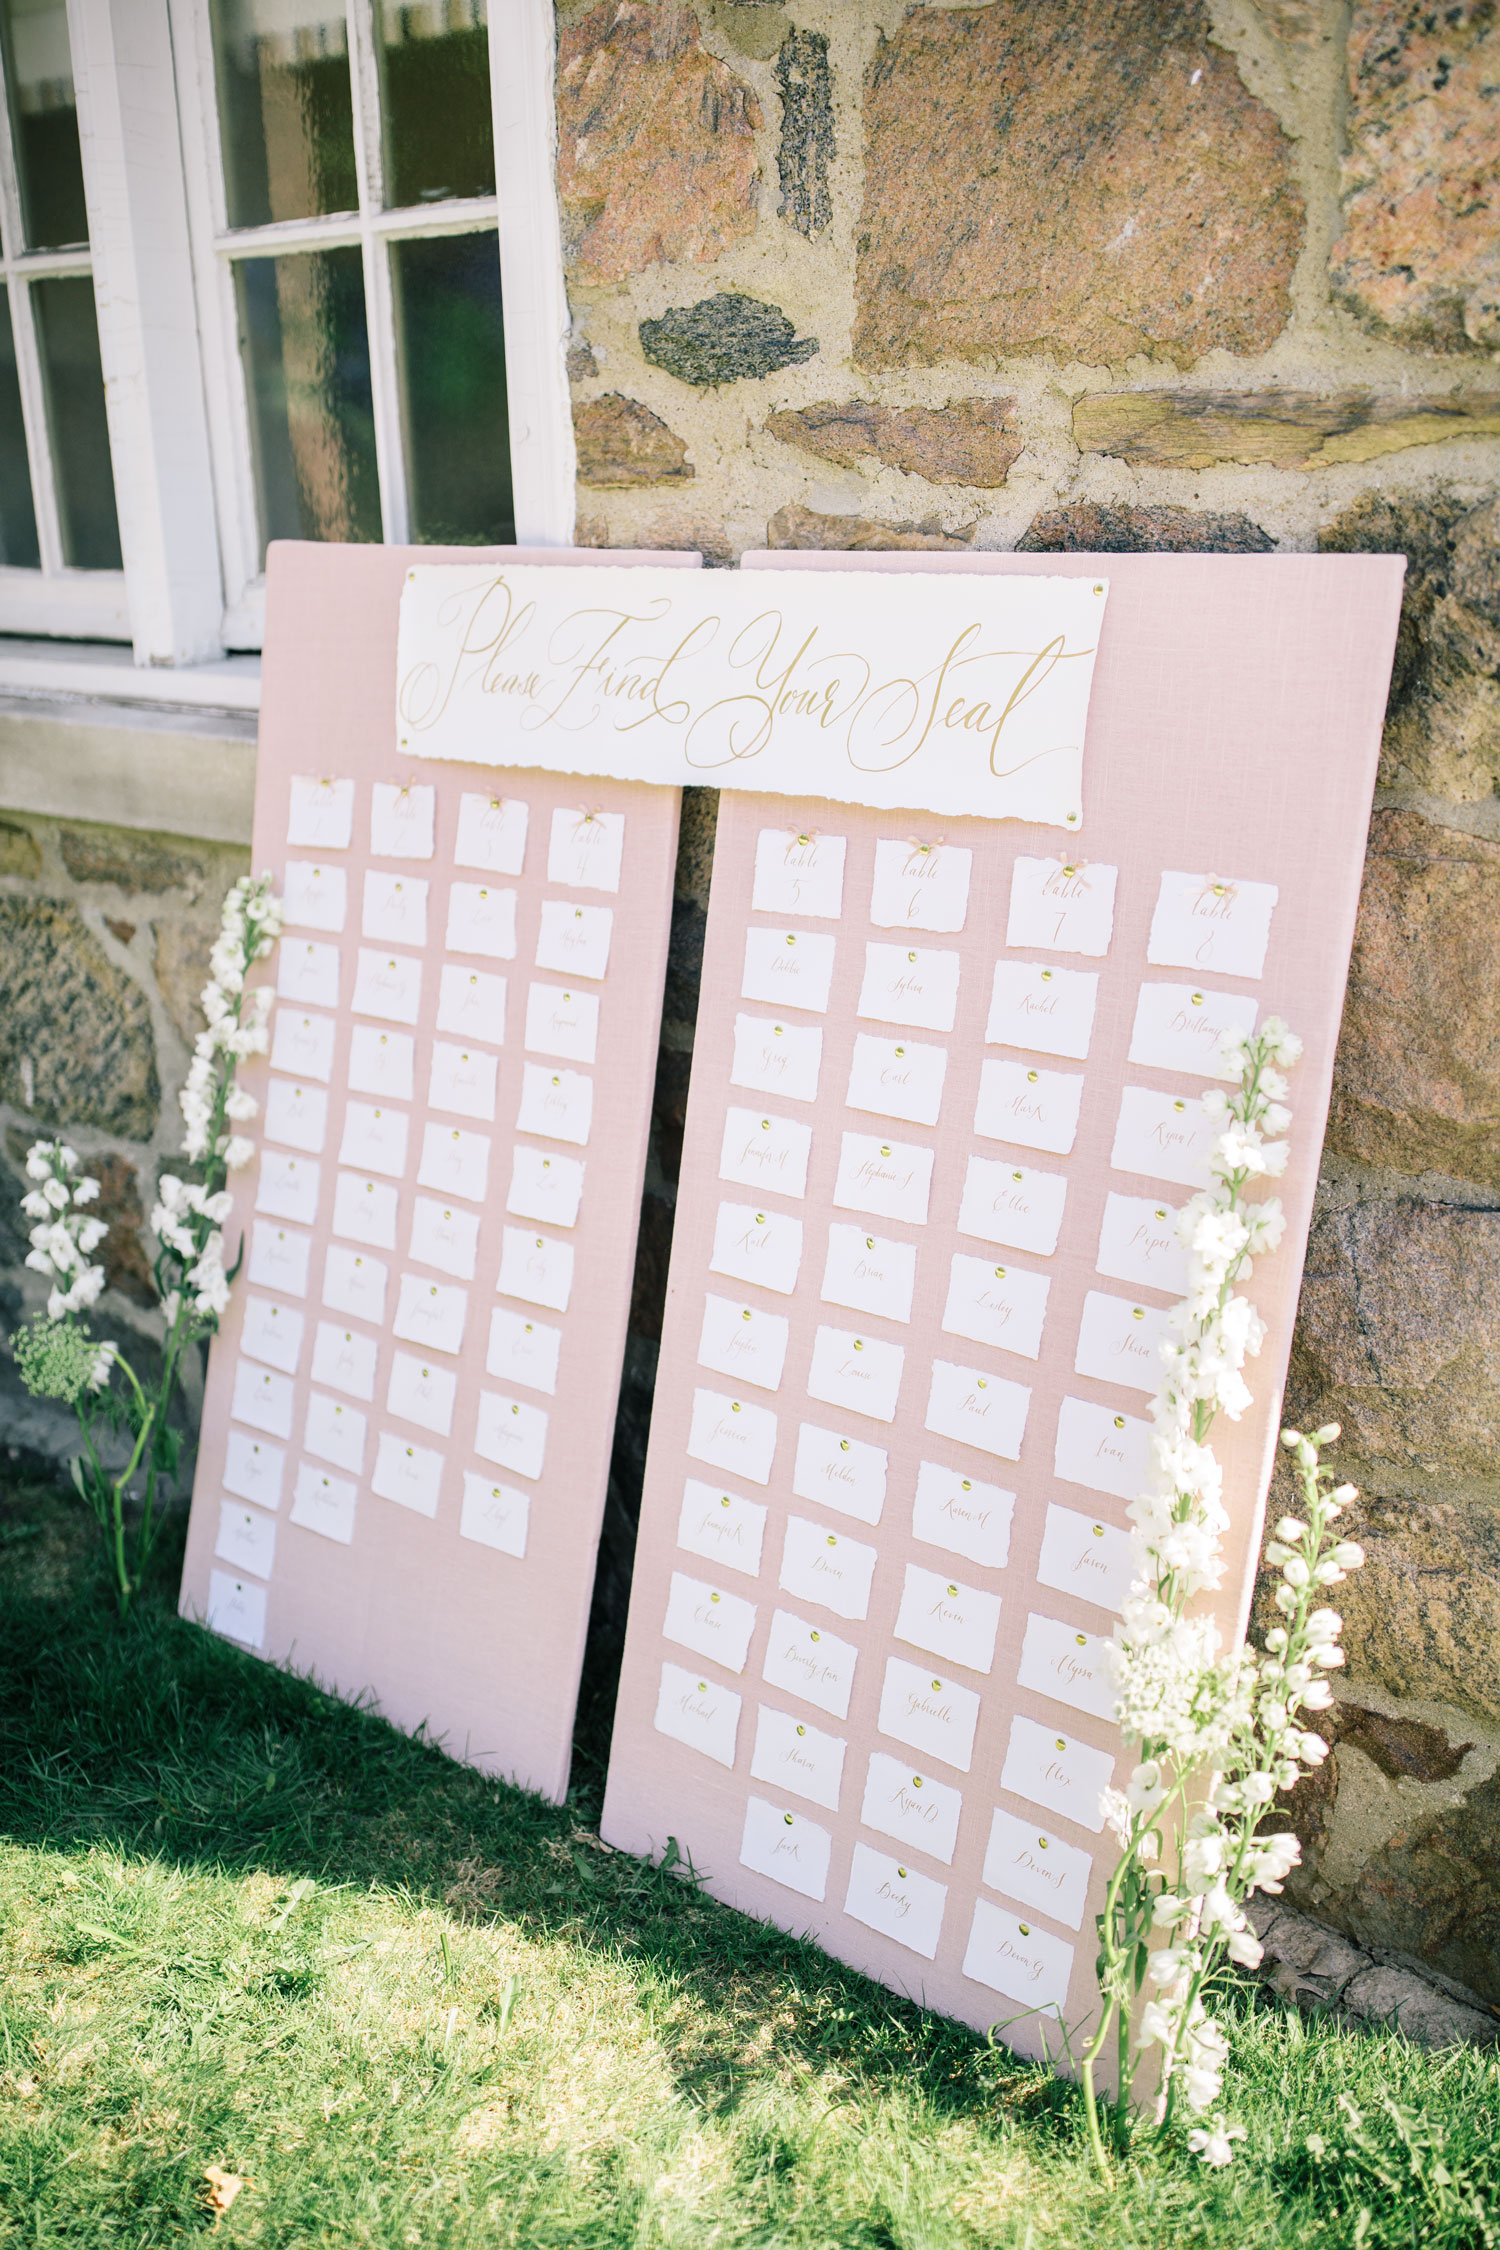
Step 4: Add name tags and sign to the board with gold pins, being sure to use a ruler so that everything is straight and lines up.
Step 5: Using a thin, silk ribbon, tie a bow around each table number pin. This is optional, but I think it looks really cute and helps define the table numbers.