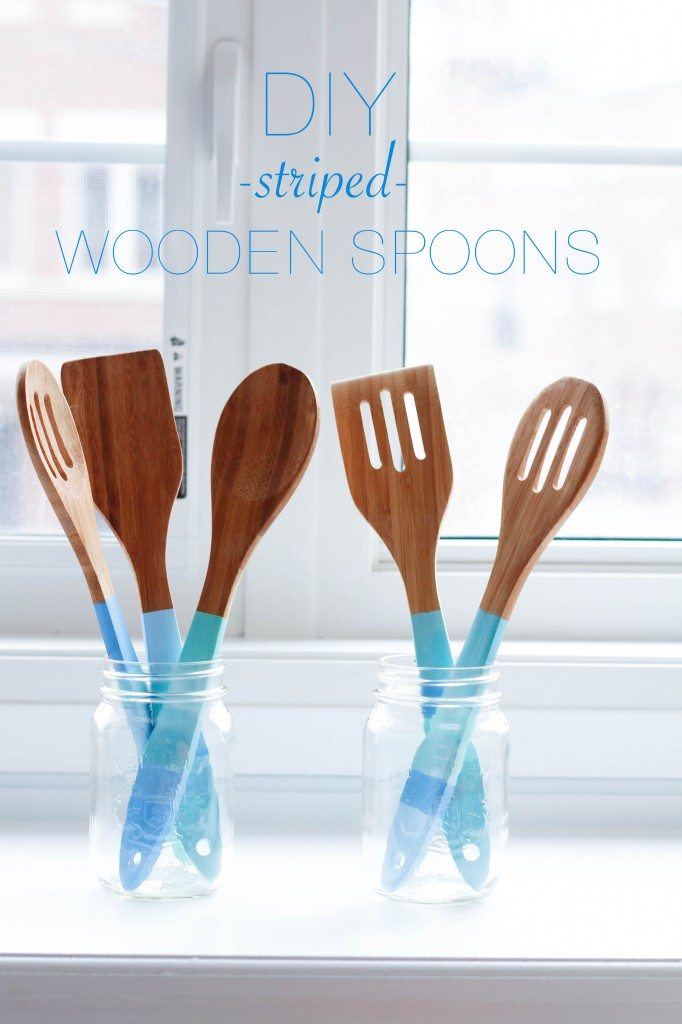
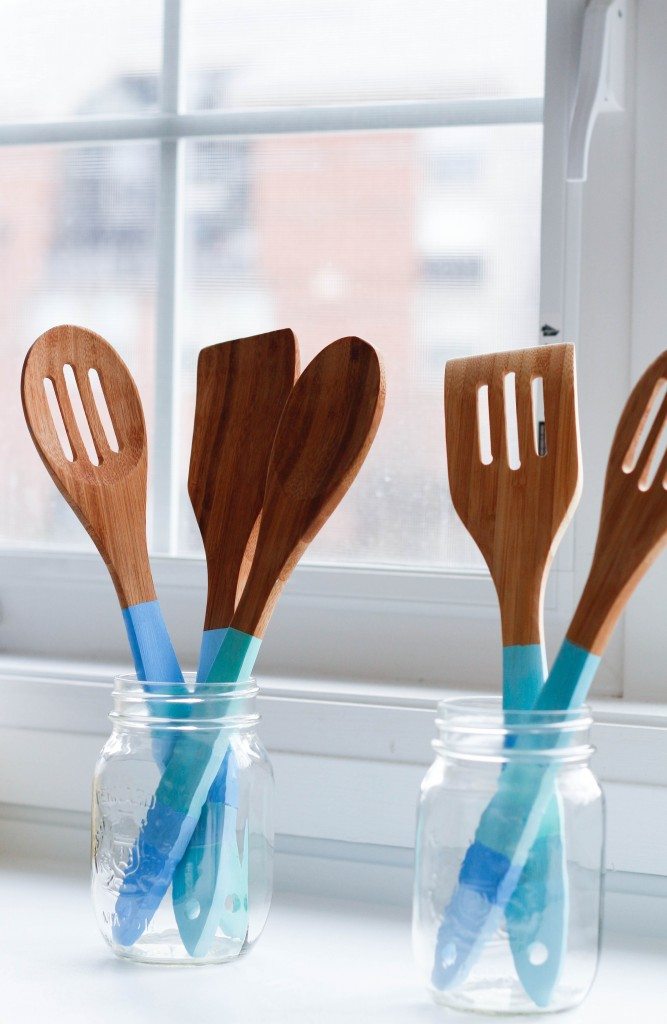
Last summer I bookmarked these ombre wooden spoons over at Say Yes, a crafty blog that I often frequent. I had been wanting to make them for quite some time, but knew I didn’t want to copy exactly what she did. I chose to do a striped version of the spoons and absolutely love how they turned out. It is a pretty simple DIY, and the end result looks just as good as if you had purchased them in a store. After I put them inside mason jars and set on the windowsill, looked almost too pretty to use in the kitchen!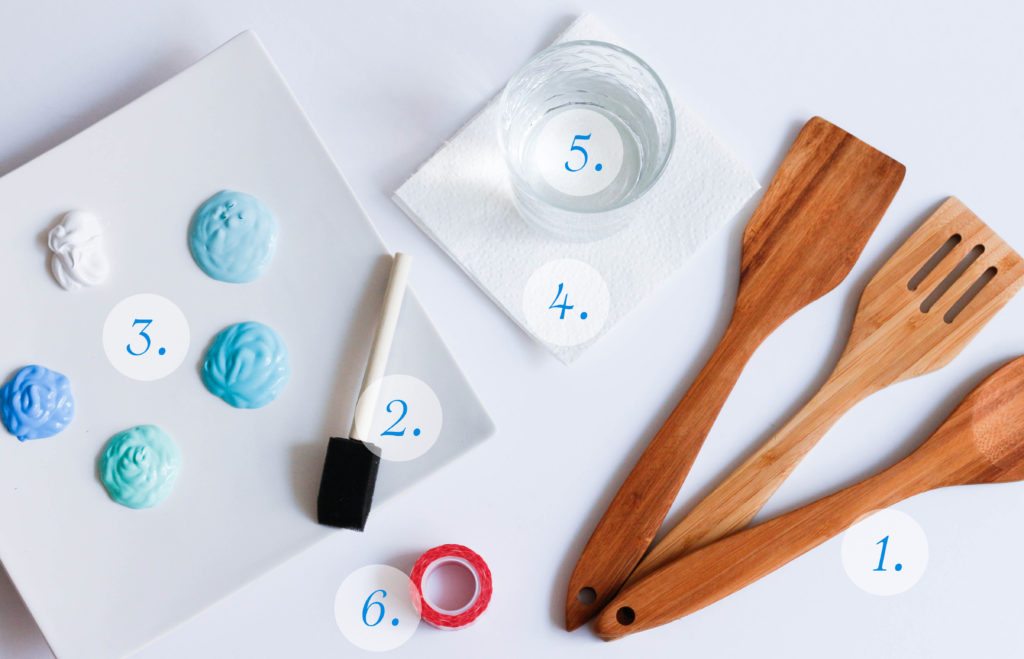
1. Multiple wooden spoons via The Dollar Store
2. Foam Brush
3. Acrylic Paint via Martha Stewart at Michaels
4. Paper Towel
5. Water
6. Washi Tape / Masking Tape
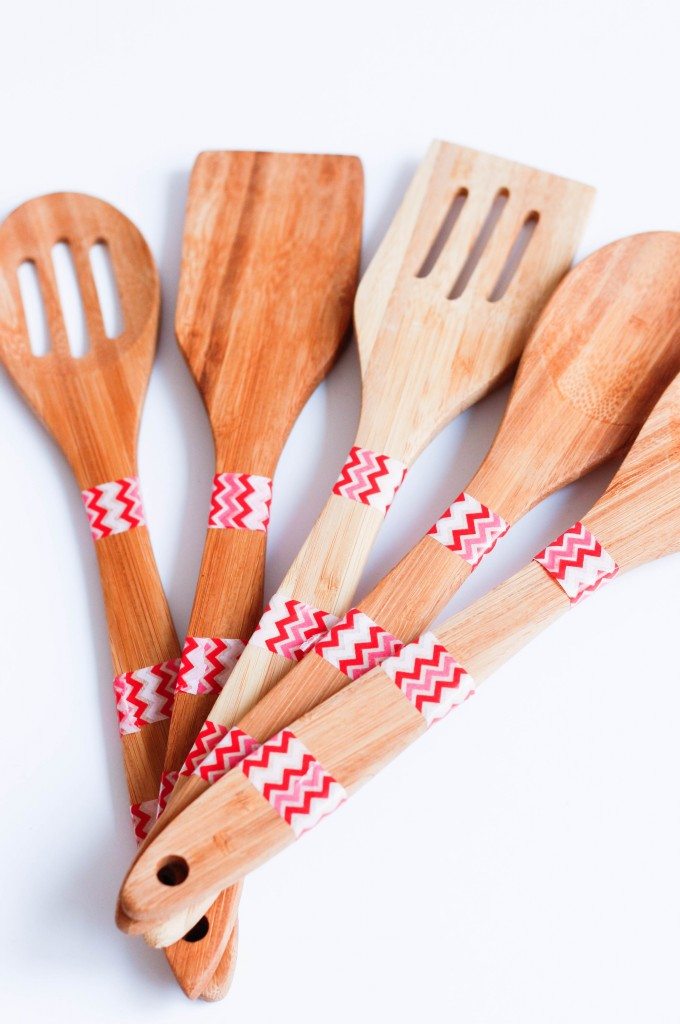 Step 1: Tape spoons securely and straight to prep them for the paint.
 Step 2: Paint spoons with a sponge brush, alternating colours as you go. You will have to allow time for the paint to dry before painting the next coat. 2-3 coats of paint will give your spoons full coverage.
 Step 3: Allow Paint to fully dry, making sure they are not touching any surfaces. I simply weighted down my spoons with coasters and let them lay off the coffee table.
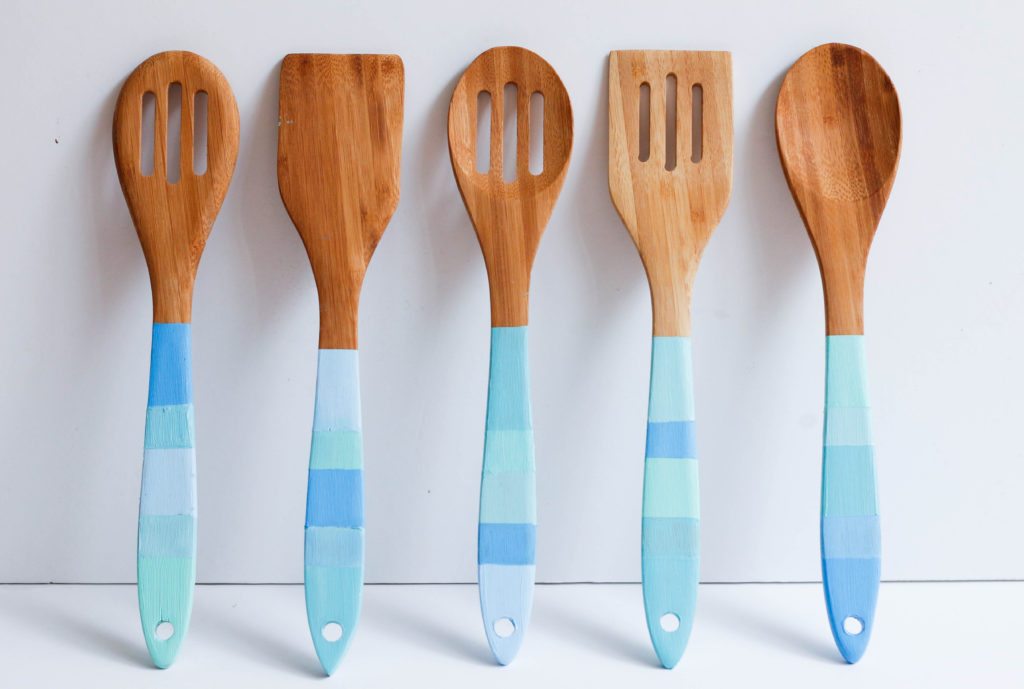 Step 4: Remove tape from your first 3 striped and re tape the painted parts. Repeat steps 2-3 until the entire spoons are painted and dried. Once dried, remove the rest of the tape and use your sponge brush for any touch ups.
