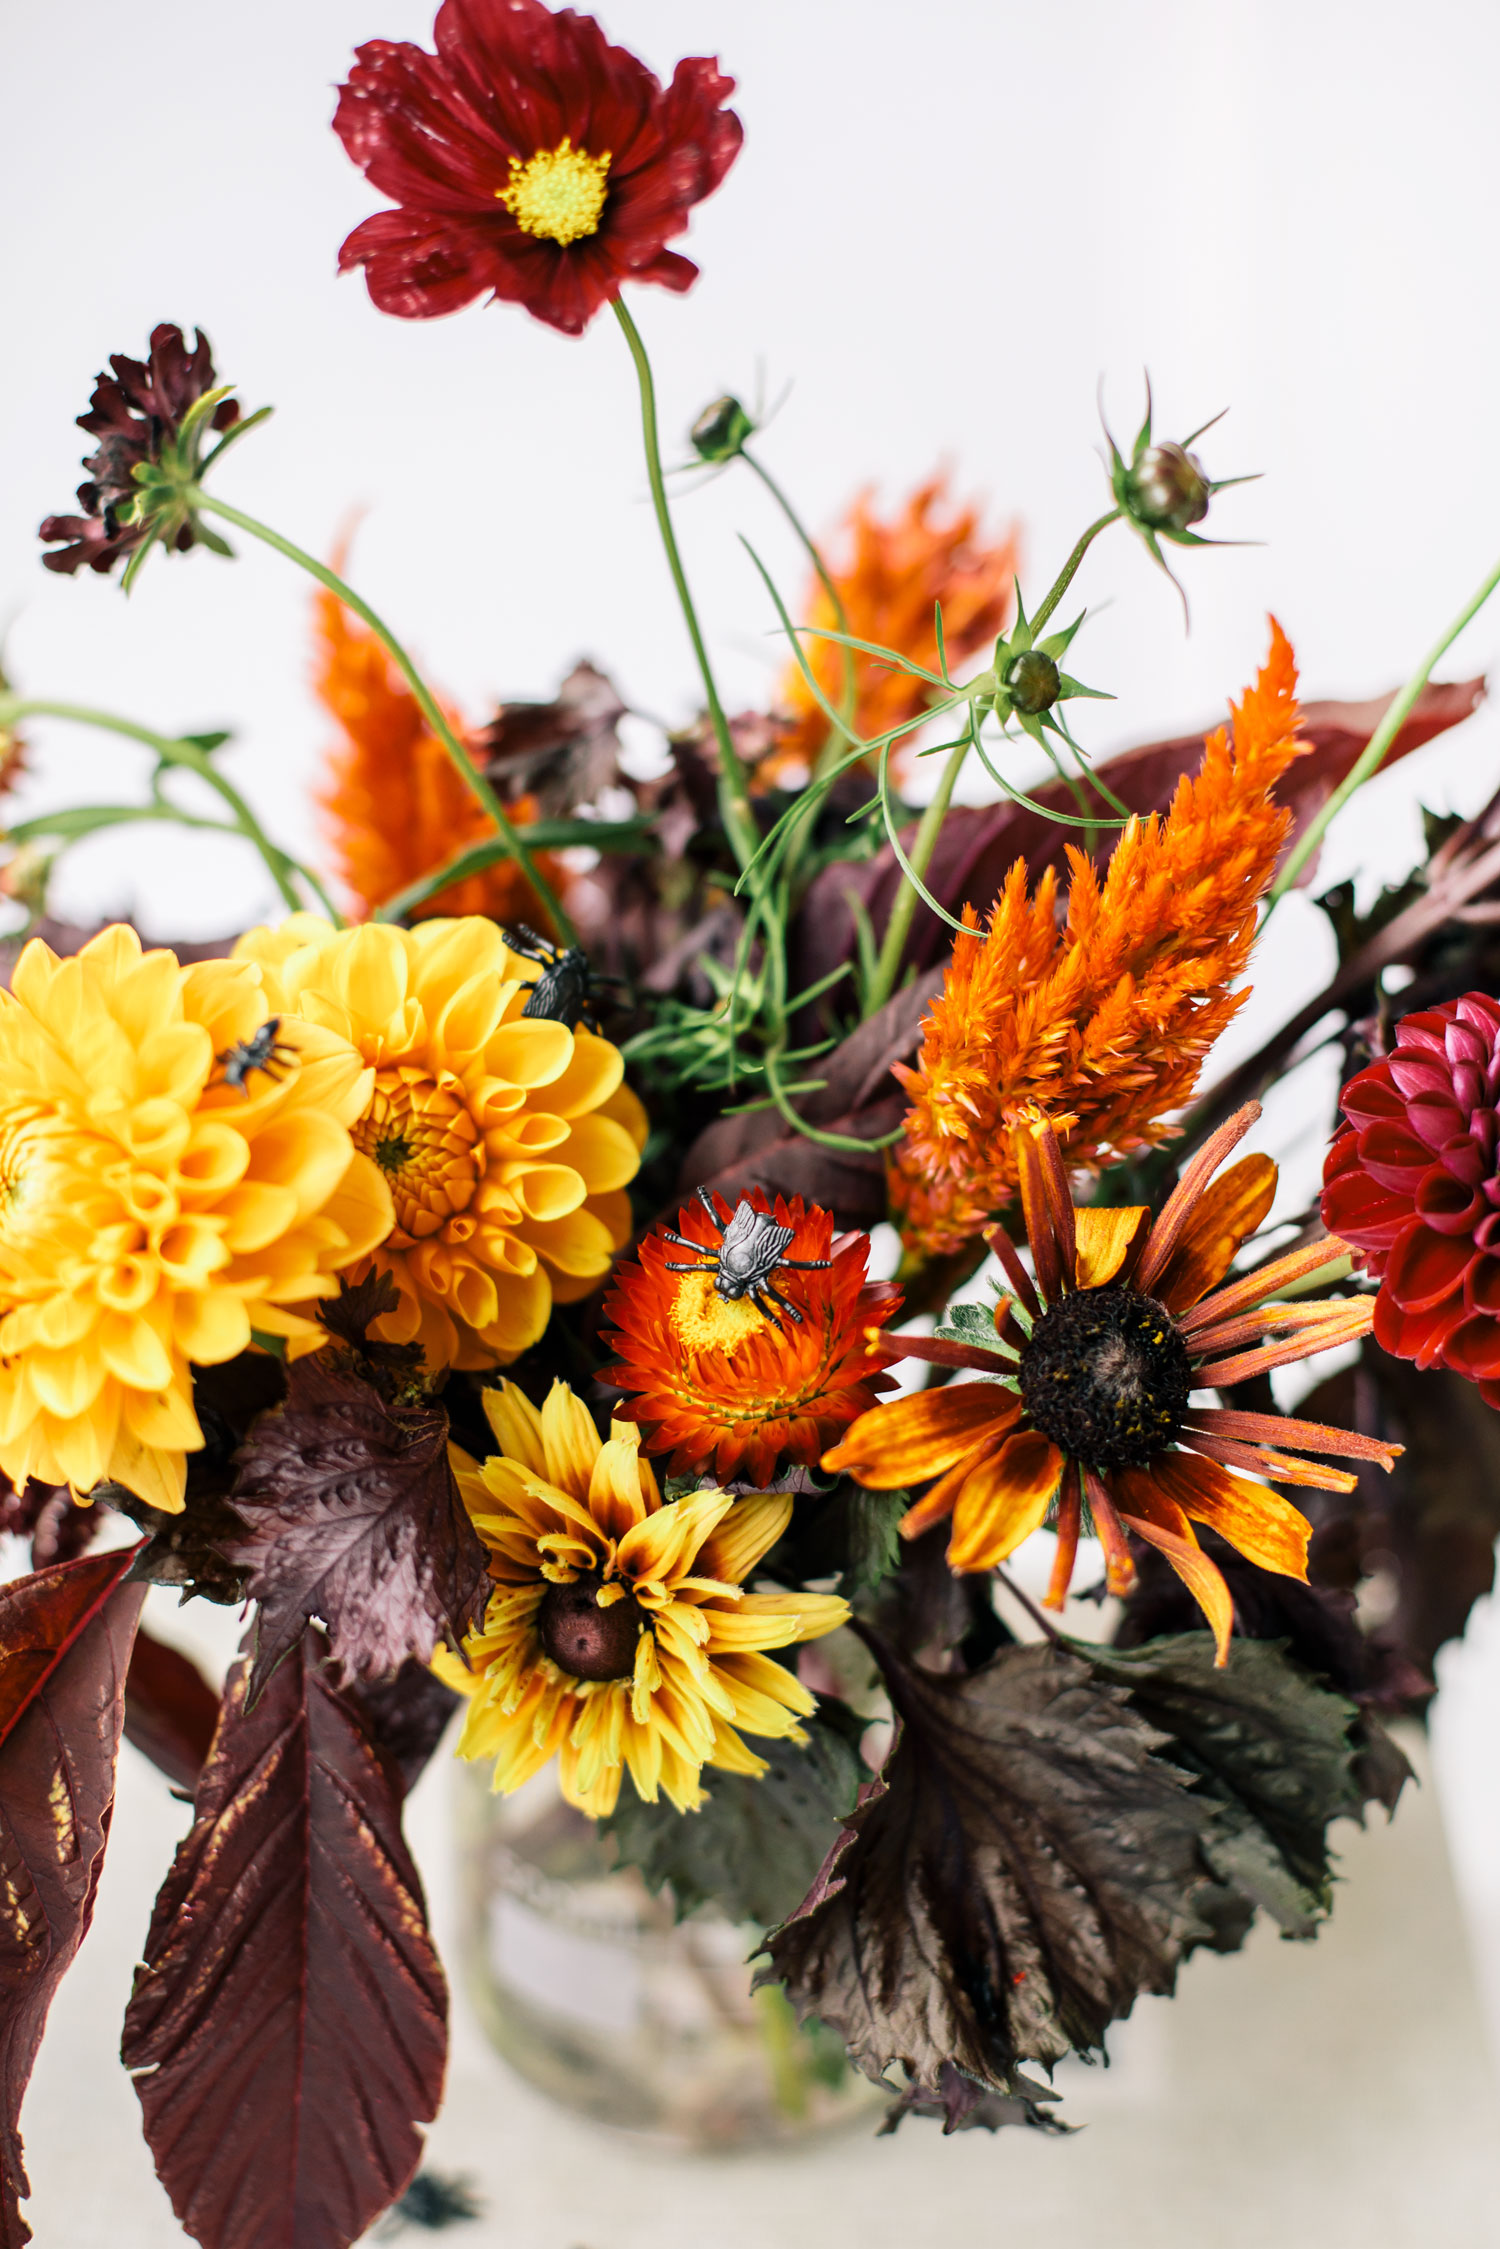
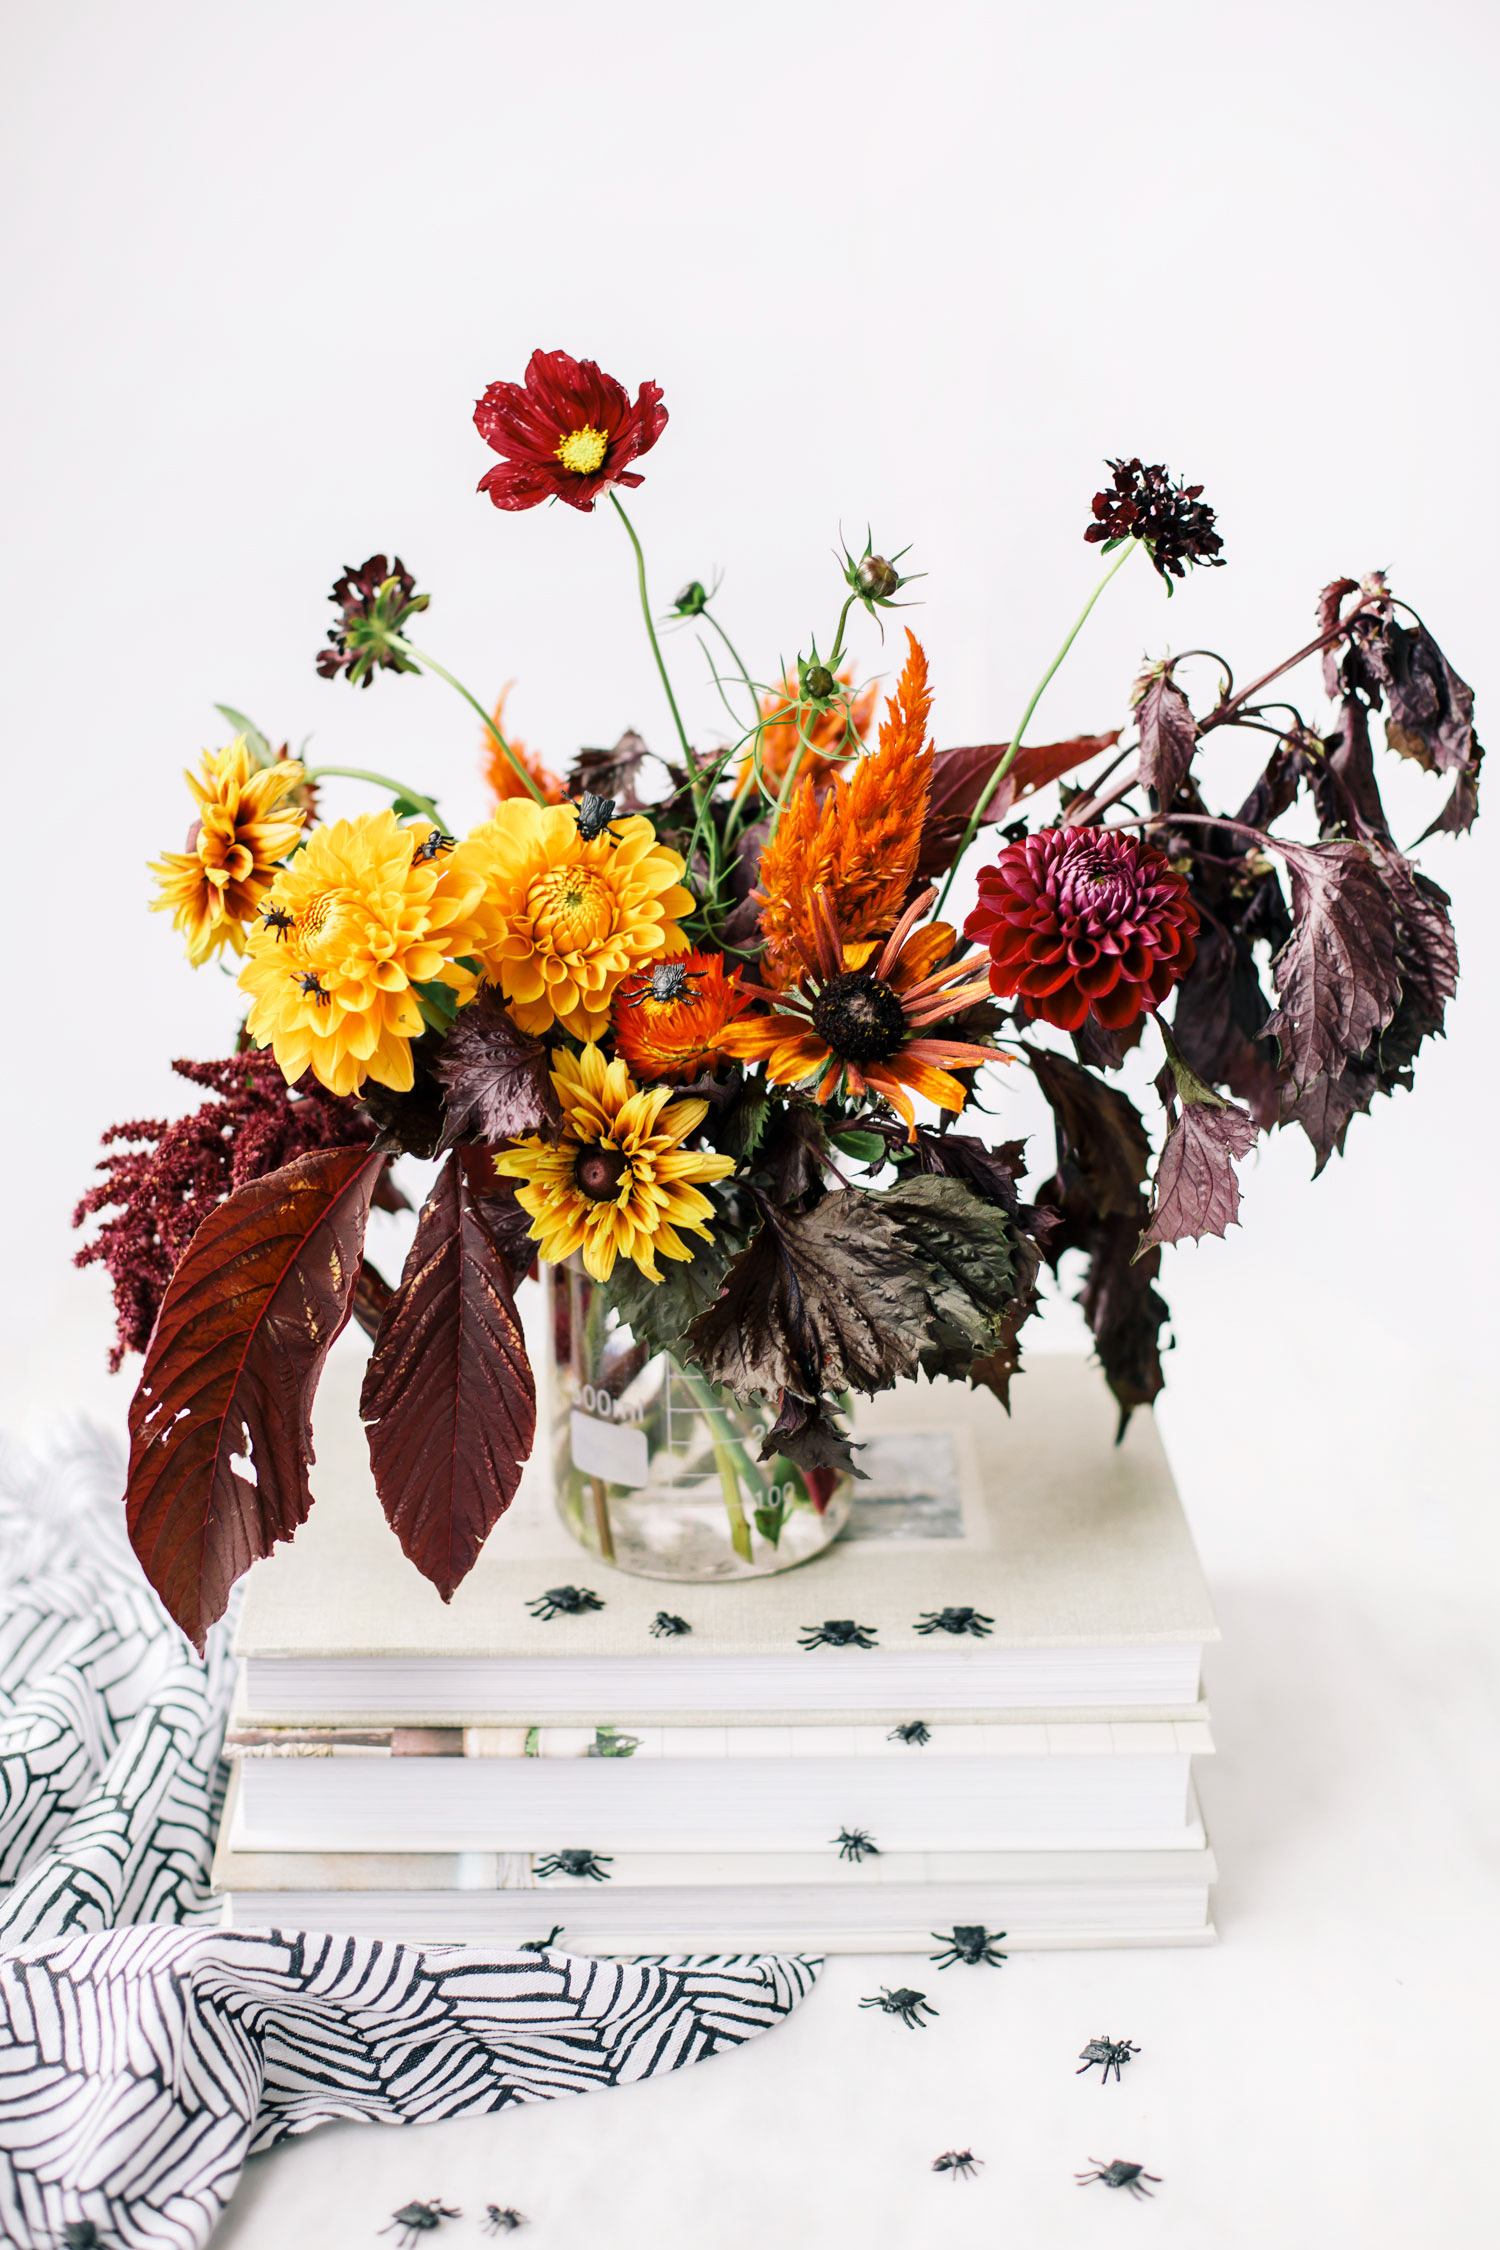
 Before we left for Vermont, I was able to sneak over to The Toronto Flower Market for one of their last events of the season. It was Thanksgiving weekend, so I made sure to go early to scoop up my bounty because I knew the flowers would be picked over quickly. My intention was to purchase local flowers by the stem to use in attempt to design a Halloween inspired flower arrangement. I was so happy with the flowers that were available from gorgeous orange dahlias and asters, to eerie merlot coloured greenery. I found everything I needed to make a spooky, albeit stylish Halloween inspired arrangement at the Toronto Flower Market but I’m sure you can find these flowers at any local flower shop. After my flower run, I stopped into Michael’s and The Dollar Store to pick up some additional Halloween Inspired goodies to make my arrangement that much more eerie. I picked up a glass beaker at Michael’s to use at the vase and a few creepy plastic bugs at the Dollar Store. Both of these cost me under $10 and I love that I can use them both every year. I’m really happy with how this arrangement turned out and think that it is both creepy yet chic and would make for the perfect show stopper on a Halloween tablescape, Halloween party, or simply to enjoy for yourself this October. Keep reading to see how I put this together.
 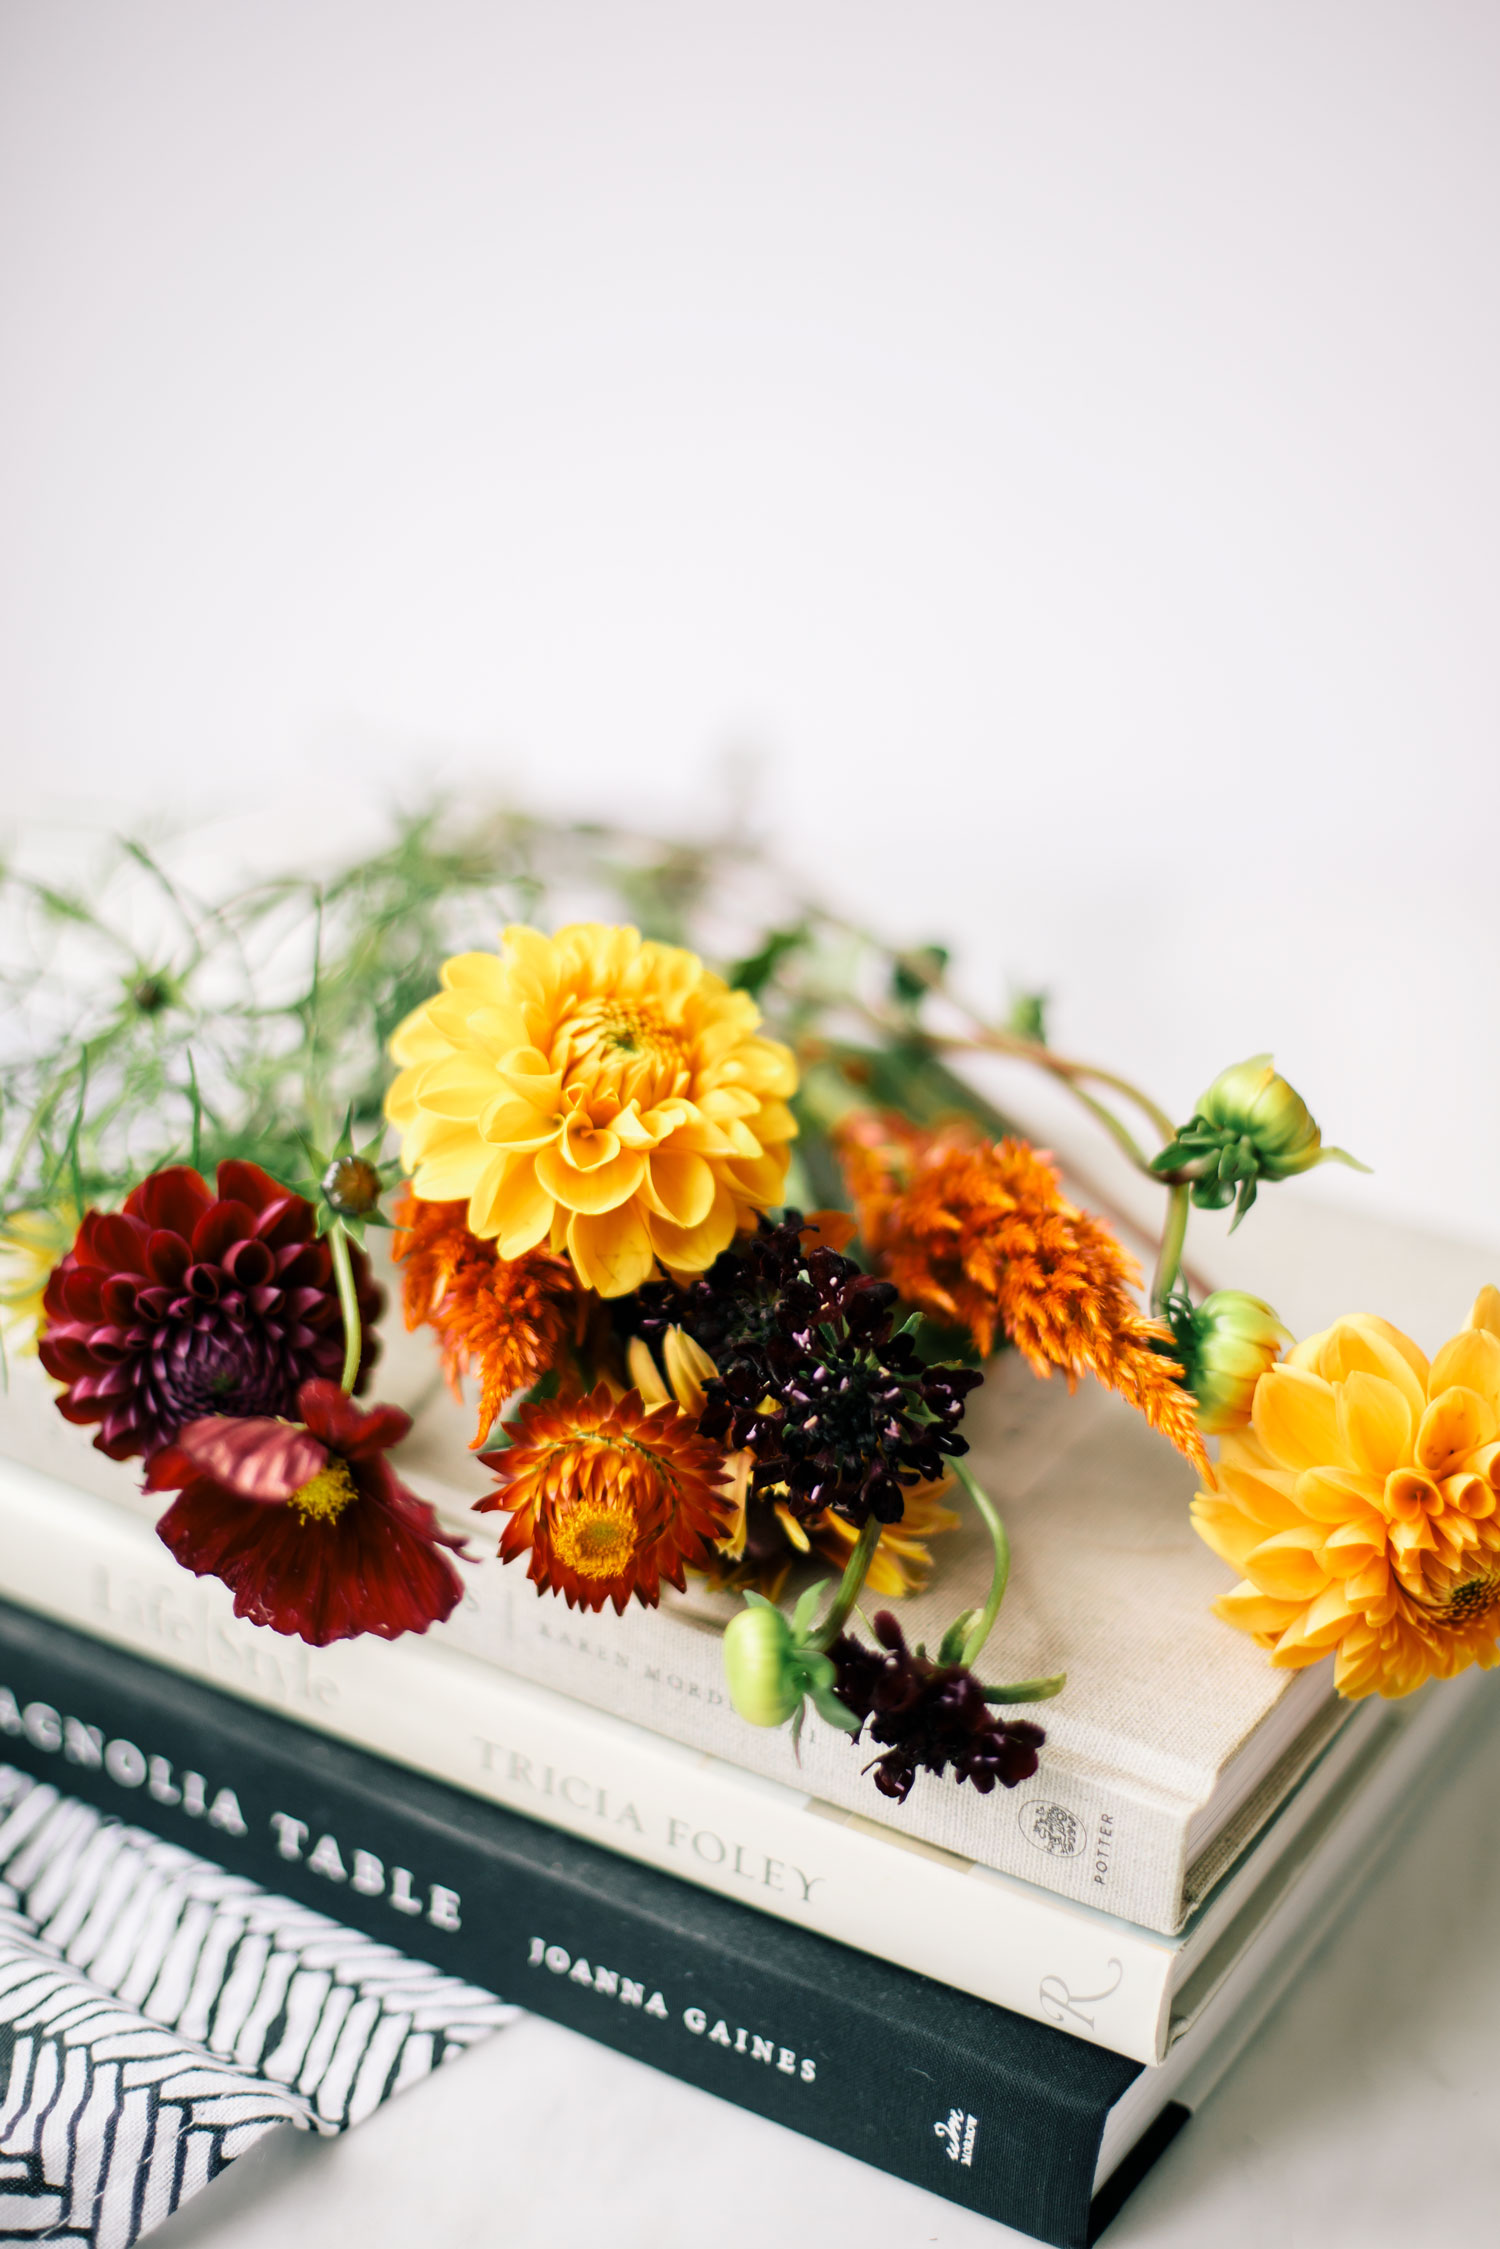 Flowers I used:
Golden Asters
Golden and Burgundy Dahlias
Burgundy Scabiosa
Burgundy Cosmos
Orange/red Straw flower
Purple Knight (I don’t actually think the foliage I used was Purple Knight but I can’t seem to find the name of it online…if anyone knows, please tell me!)
Orange/red Celosia (cock’s comb)
 {Again, I don’t think this foliage is “purple knight” but it is similar}
 What Else You’ll Need:
Vase (I used glass a beaker from Michael’s Craft Store as my vase)
Scissors or shears
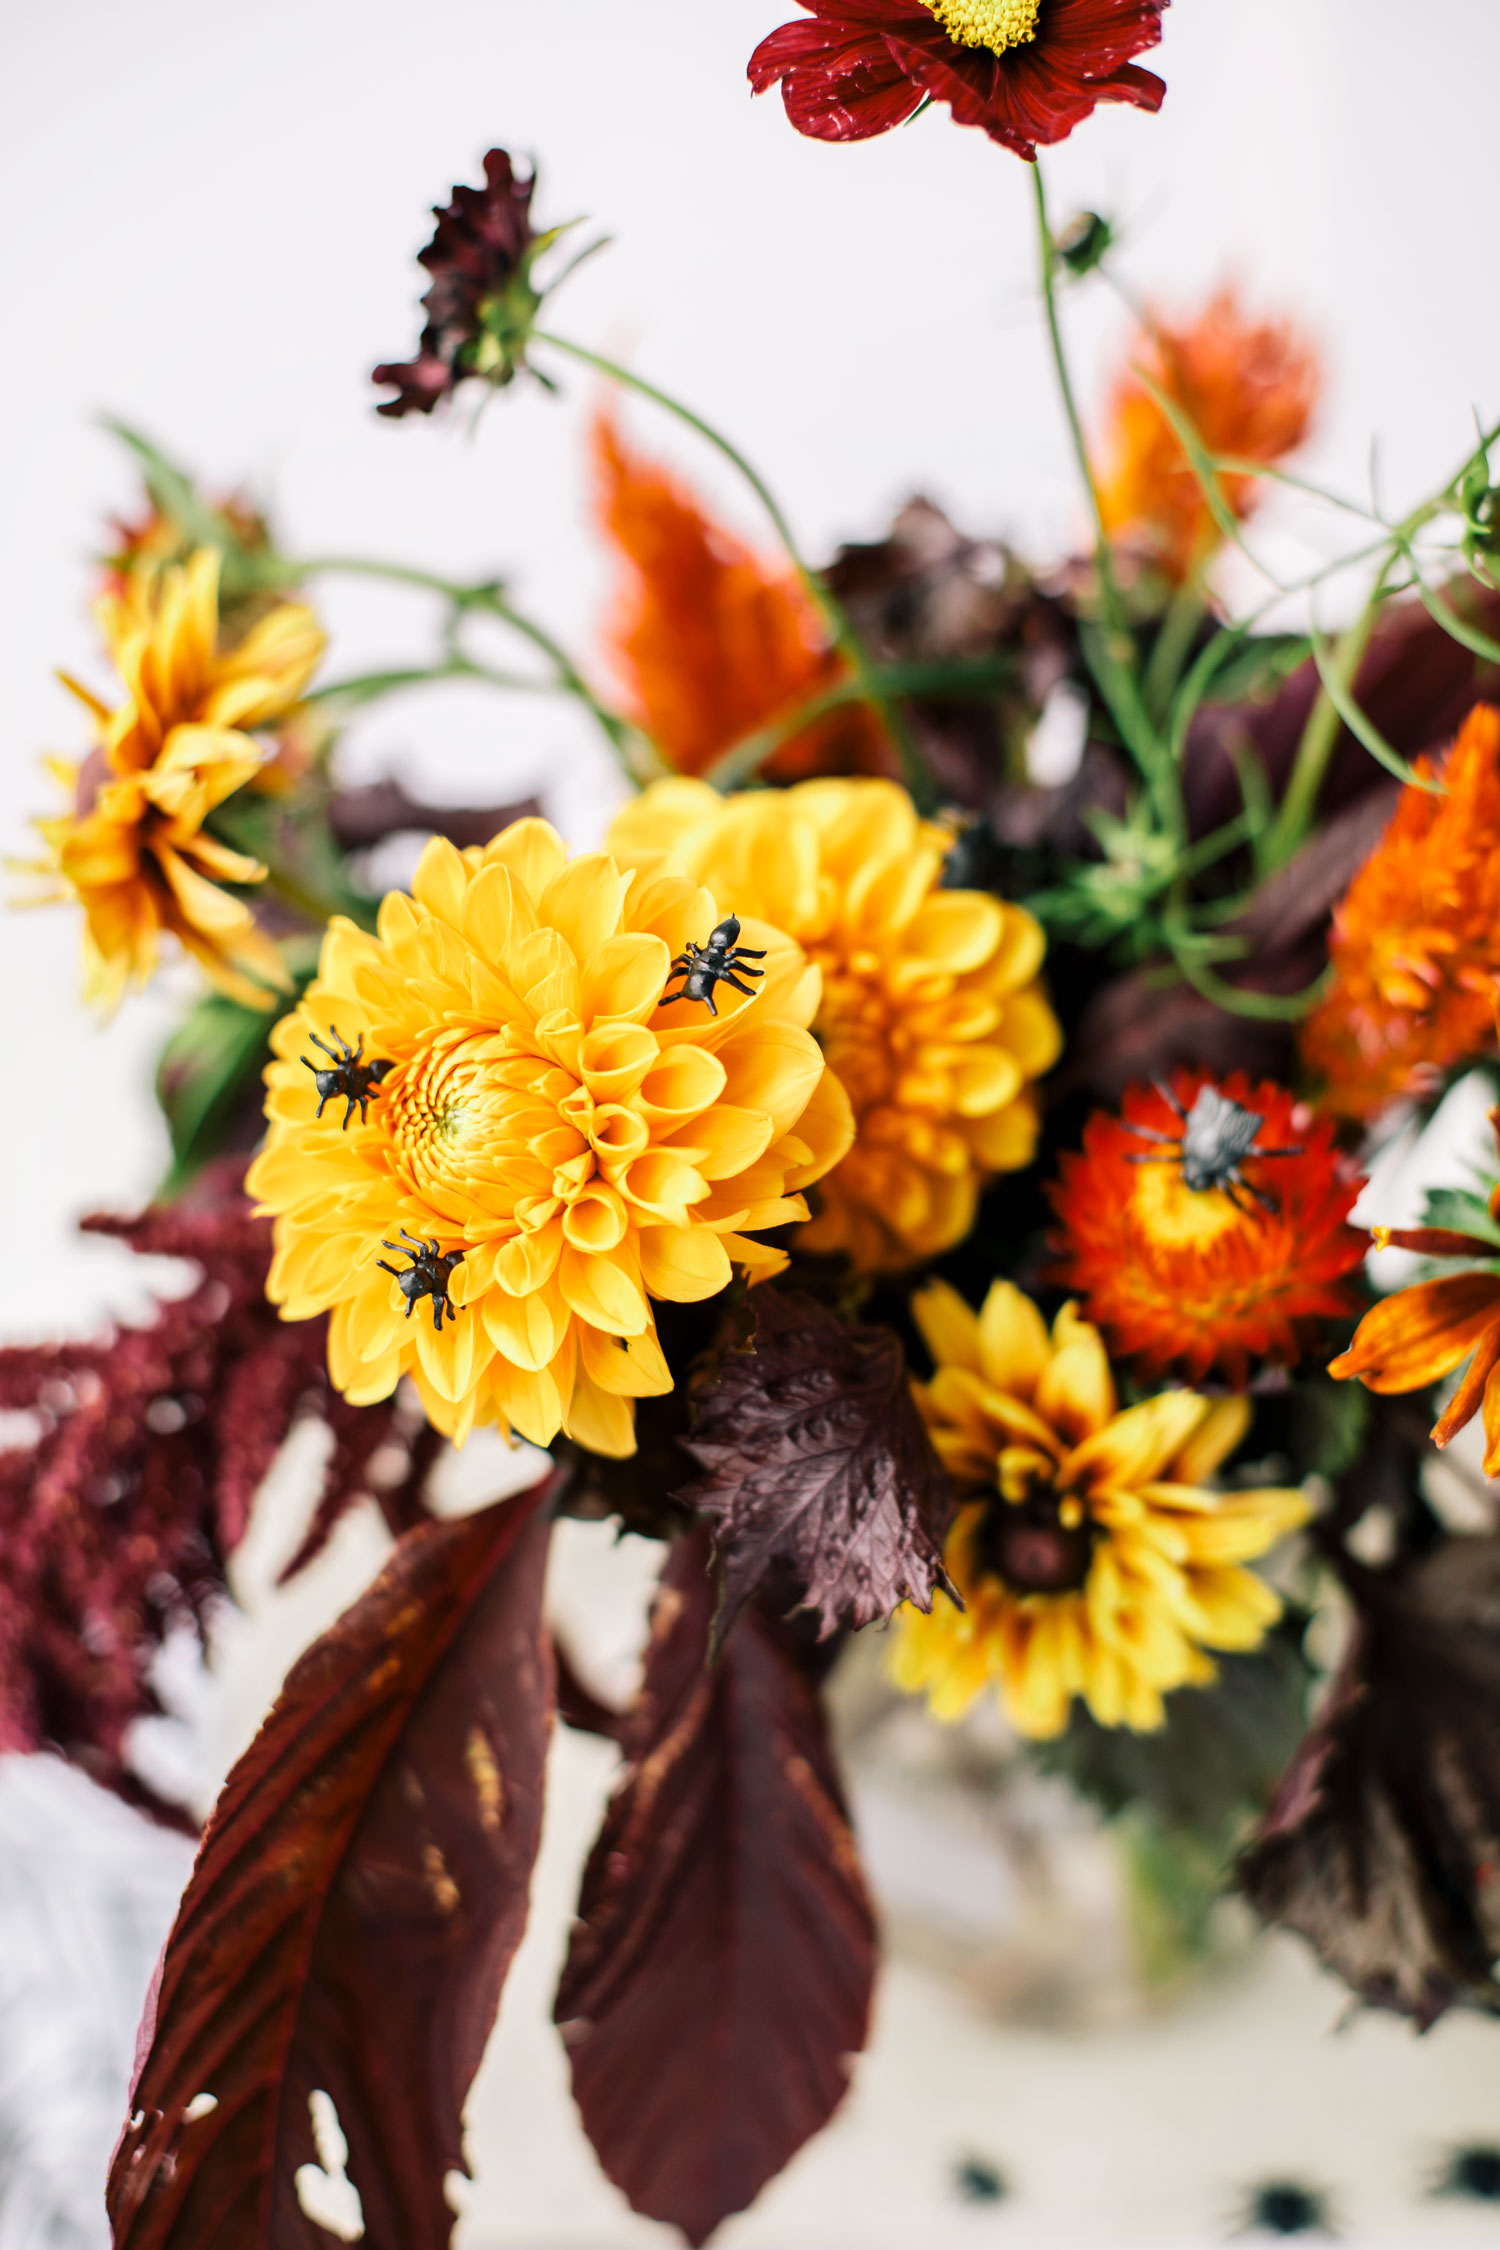
Small plastic insects (I found mine at the Dollar Store)
Crazy glue
Water
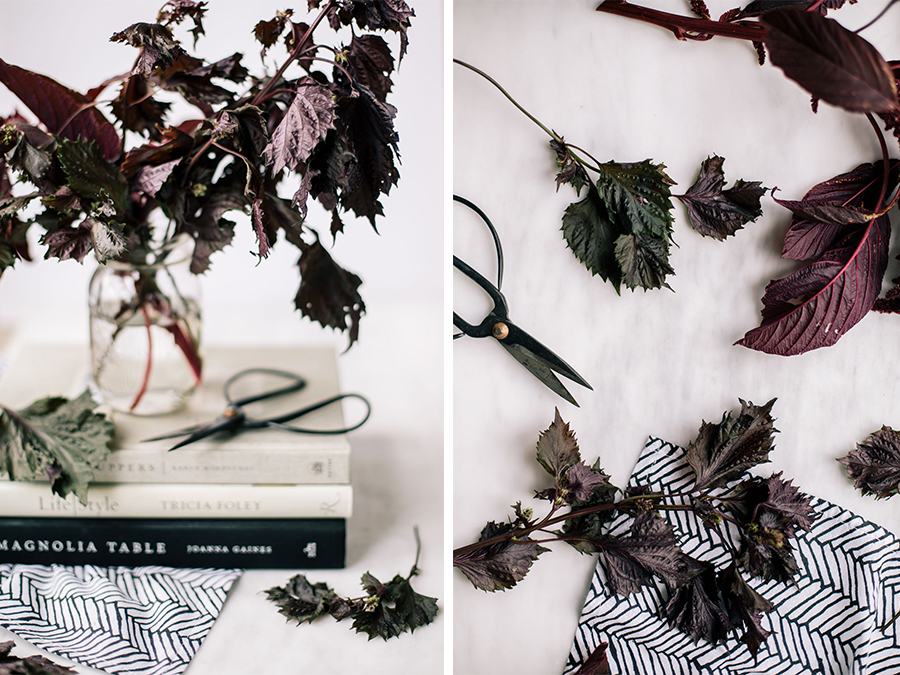
Optional: Floral tape or scotch tape to make a grid at the top of vase so that flowers stay in easier. I didn’t do this but here is an example of what I’m talking about. 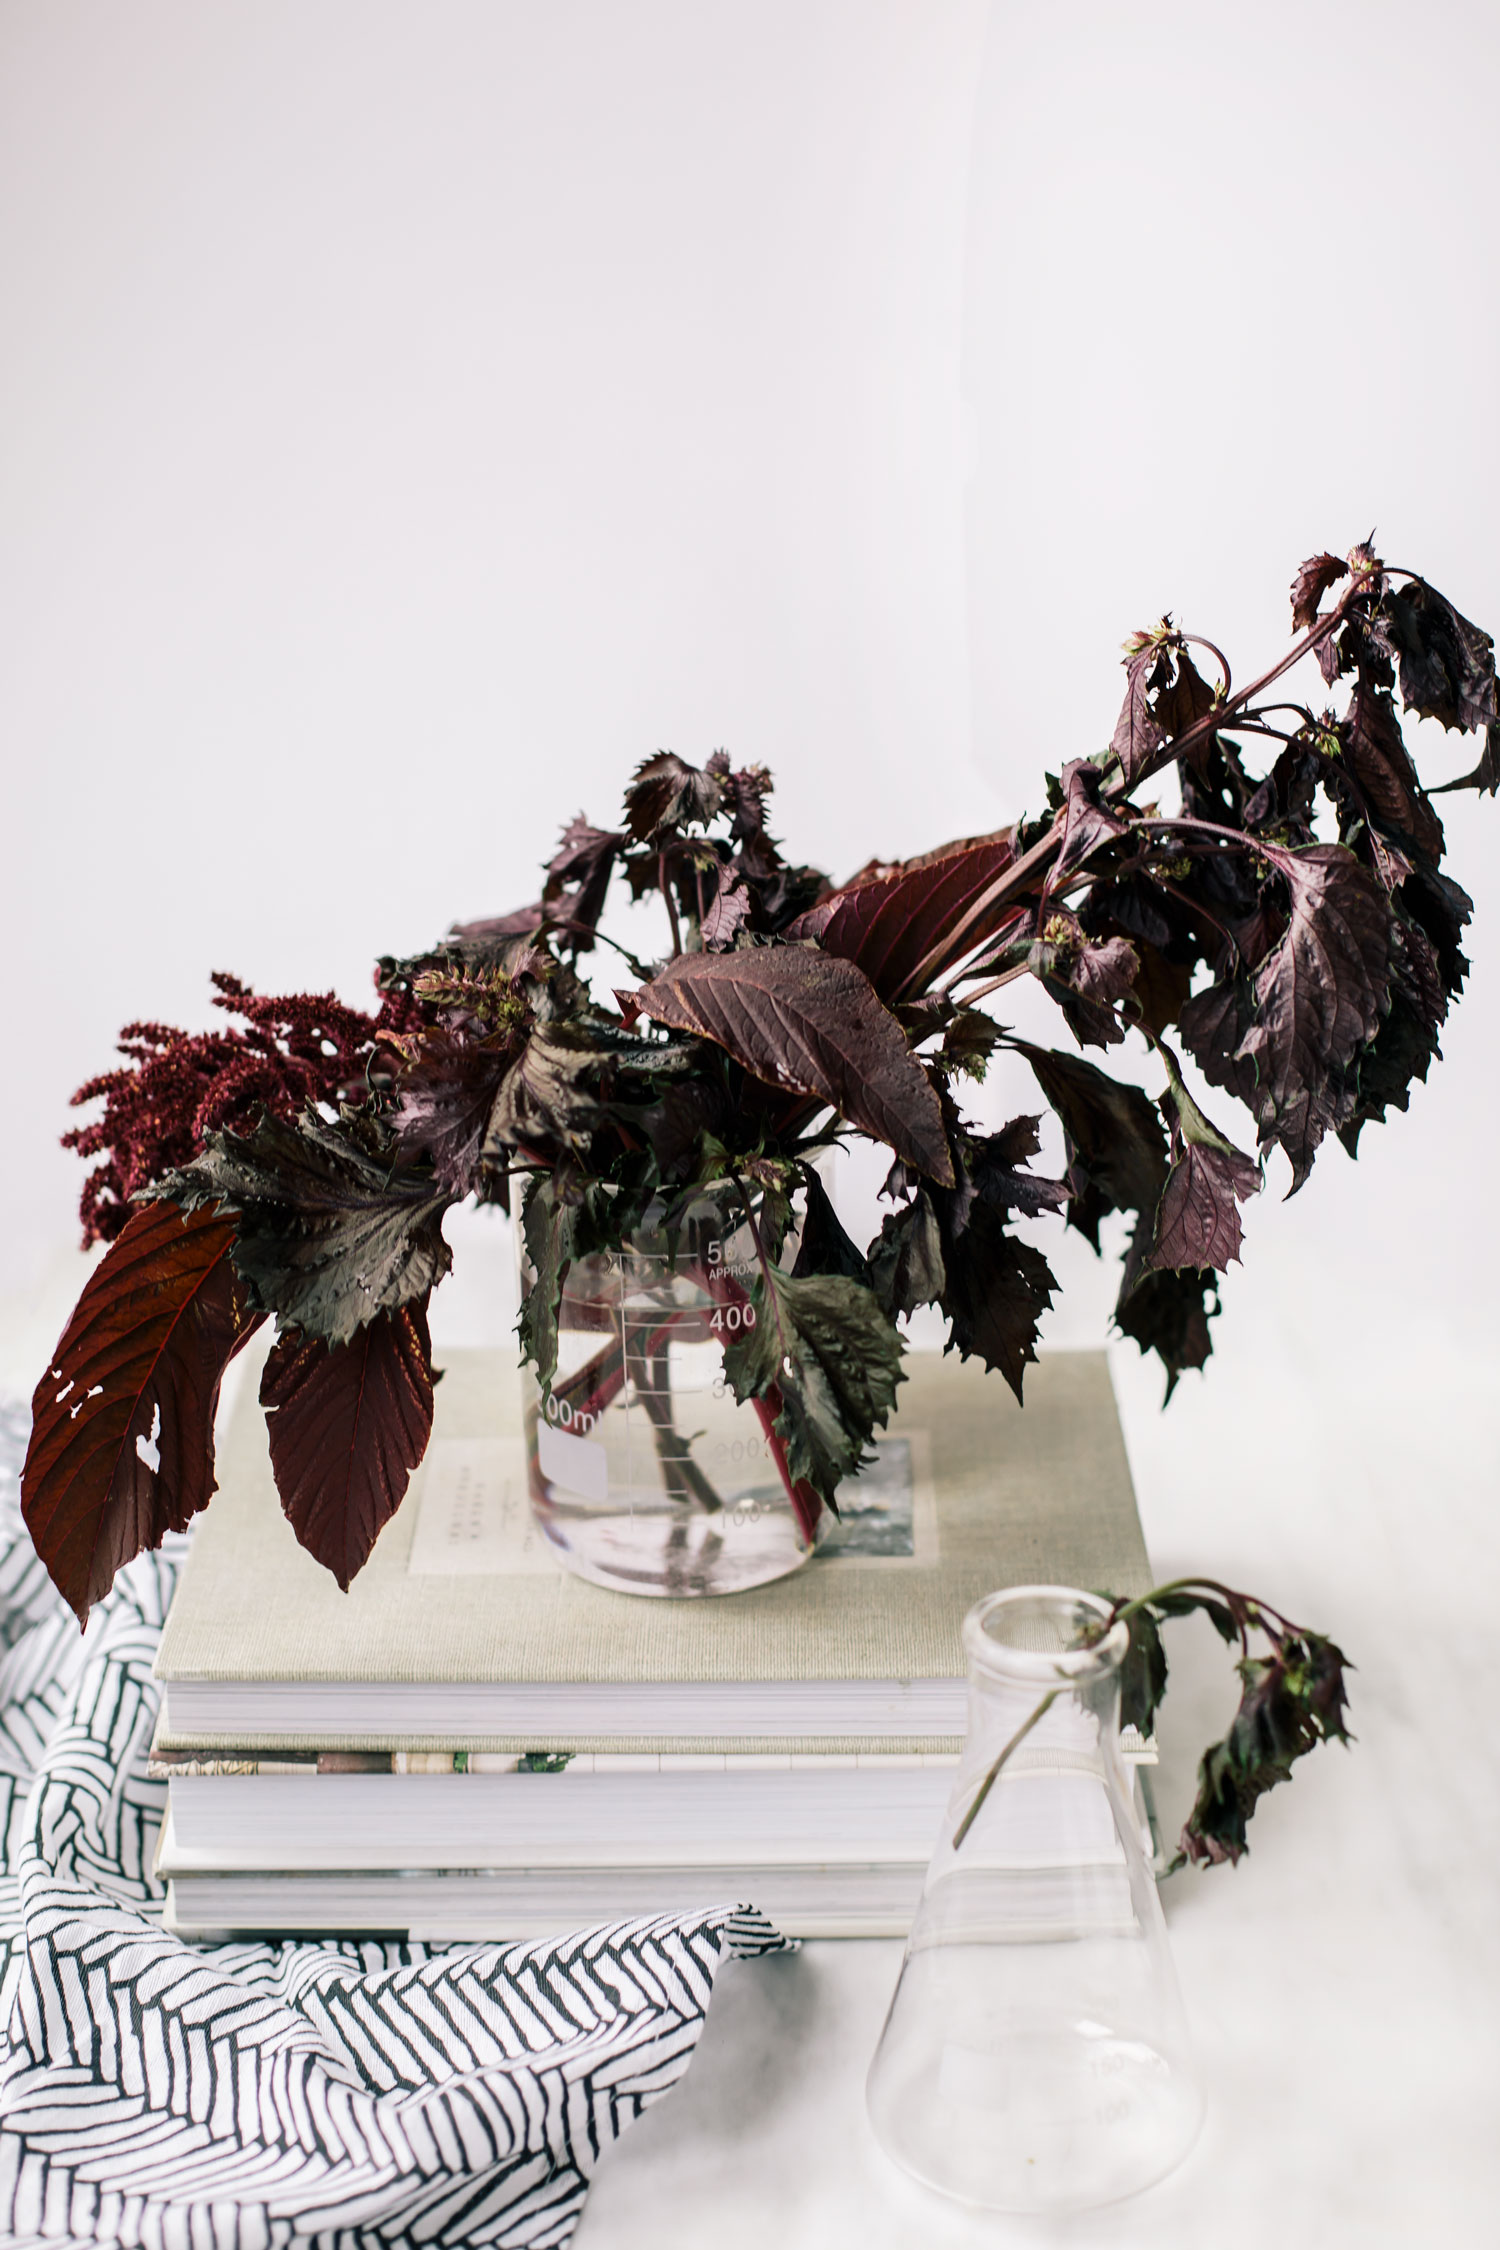 Step 1: Fill up your vase about 1/2 to 3/4 of the way with water. Start placing foliage/greenery into your vase. If you are making a grid with tape, do this after filling vase with water and then follow-up by placing greenery in the squares you have made. I simply placed my foliage into the beaker and didn’t use a grid. For the foliage, be sure to build one side lower and one side higher so that your arrangement has that garden inspired feel. I kept the right side higher and the left side lower (see photo above). You’ll also want to stuff as much foliage in as possible into your vase without overwhelming it. This way, you don’t have to buy a ton of flowers which can get expensive. When filling the center with foliage, make sure the it’s cut lower, this will help you create that low to high shape we’re trying to make. If you have any small left over pieces, stick them over the side so that they naturally drape and hang over. This will create that garden inspired look and it looks super eerie with this particular type of foliage.
Tip* make sure to trim all stems on an angle and remove any excess leaves…you don’t want any leaves touching the water as it creates a breeding ground for bacteria and your arrangement will not last as long. Also, if you can, trim and change the water daily so that your arrangement will last as long as possible.
 Step 2: Next, place larger flowers into your arrangement…in this case they were the dahlias and asters. I started with my dahlias and placed the golden ones on one side and burgundy on the other. I cut the dahlias at different lengths but kept them grouped together. In garden inspired flower arranging, you typically keep groups of flowers and their colours together as it looks more professional.
Step 3: I added in the golden asters and straw flower in the middle of the arrangement, also close to each other and each a different height. I then moved onto the smaller, more delicate flowers which were the cosmo and scabiosa. I added these in last and kept them tall and free-flowing again, to give that garden vibe. Finally, I stuck in the Celosia but I did sort of place these in whatever empty spots I had left over…I think these really tied the arrangement together.
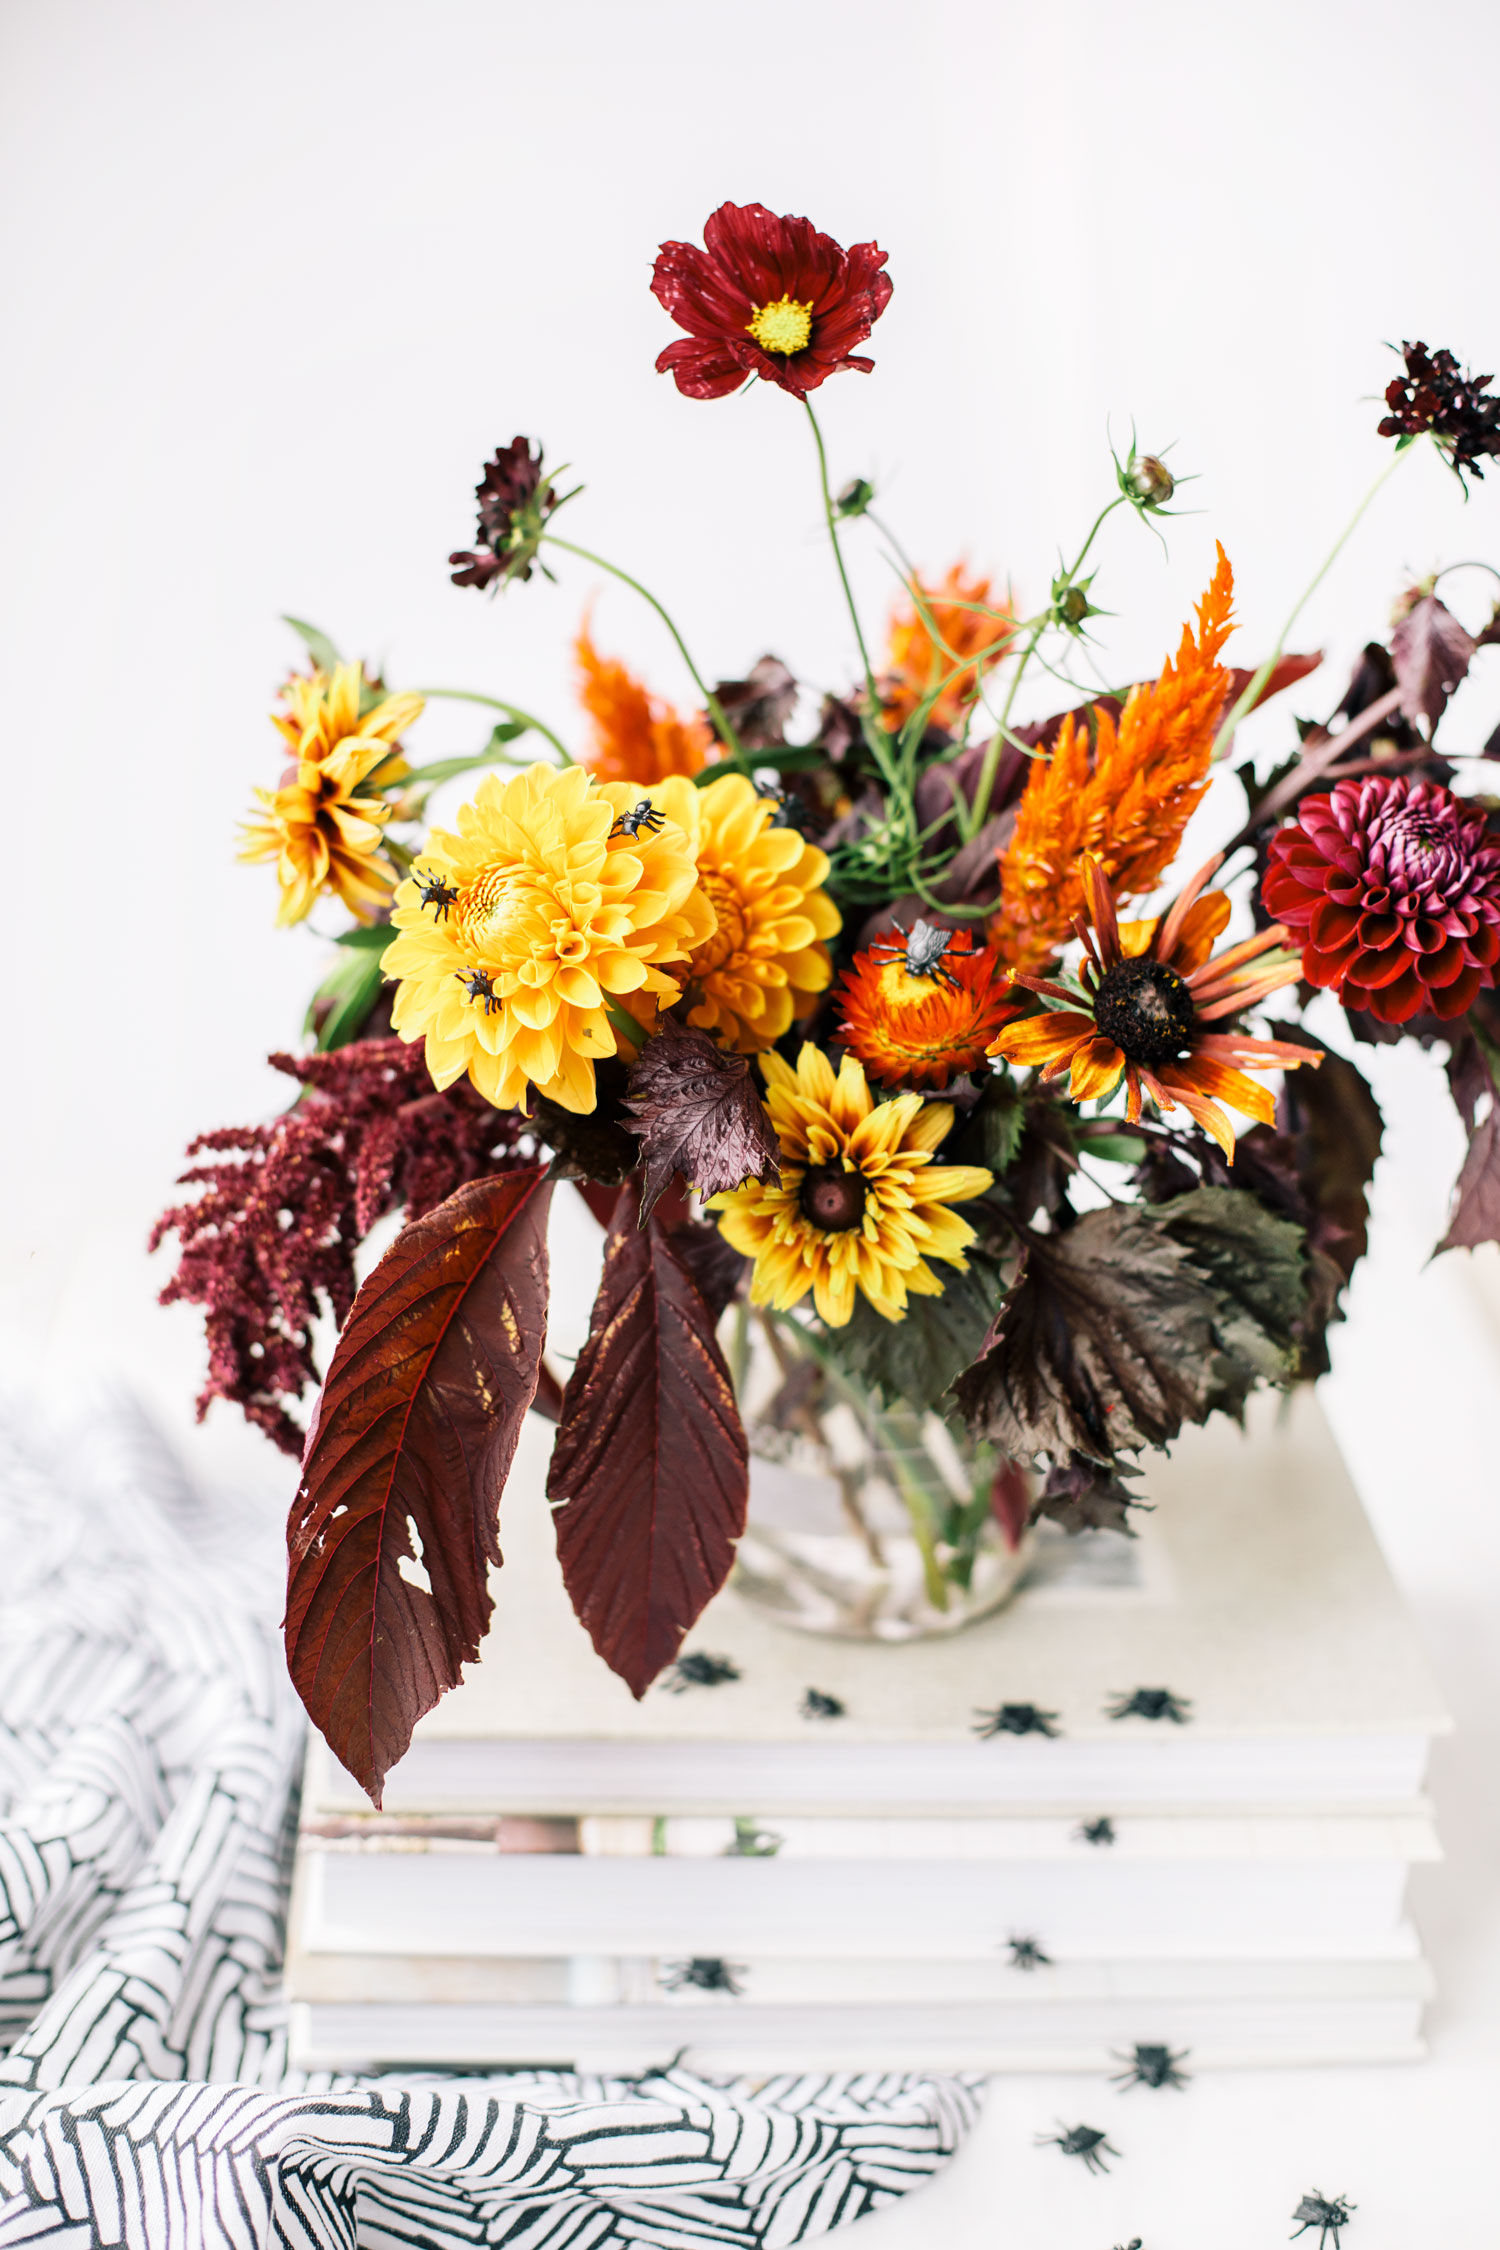 Step 4: Once I was happy with my arrangement I pulled out my faux insects, placed a small dot of crazy glue on them and stuck them to a few of the more durable flowers (the dahlias and straw flowers). You could also stick a few onto the vase if you’d like…I think that’d look really creepy!
Step 5: Enjoy your Halloween flower arrangement!