By now I am sure you are all used to the fact that I am forever changing things around in our home. It’s a bit of a problem actually, but I can’t seem to commit to keeping things the same for too long. I am constantly trying to figure out how I can easily tweak things to add more personality and impact and am forever rearranging and organizing (I think it’s the Virgo in me). I have always been obsessed with hat walls (seriously, I have a whole Pinterst board dedicated to them) so when I recently realized that I have enough summer hats to create one behind one of our dressers I went straight to work. Making a hat wall is really simple and all it takes is a few nails, a hammer and patience but I did learn a few things along the way and wanted to share them with you today. Keep reading for a few tips I picked up from creating our hat wall.
PS: In case you were wondering, this is what the wall/dresser looked like previously.
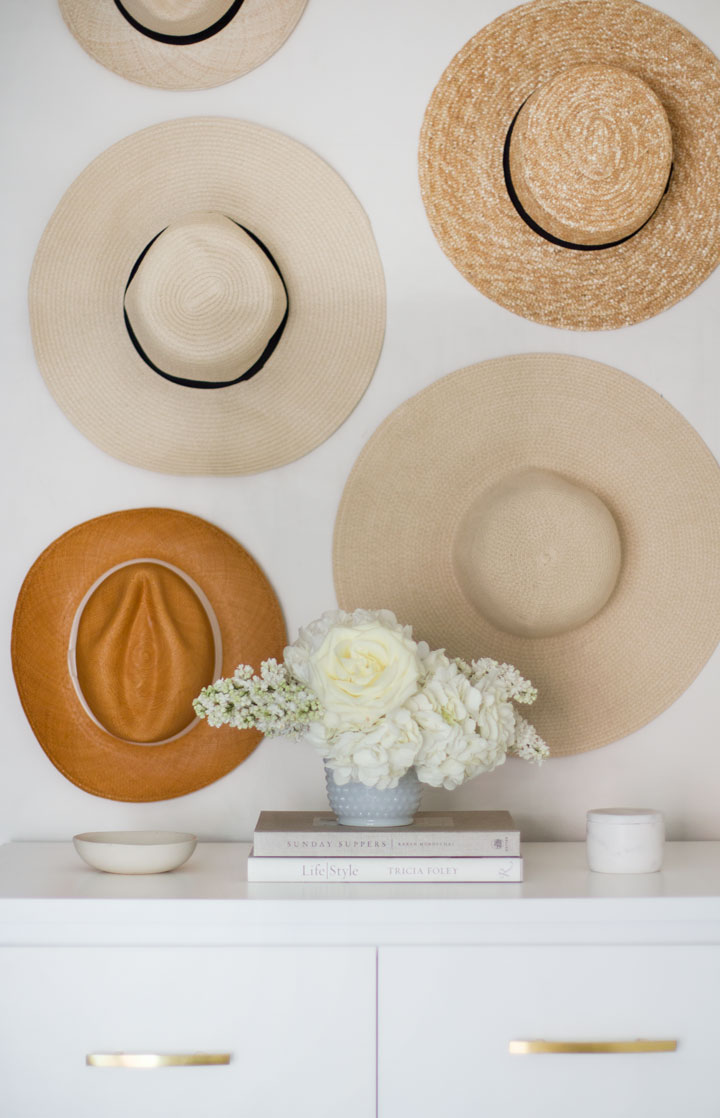
Odd Numbers Work Best: If there is one thing that stuck in my mind after taking a visual merchandising class it’s that odd numbers look much more appealing to the eye than even numbers do. Much like the rule of three in literature or comedy, visual merchandising often follows suit. Because the space I was working with was a bit too large for just 3 hats I decided to use 5 and presented them in a scattered way. 5 hats keep the wall looking a bit off balanced and it adds interest, which is important for grabbing attention and keeping the eye moving around. 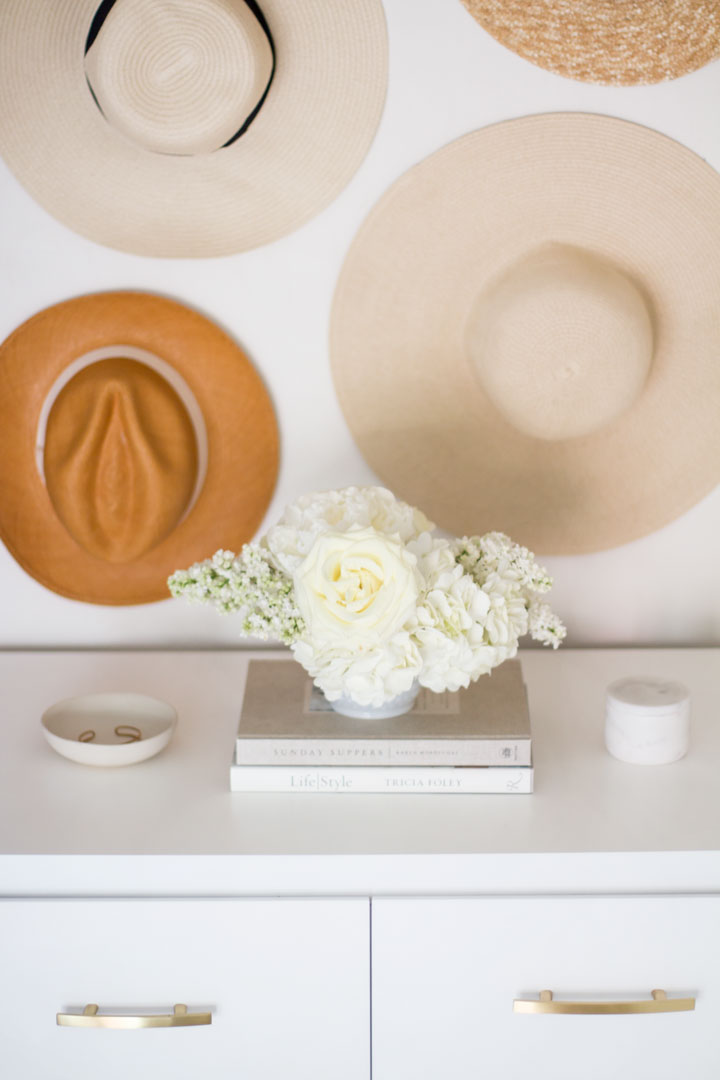
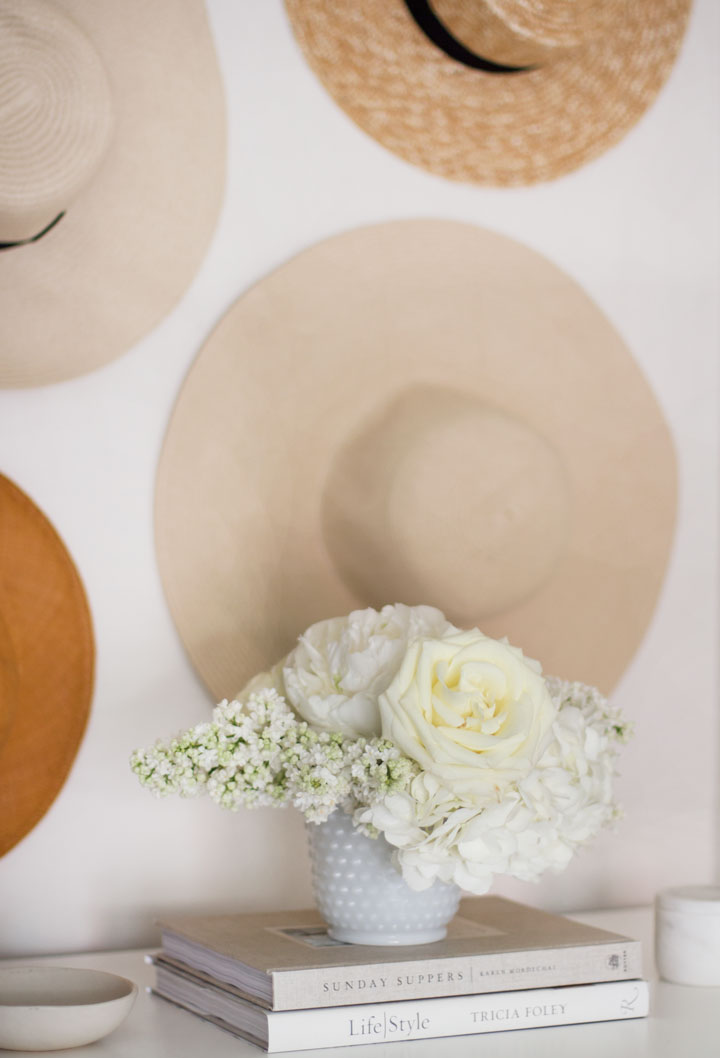
Play with textures, colours and sizes: Another important aspect of creating a hat wall is paying attention the shape, texture and colour of each hat. For my hat wall I wanted to use only neutral coloured hats, so I kept everything in the same colour palette and focused on adding different shades of cream and yellow. This helped add interest to the wall while still keeping it looking clean and classic. I also made sure to find different styles of hats in a multitude of sizes like a straw boater, large brimmed sun hat and a couple of Panama hats to keep the wall from looking one dimensional.
Make sure the hats are easily taken on/off: Because I want to actually wear my hats as well as display them, I made it a point hang hats that I will be wearing more often closet to arms reach. I am not the tallest gal so no matter what it’s going to be a pain to grab my hats, but I found tucking a small, foldable stool under our bed to be a good solution for me, haha! I also found using very thin nails that stick out a bit further from the wall to be a very practical way to hang my hats. they easily slide on and off which is definitely something to note when making your wall. 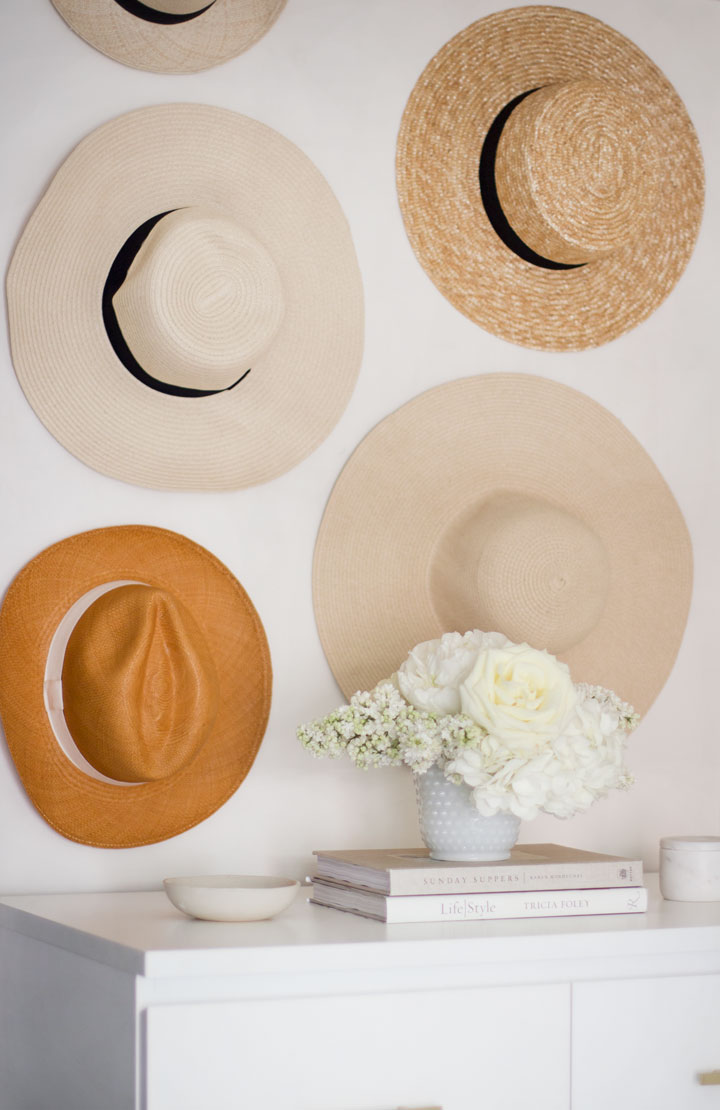
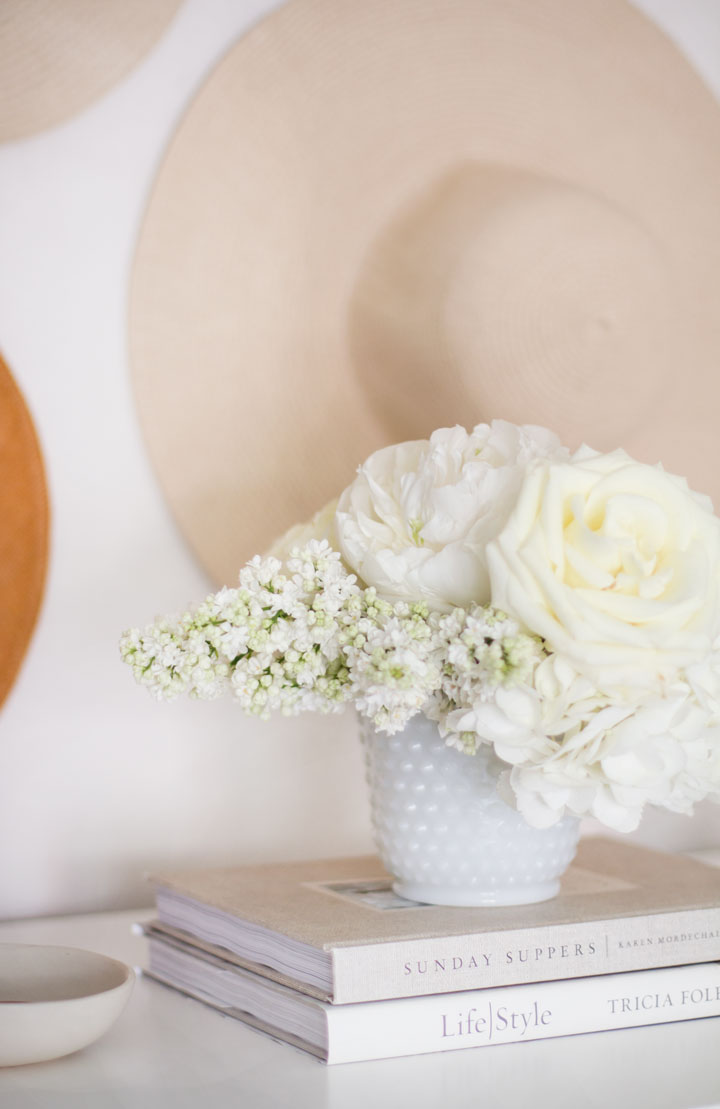
Keep Things off the Wall Minimal: Previous to the hat wall, the dresser on my side of the room felt a bit cluttered with things like jewelry, candles and knick knacks, which were a bit of an eye sore. Because the hat wall already makes such an impact, I wanted whatever was on the shelf below to be kept really clean and simple. I picked out a few pieces of my favourite jewelry to put in a marble bowl and ceramic dish, displayed two neural coloured books, and added fresh flowers…because every room needs those!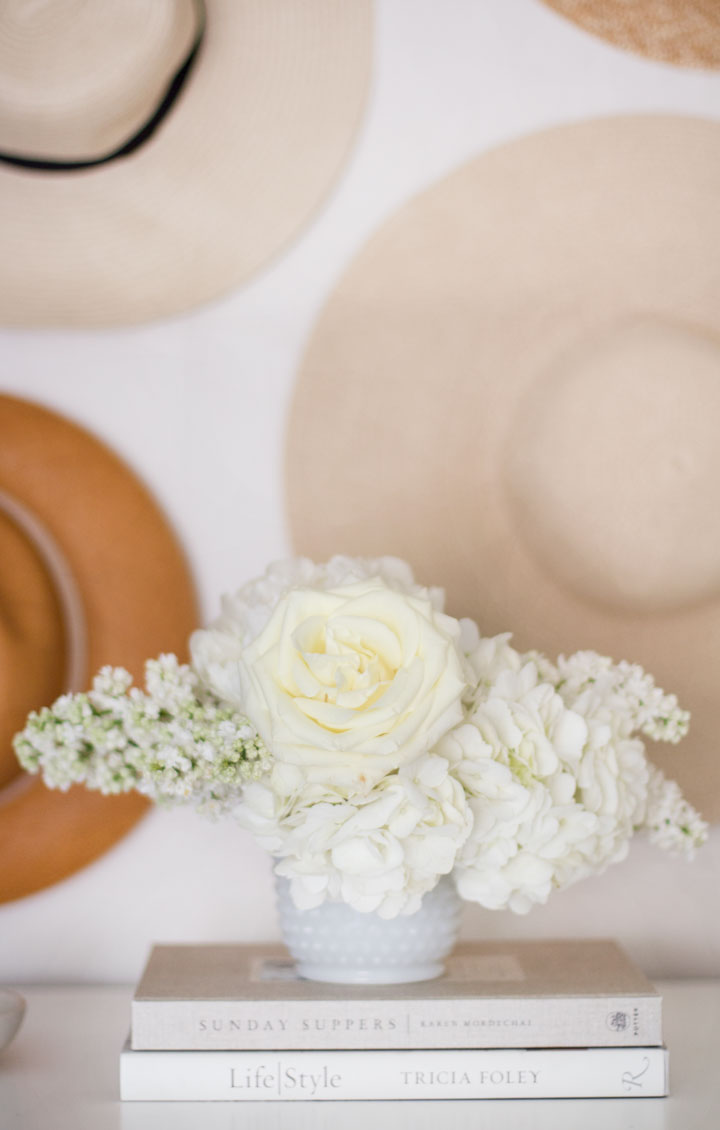
Shop my hat picks here: