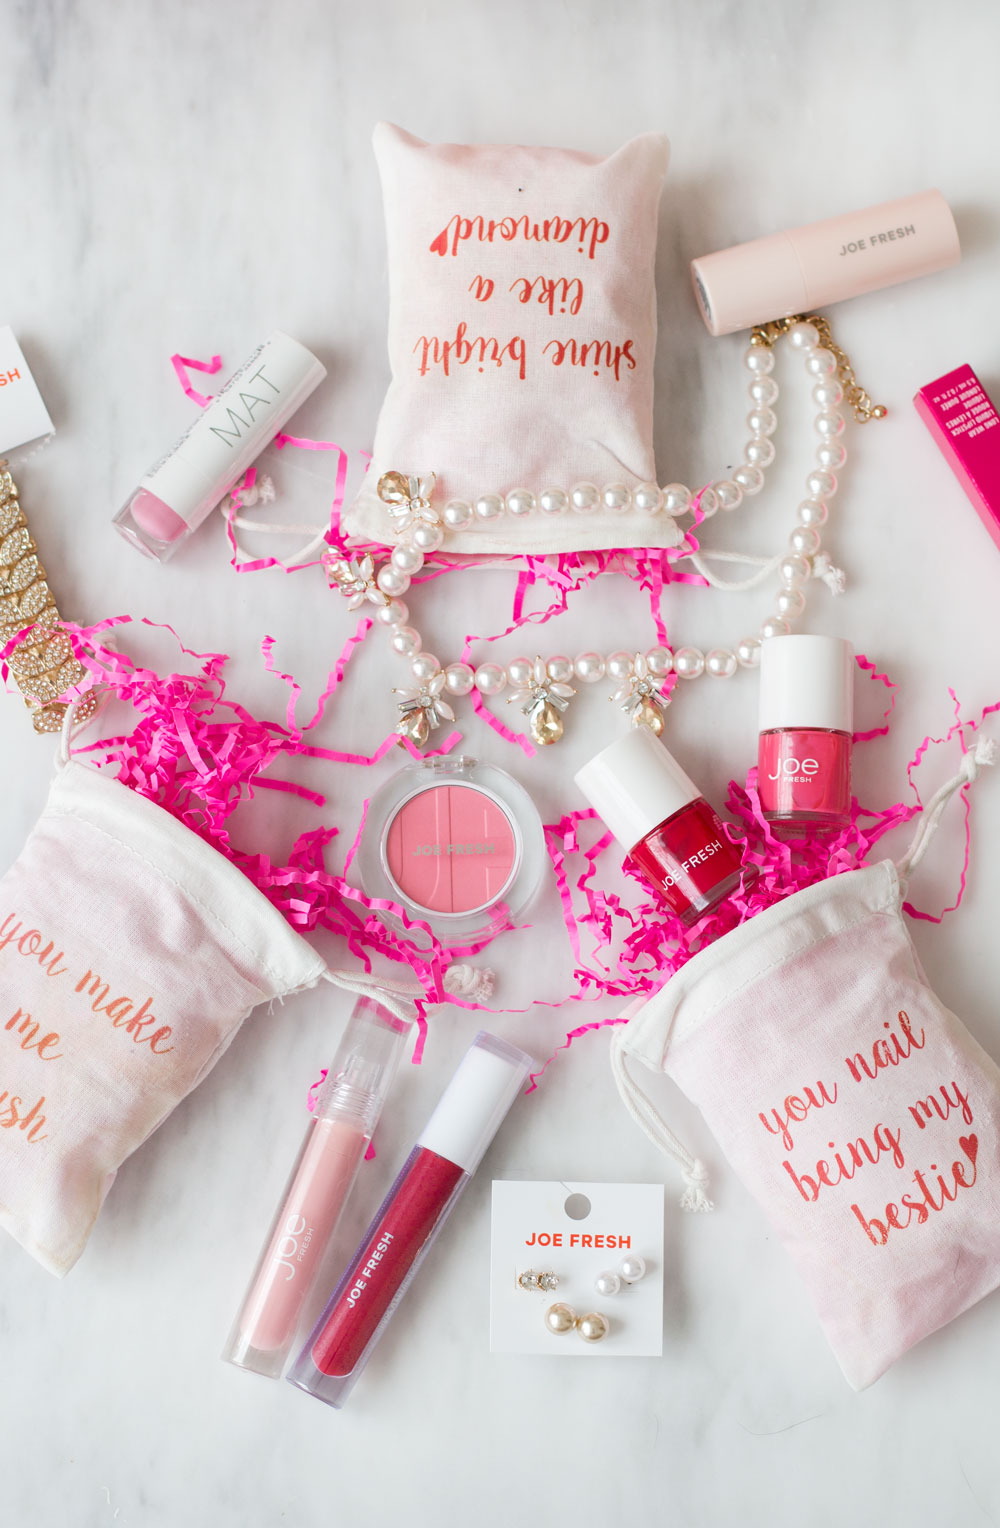
As a child some of my fondest elementary school memories revolve around celebrating Valentine’s Day. Not only was it an excuse to have a day off from math class and eat cake (I’m more of an art class kind of girl) but making my Valentine’s Day mail box was what I considered to be the ideal way to spend my time. I also remember the feeling I got when I went home after class to sort though all of the Valentine’s I had received and the fun I experienced sending out my own, hand written Valentine’s. Not much has changed in the way of my love for arts and crafts and my feelings about Valentine’s Day…except now I have to dream up adult-appropriate ways to celebrate it. Enter: Galentine’s Day pouches! There really could be nothing sweeter than creating a handmade gift for your girlfriends, especially when they’re filled with make up, jewellery and chocolate! Because I wanted this to be an inexpensive DIY that anyone can create I turned to my friends at Joe Fresh for help. They have an amazing selection of affordable make up ($3-$12) in very appropriate Valentine’s Day colours and jewelry that packs a big punch. I picked up my choices at Shopper’s Drug Mart and got to crafting. These little pouches were so easy and affordable to create I see no reason why us adults shouldn’t be getting our mail boxes ready for them this Valentine’s Day. Get crafting ladies, your gal’s will appreciate it!

What you will need:
1. Cotton pouches (I purchased mine at Michael’s)
2. Iron on transfer paper + iron
3. Scissors + towel
4. A selection of Joe Fresh beauty products/jewelry or that of your choosing
5. A variety of candy, chocolate, paper stuffing and confetti (I purchased mine at the Dollar Store)

Step 1: Begin by creating sayings on Photoshop or Word, I used a size 40 font in Sweet Pea (one of my favourite free fonts). Because I was using make up and jewelry to fill my pouches I decided to write clever sayings that matched what was going inside each. “You make me blush” “shine bright like a diamond” and “you nail being my bestie” were a few puns/plays on words that I thought were cute and worked well for the theme. Before printing out the sayings on the transfer paper make sure to flip them horizontally to mirror themselves so that they will be ironed on correctly.
Step 2: Slip a small towel in between the pouch so that each side is separated. I used a thick piece of paper (shown above) but after some trouble I realized that a rolled towel would have worked much better.
Step 3: Place the saying that you want to be transferred on to the pouch, making sure that it is centered, even and will be transferred and read from left to right. Place the iron on top of the paper and follow the directions given on the package (normally moving the iron in a circular motion for 20-30 seconds). The first iron I used seem to be too hot so I had to use a less “professional” iron. Unfortunately the pouches I purchased were also not the best material for iron-on transfers and they seemed to brown easily so make sure to look for 100% cotton pouches and you should be a-ok.
Step 4: Gently remove the piece of paper and you will have an adorable pouch with a sweet saying ready to be filled! I filled mine with pink shredded paper stuffing, make up and jewelry from joe fresh (in the appropriate pouches), chocolate, candy and some heart-shaped confetti.


