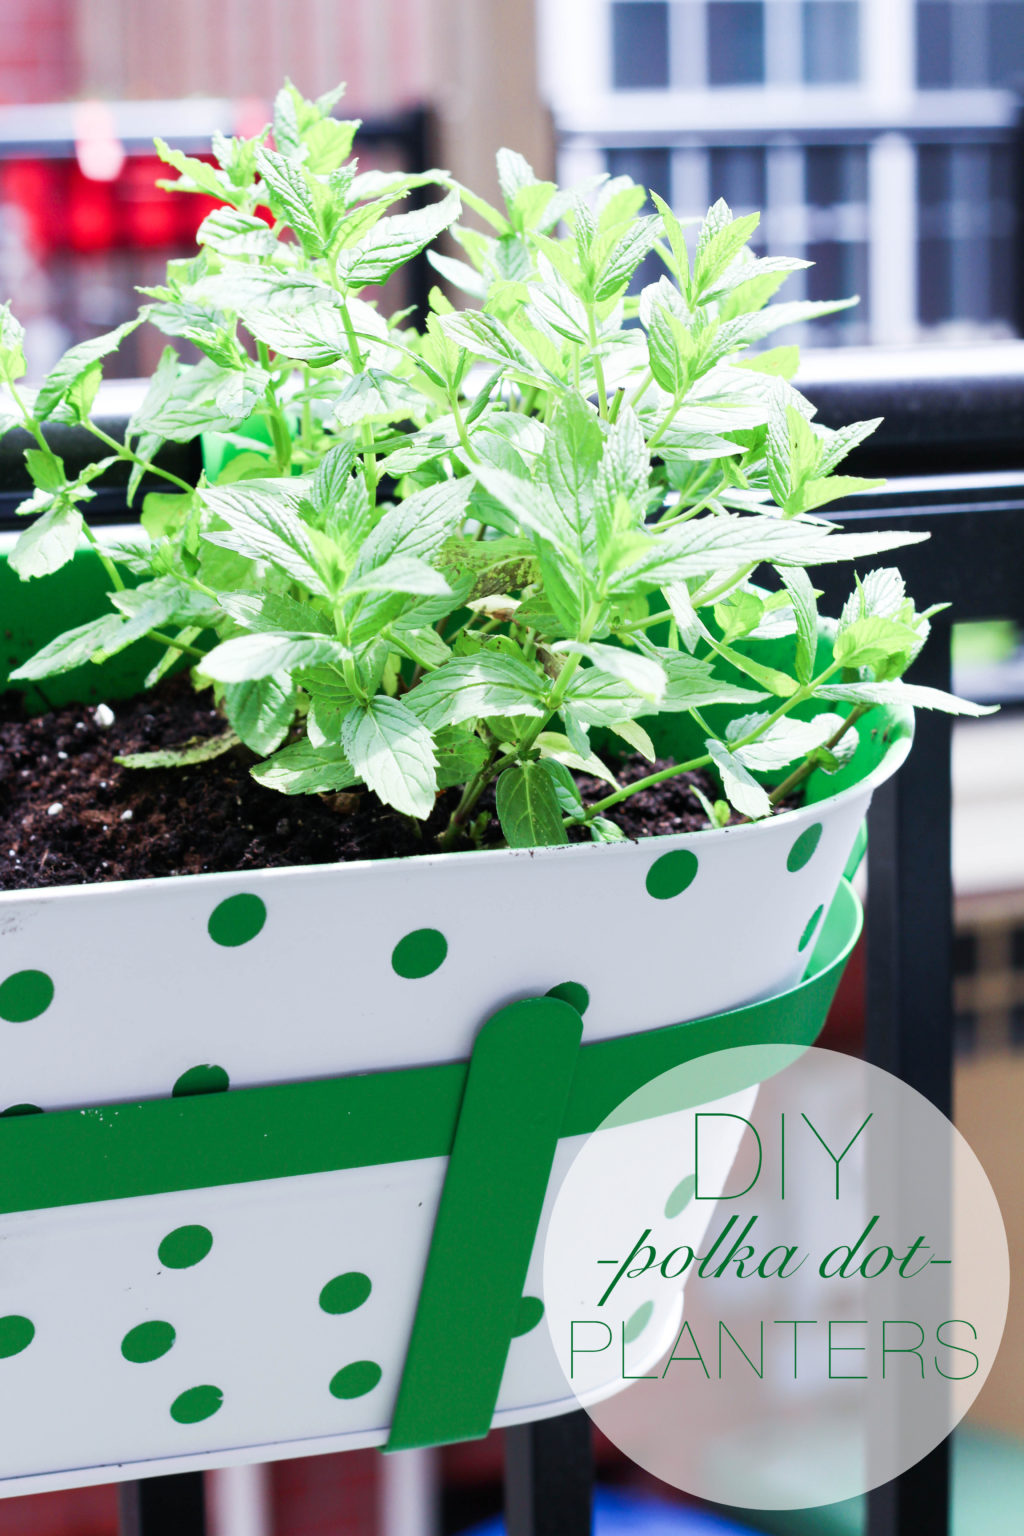
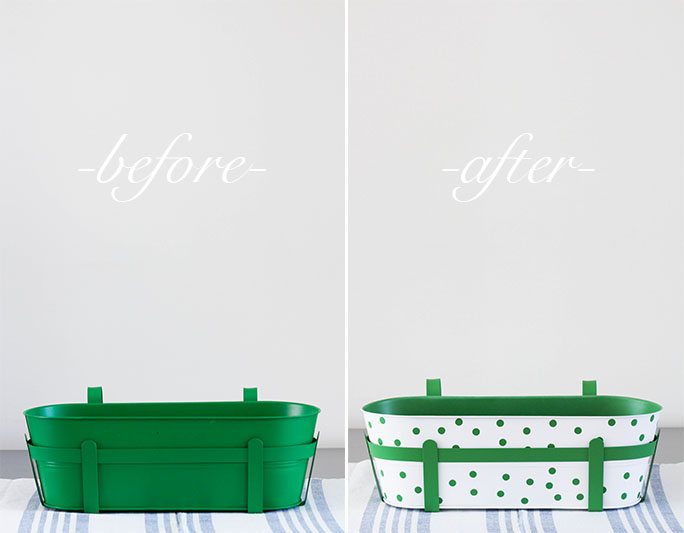
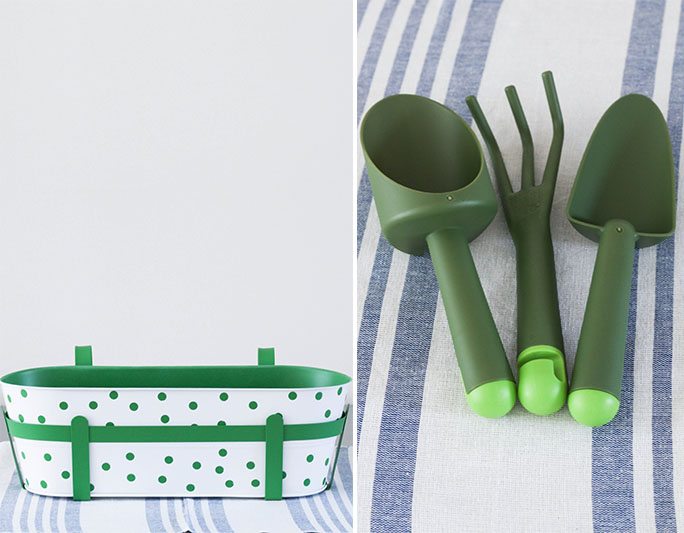
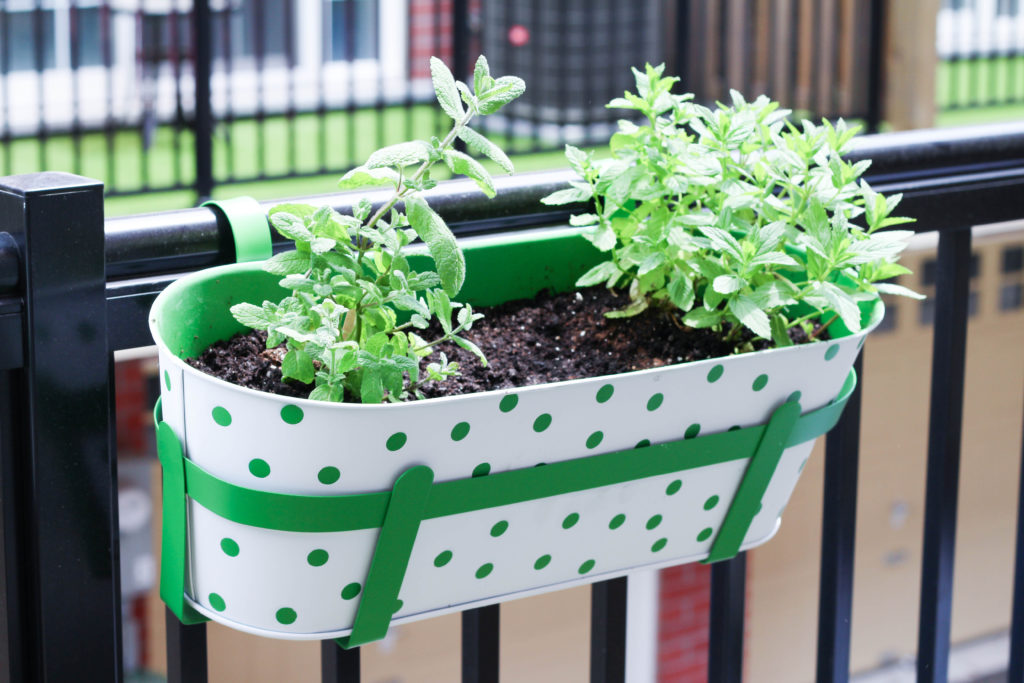
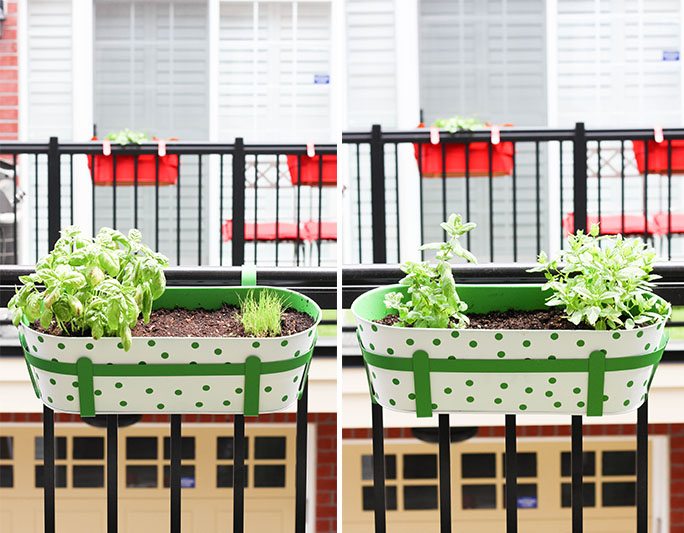
 This spring I was determined to start myself a little herb garden as I wanted be able to utilize fresh herbs all season to add flavour into every meal/drink. A couple of weeks ago Jamie and I decided to do pick up chives, basil, mint and pineapple mint with full intentions to re-plant them a few days later. But when it came to picking out planters to hang over our balcony, none of them were stylish enough for me. We noticed that our neighbours had really fun red ones* hanging from their balcony that we later found out were from IKEA, so we took a trip there to find them. The only colour IKEA had left were the green so we picked up 2. I decided that they needed a little something so I purchased some circle shaped stickers and spray paint and made polka dotted planters!
What you will need:
1. Planters (our are from IKEA)
2. Circle stickers (I found mine at Michaels)
3. 2 cans of matte white spray paint (I used a quick drying one for all types of surfaces)
4. Large piece of cardboard
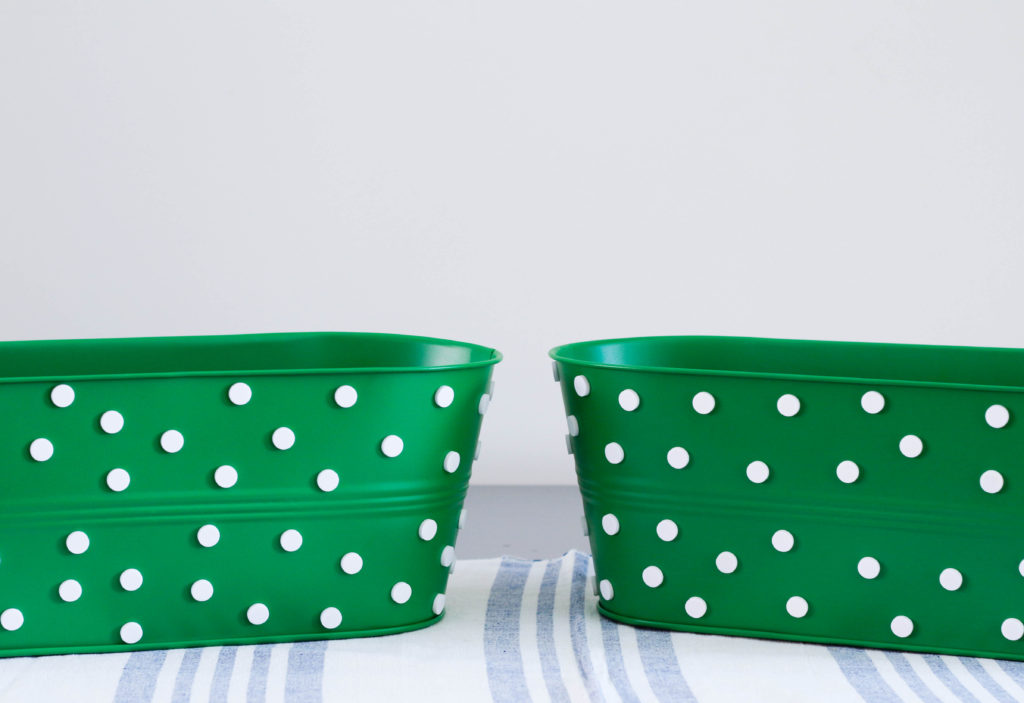 Step 1: Place your stickers generously onto your planters. Make sure to press down firmly to secure them before painting.
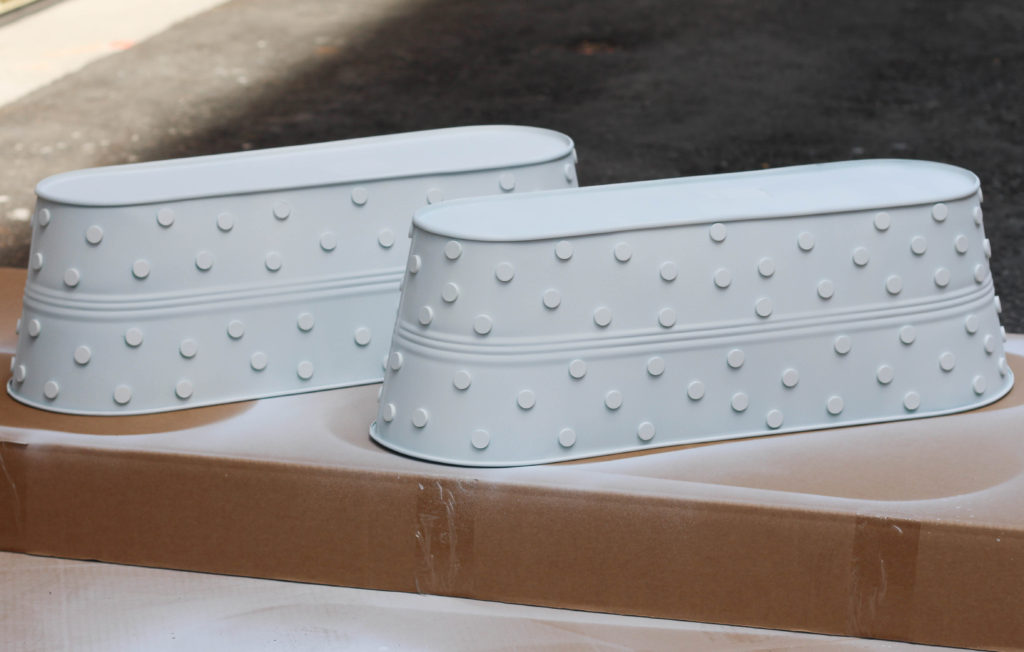 Step 2: Face planters downwards on top of a large piece of cardboard. I suggest spray painting your planters outside because the fumes are quite strong, and the paint can be messy. Evenly spray the planters all around in a sideways back and fourth motion, making sure to get all around the circles. You will need to do about 4 coats to completely cover the planters.
Step 3: Before you peel off the stickers make sure that there are no green (or coloured) spots peeking through, and that the paint is fully dry. Although my spray paint was quick drying I left it overnight jut to be safe.
 Neighbours red planters *