I’m not new to making planters. In fact, my DIY succulent garden continues to be one of the most popular posts on this here blog.
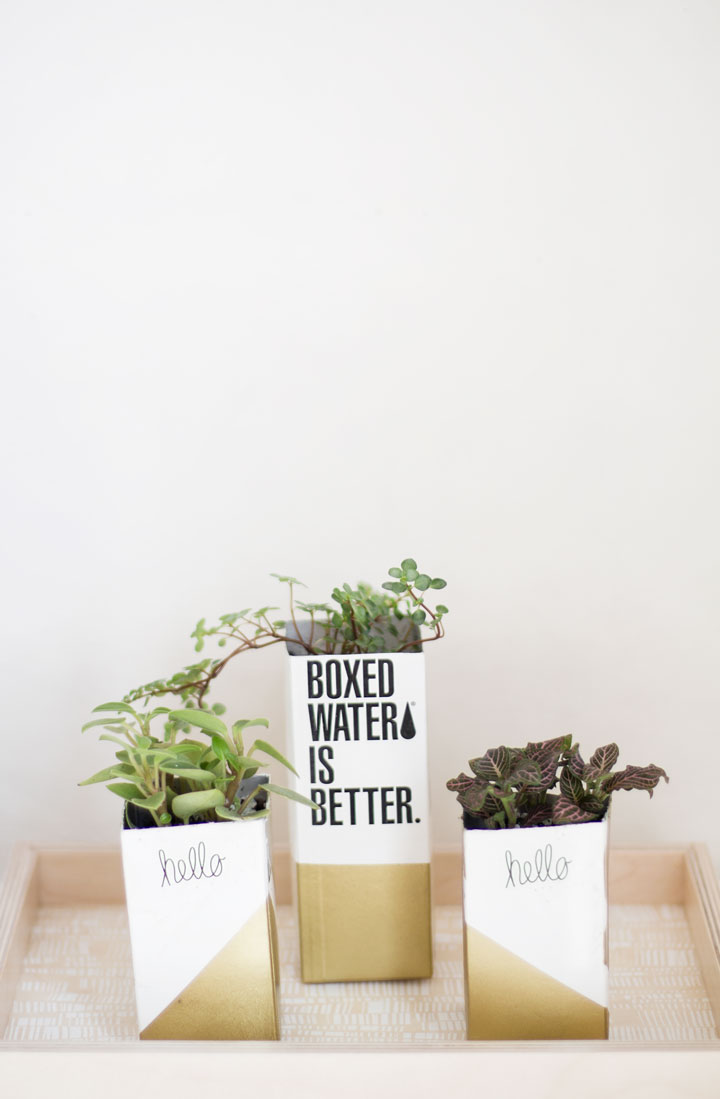
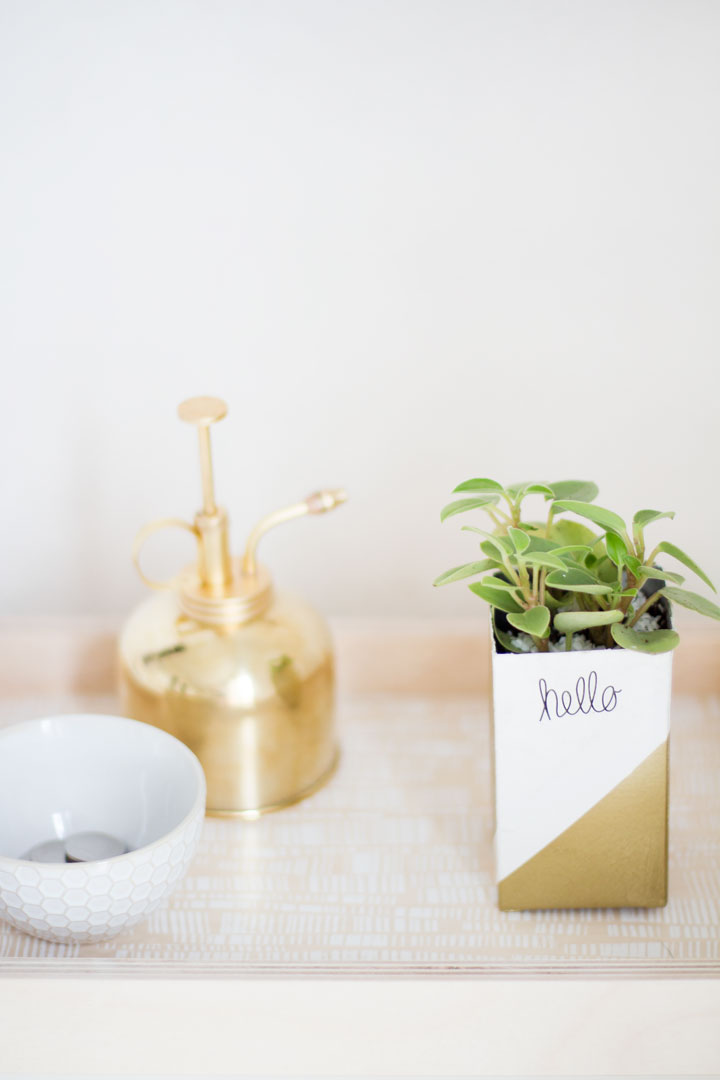
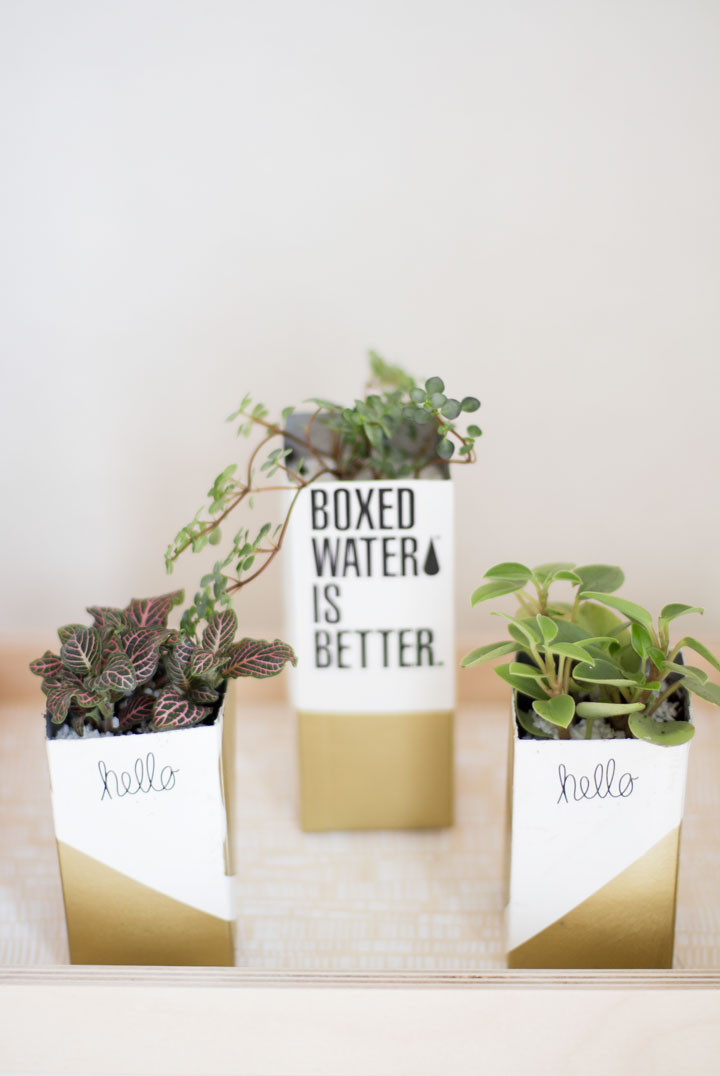
So when Boxed Water is Better reached out about collaborating my first thought was obviously to make planters out of what are in my opinion, the cutest water boxes on the market. These planters could not have been simpler to put together and I really think that the hint of gold gives the planters an extra something special, especially on the “hello” side of the boxes.
As much as Boxed Water’s packaging is cute that’s not all that they are about which is why I’m so excited to be partnering up with them. Boxed Water is triple filtered for purity and each box is made of 74% paper that comes from well-managed forests. The ENTIRE carton is recyclable, BPA and phthalate free. The brand pillars of Boxed Water are to Waste Less, Do More and Live Well which is a mantra I, and I think everyone can get behind.
I love that these planters can be reused for water but also that they are so easily repurposed. These planters add a stylish touch to any room, and I can totally see them in a dorm room come fall or even a bunch of them outside on our balcony.
PS: If you love this post be sure to share a picture of it on social media with the hashtag #ReTree. Boxed Water is Better will plant 2 trees for each photo shared! Boxed Water is Better is available in Canada at Loblaws and Sobeys.
DIY Boxed Water Planters:
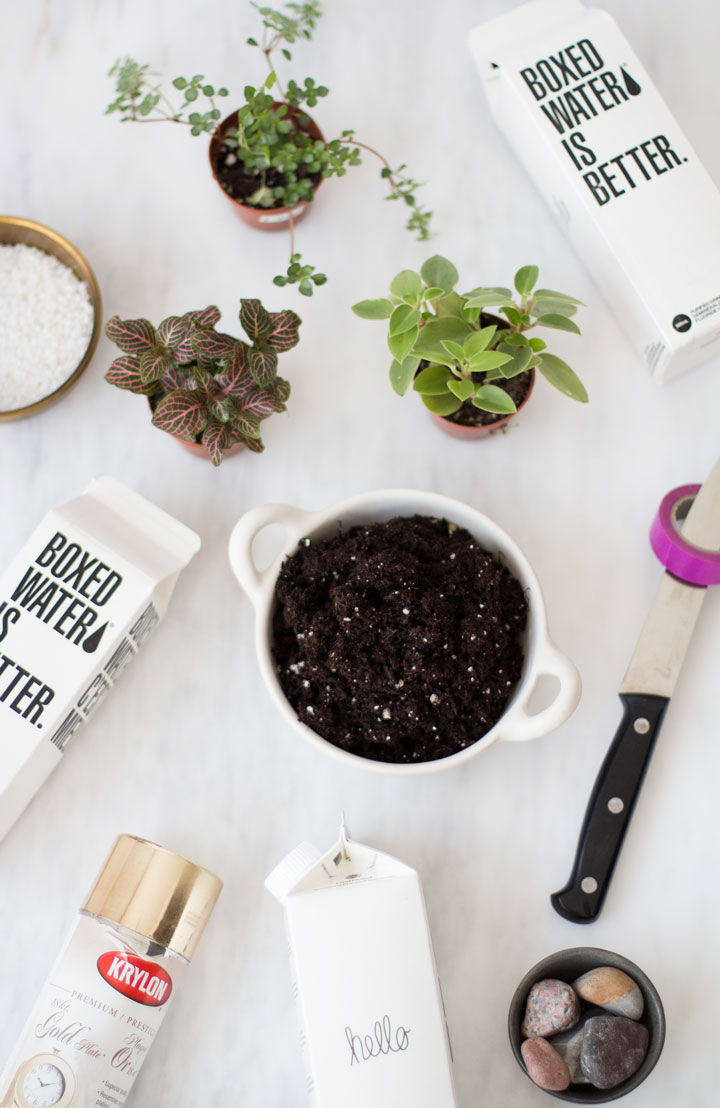
What You Will Need:
- Boxed Water is Better boxes
- Gold (or any colour you prefer) spray paint
- Painter’s tape
- Sharp Knife
- Rocks (medium size for drainage / small for decorative)
- Potting soil
- Assorted succulents or plants
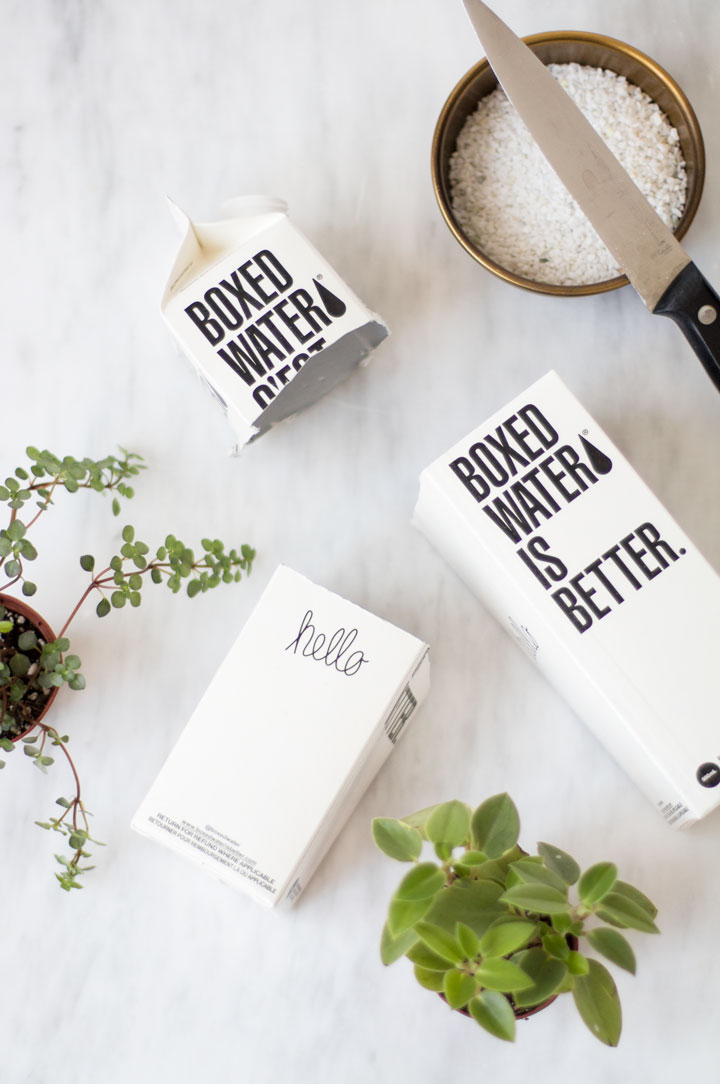
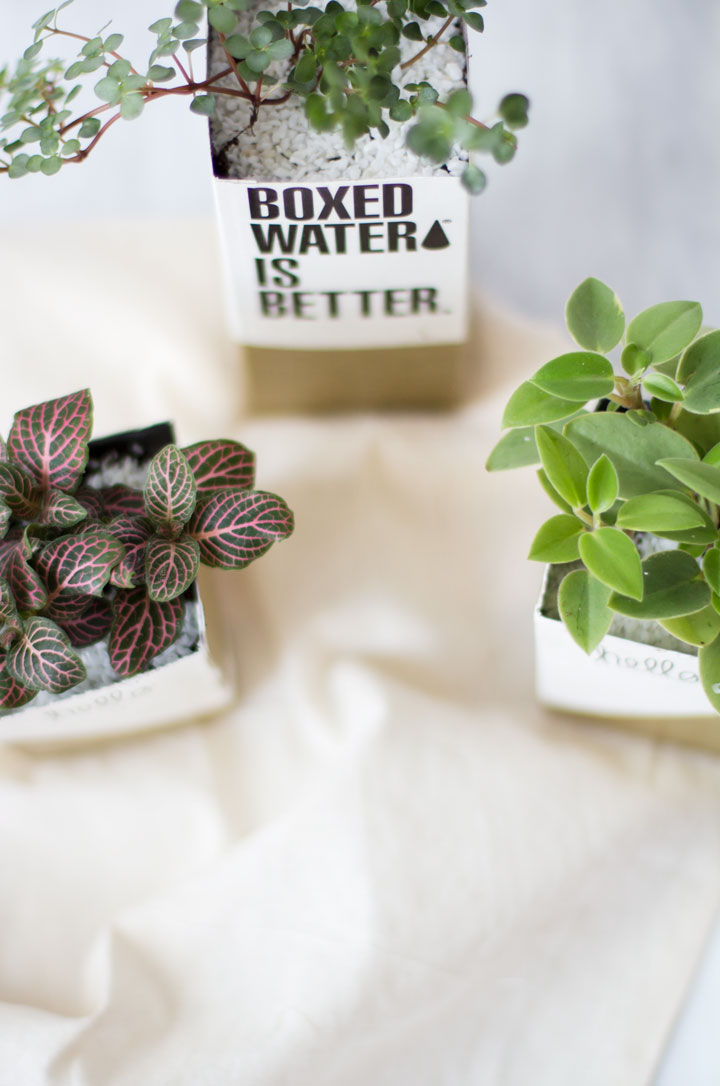
Step 1: Using a sharp knife, carefully slice the box on a cutting board. Where you slice depends on how tall you want your planters to be. I sliced 2 boxes just above the “hello” text on the box and 1 at the very top of the box where the “Boxed Water is Better” text is.
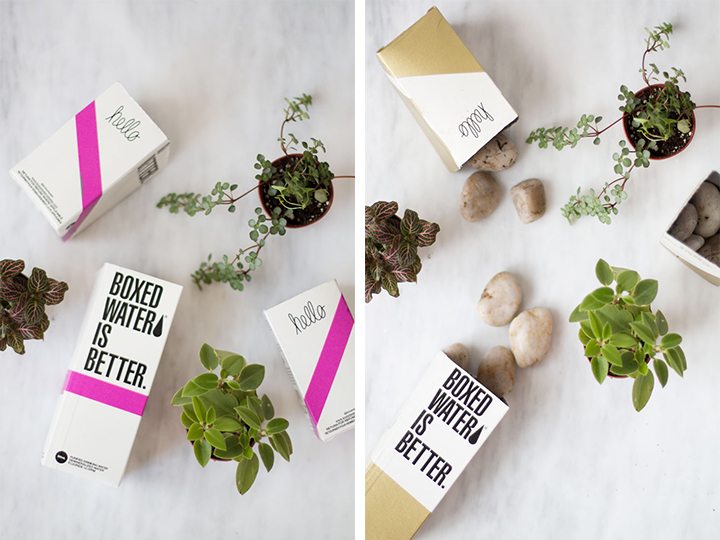
Step 2: With your painter’s tape, tape off the section that you want to spray paint. I suggest taping off everything you don’t want spray painted (not shown) as the paint often tends to land where you don’t want it to. For example, I only wanted the bottom half of my boxes painted gold so I would tape off everything else covering the “hello” and “Boxed Water is Better” text completely.
Step 3: Evenly spray paint the Boxed Water and allow it to dry. I only needed one coat of spray paint to completely cover the boxes.
Step 4: Add 5-7 medium size rocks to the bottom of the Boxed Water for drainage and add some soil.
Step 5: Continue adding soil to the planter until you are happy at how much of the plant is sticking out when you place it in. Make a small hole in the soil and remove the planter from its pot. Loosen the plants roots and place it in its new home.
Step 6: Cover the top with soil and top the planter with decorative rocks, mine were white.
Thank you to Boxed Water is Better for partnering on this post, all opinions are my own.