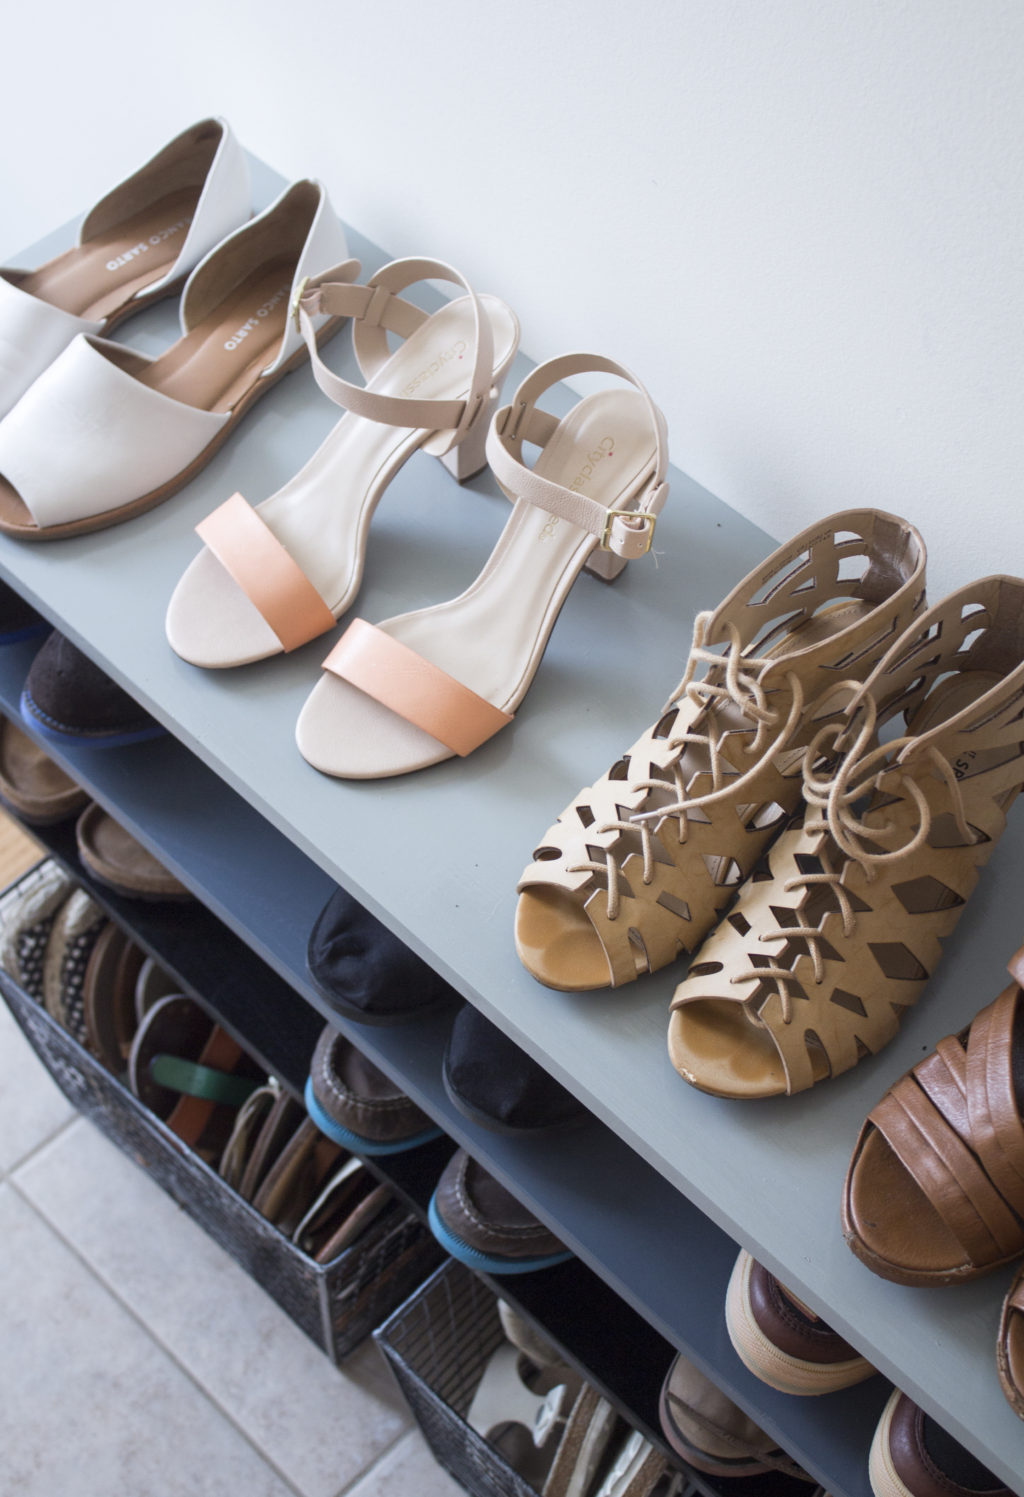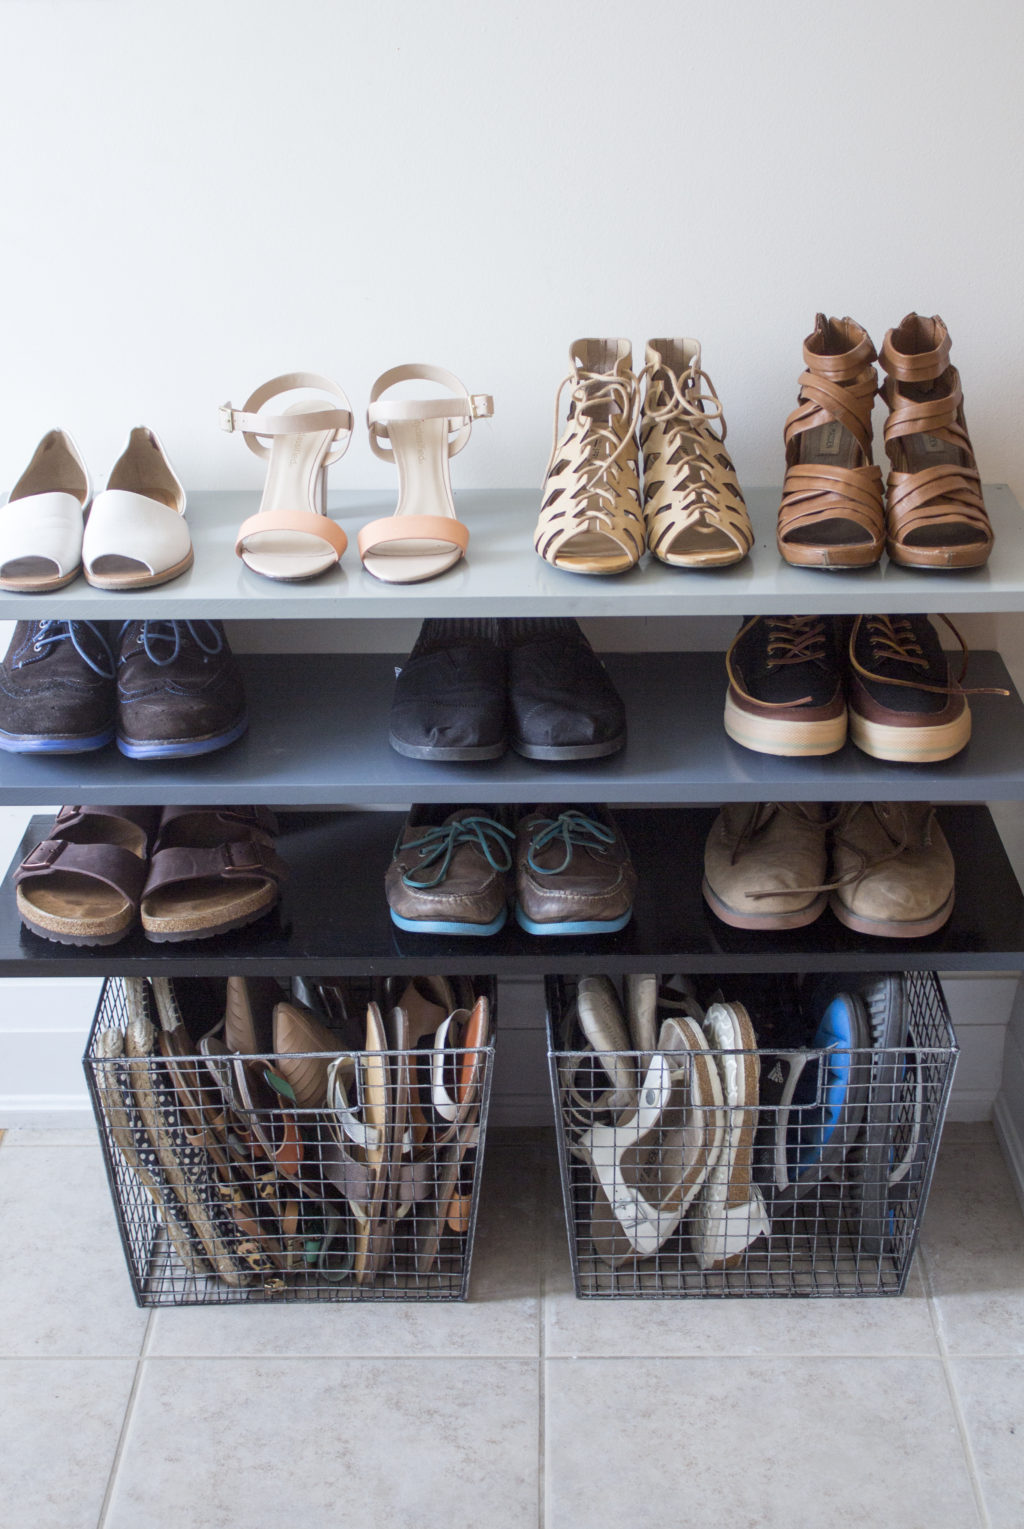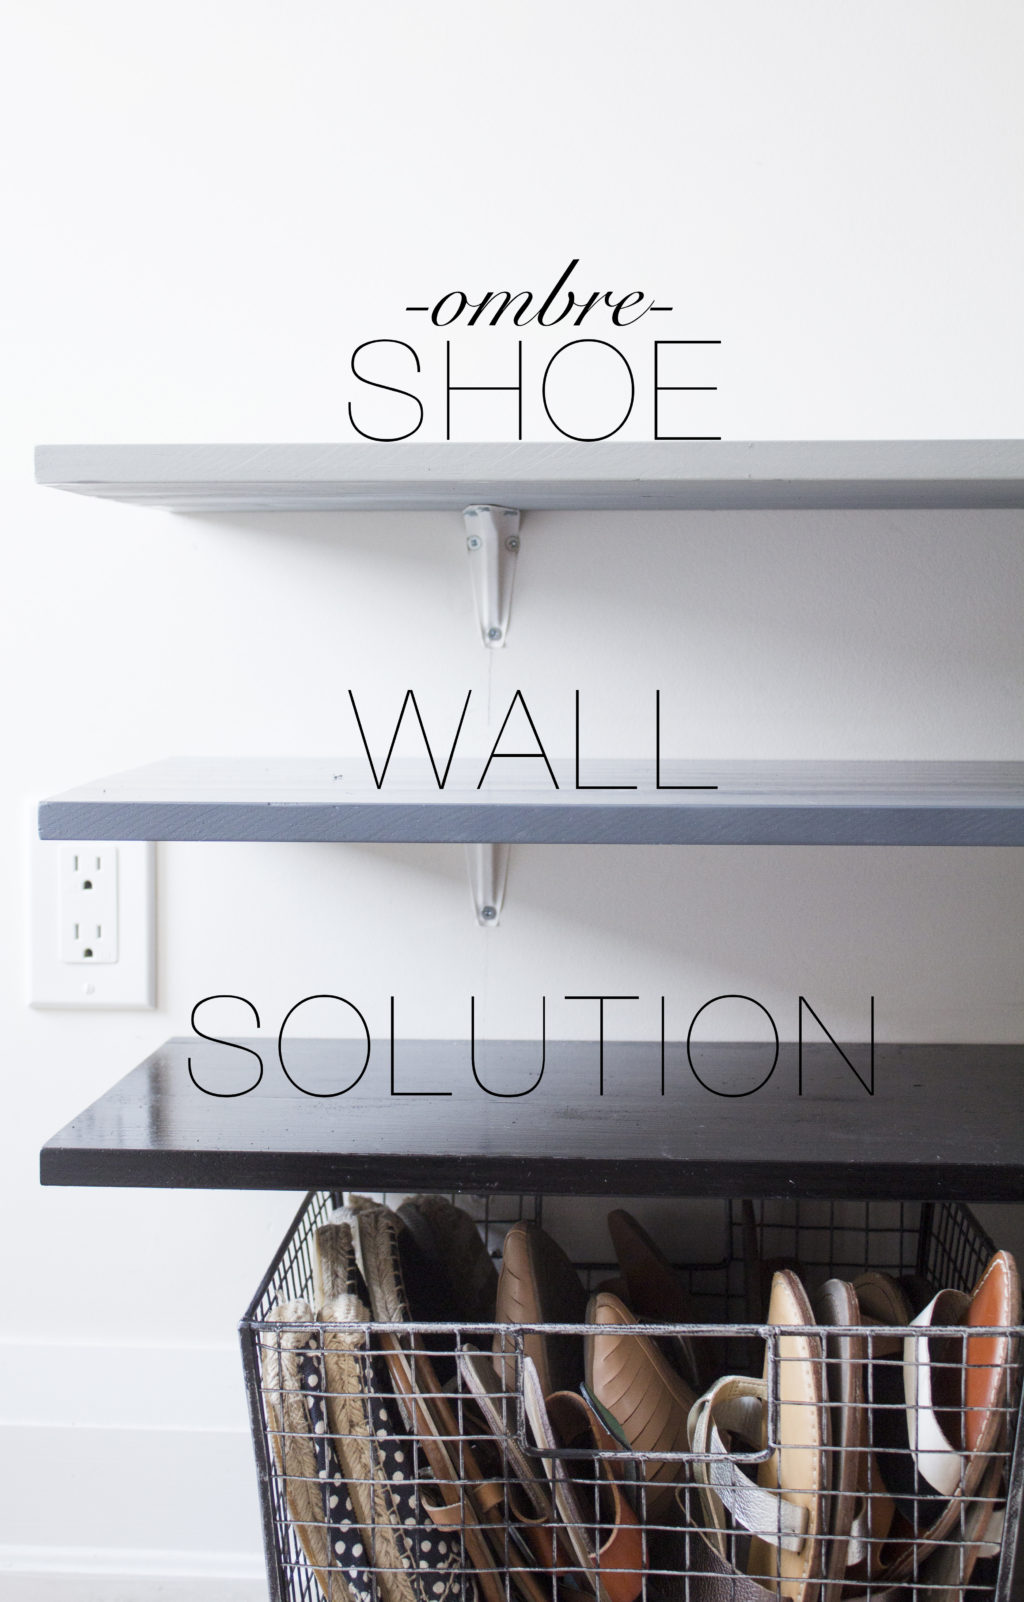
I will admit, I have way more shoes than anyone could ever need, but yet I still keep on buying them (my boyfriend also has the same problem, but won’t admit it). During the year I also live with my two sisters who too have lots of shoes to contribute. For the longest time we were using our very ugly and very broken shoe rack from Wal-Mart to stack our shoes into the messiest pile imaginable. A couple of weeks ago, my by boyfriend had the genius idea of creating our own built-in-t0-the-wall shoe rack. His idea was of course a little less stylish than mine, so we put our ideas together and painted the wood boards from light to dark (ombre) and added two wire baskets at the bottom for added space. Here’s how we did it.

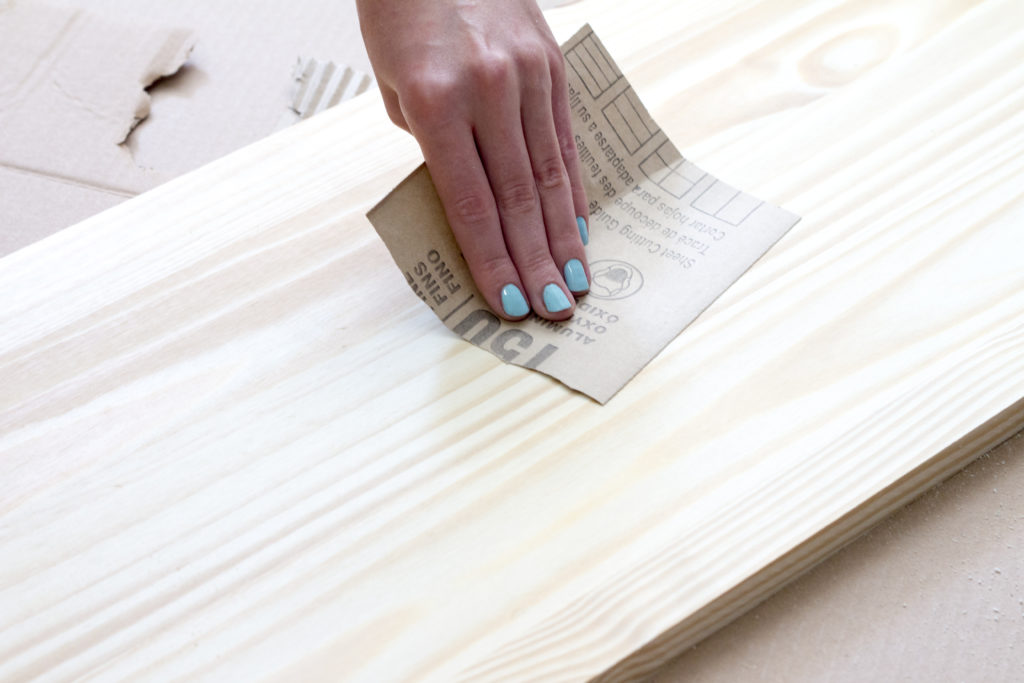
Step 1: We purchased 3 wooden planks at Home depot for under $30 and sanded them down just so they were smooth enough that there were no loose pieces of wood or splinters.
Step 2: Wipe off the boards with a damp (not wet) clean cloth to remove any extra dust and dirt. 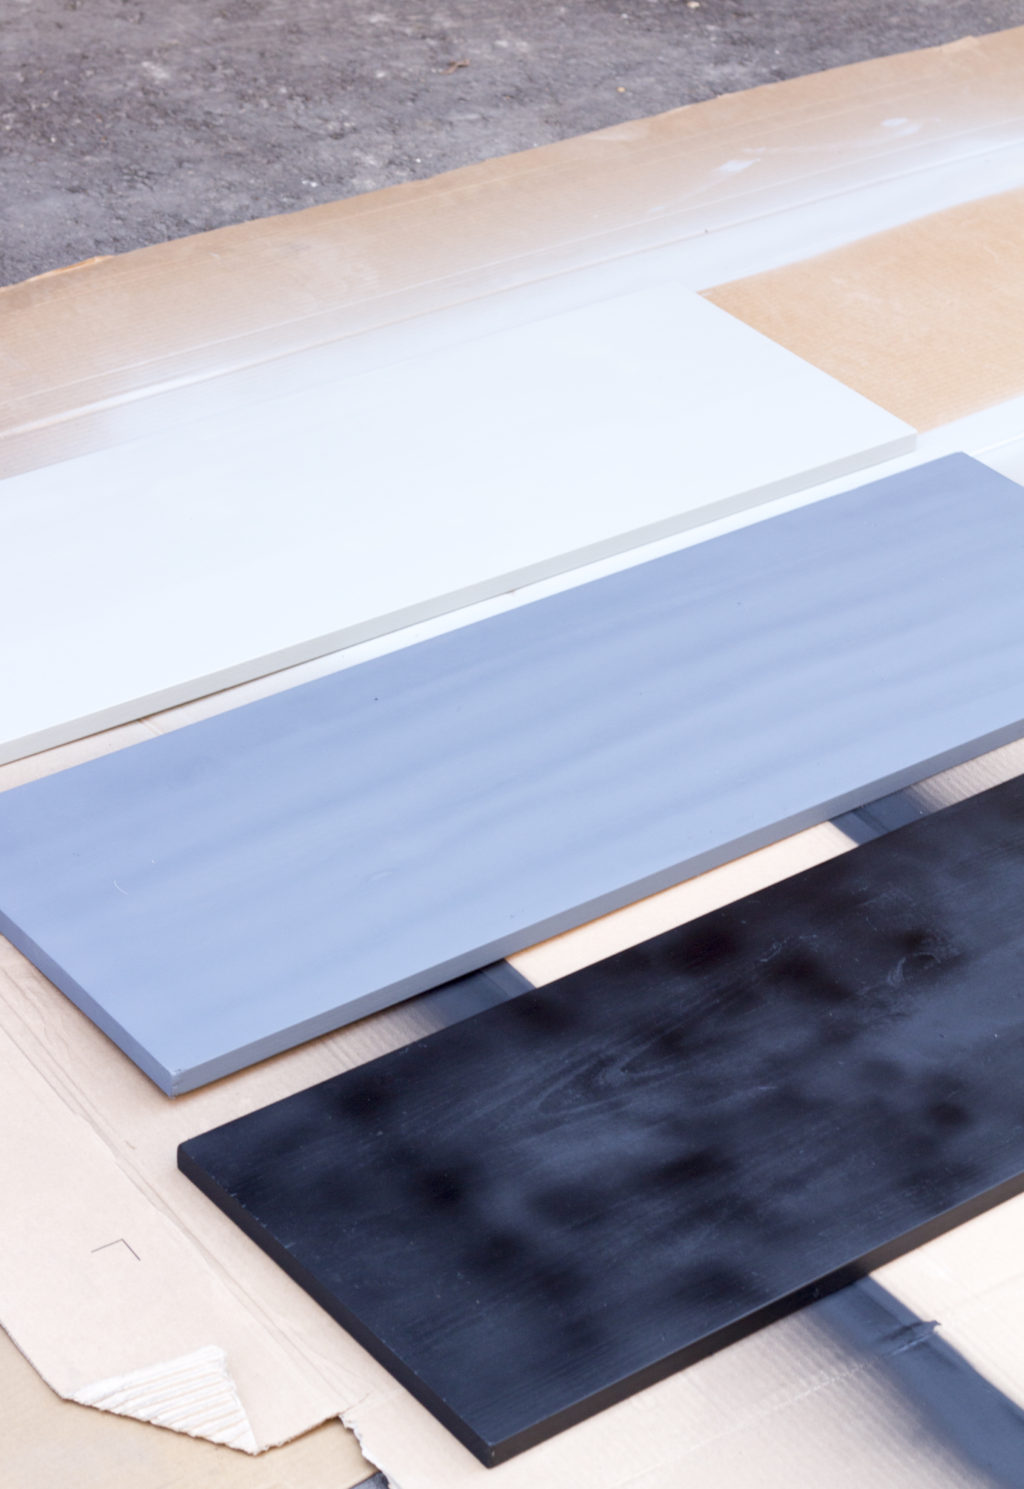
Step 3: Using three different shades of spray paint (found at Canadian tire) paint each board in an even coat. Let them dry about 15 minutes apart and repeat the process about 3 times on each side. It will take a day or two to get both sides fully covered.
Step 4: After your boards are painted and fully dry we added a shiny clear coat to the boards so they would be easily washable.
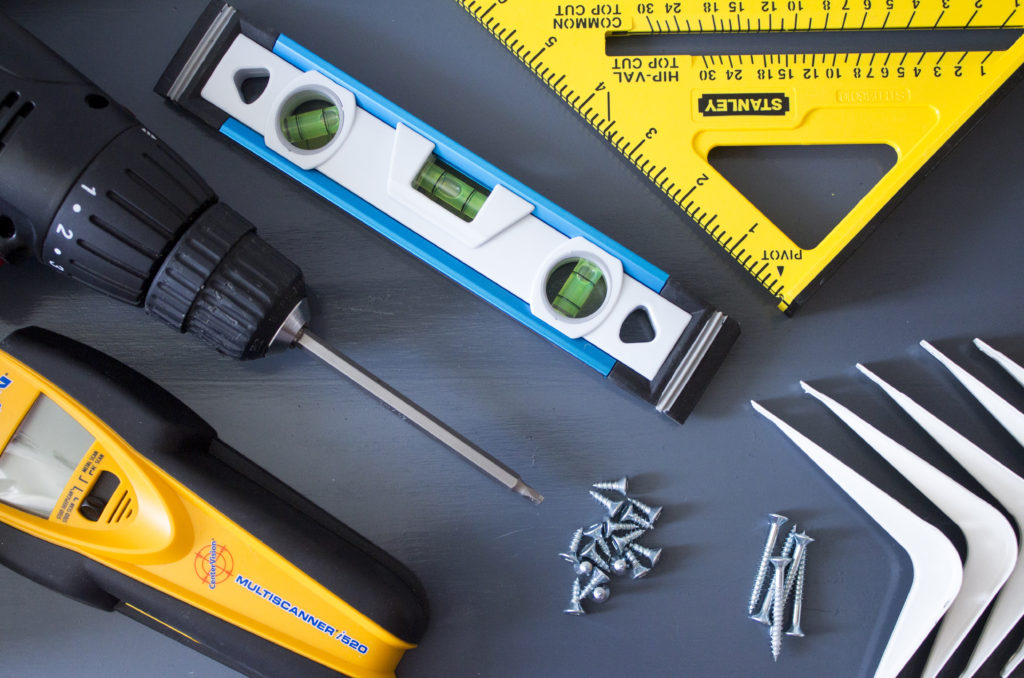
Step 4: You will need a stud finder, drill, level, angle ruler, small and large screws and brackets.
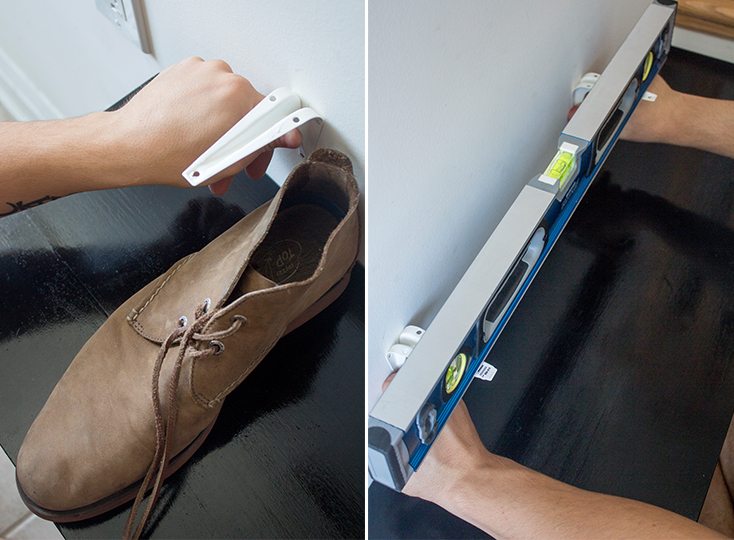
Step 5: We began by placing our baskets at the bottom to make sure we had enough room for the shoes. We made sure to do this process for each stand, placing our tallest shoe on the board before drilling into the wall. 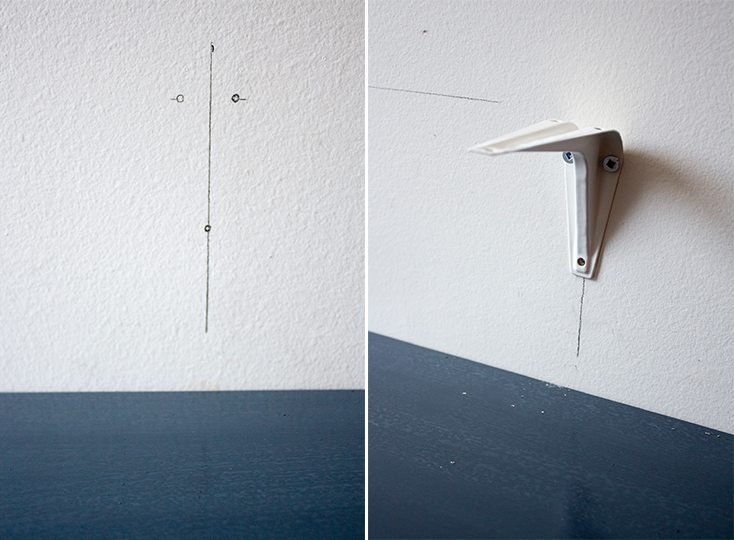
Step 6: Using your stud finder mark off the spot in the wall where you will be drilling. Use the angle ruler to draw a vertical line from the bottom of where you want the first shelf to the top of where the last shelf will finish. Place the brackets where you would like them and have someone hold them while you place mark with a pencil and put a level over top of them. Once you know they are leveled, drill two small screws into the two top holes (these will just be place holder screws). 
Step 7: Place the board over top of the brackets, having someone hold it in place. With a pencil mark off where the screws will be going into the board.
Step 8: Take the board off the wall and remove the place holder screws from the wall. Using the small screws, drill into the wood where you marked your drill spots for your brackets.
Step 8: Place the wood board back onto the wall, having someone hold it into place again. Drill with your big screws into the wall where the holes from your placeholder screws were drilled in the wall the first time.