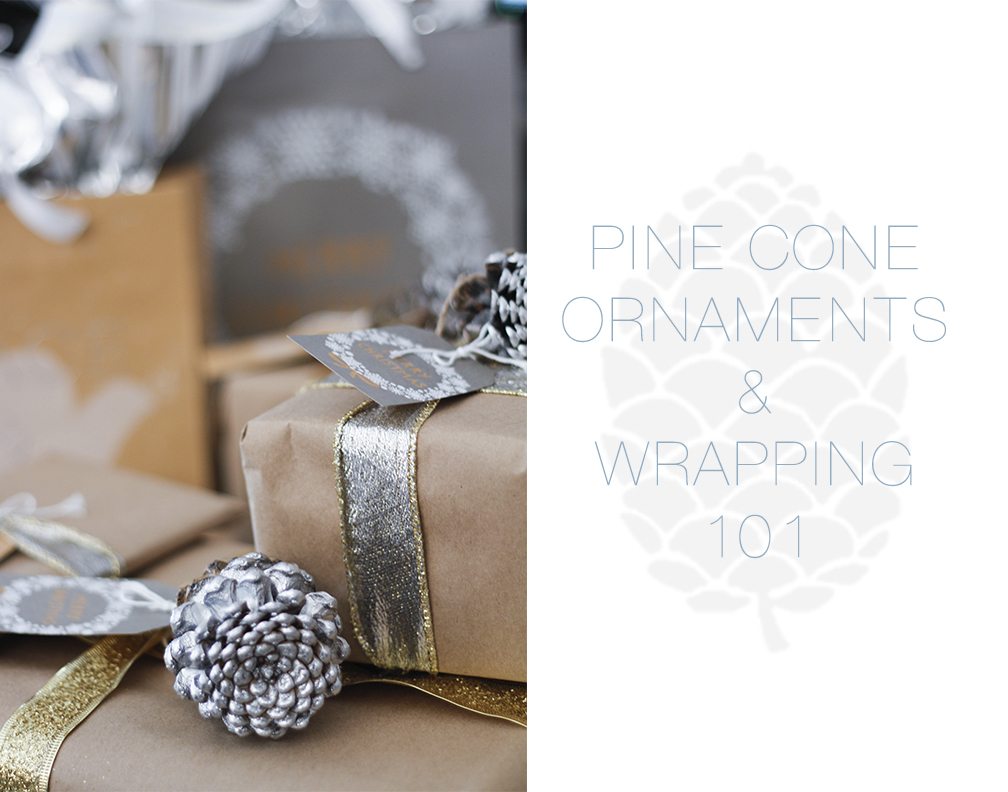
Finding the perfect gift for everyone on my list each year can be stressful, but when it comes to wrapping said gift I have come to find it to be one of my favourite parts of the holiday season. On thanksgiving, not knowing what I would do with them, I had my younger cousin pick me out pine cones at the playground. He picked all shapes and sizes (it was adorable) and by the end I had a bag full of pine cones. After some thinking, I decided that I would share my pine cone collection by turning them into ornaments that can be tied around Christmas packages given as a handmade gift. From making the ornaments to wrapping the gifts It was a very long process (I highly suggest you break this DIY down into a 2 day event) but in the end the ornaments and wrapped gifts turned out beautiful and all the time spent was well worth the result!
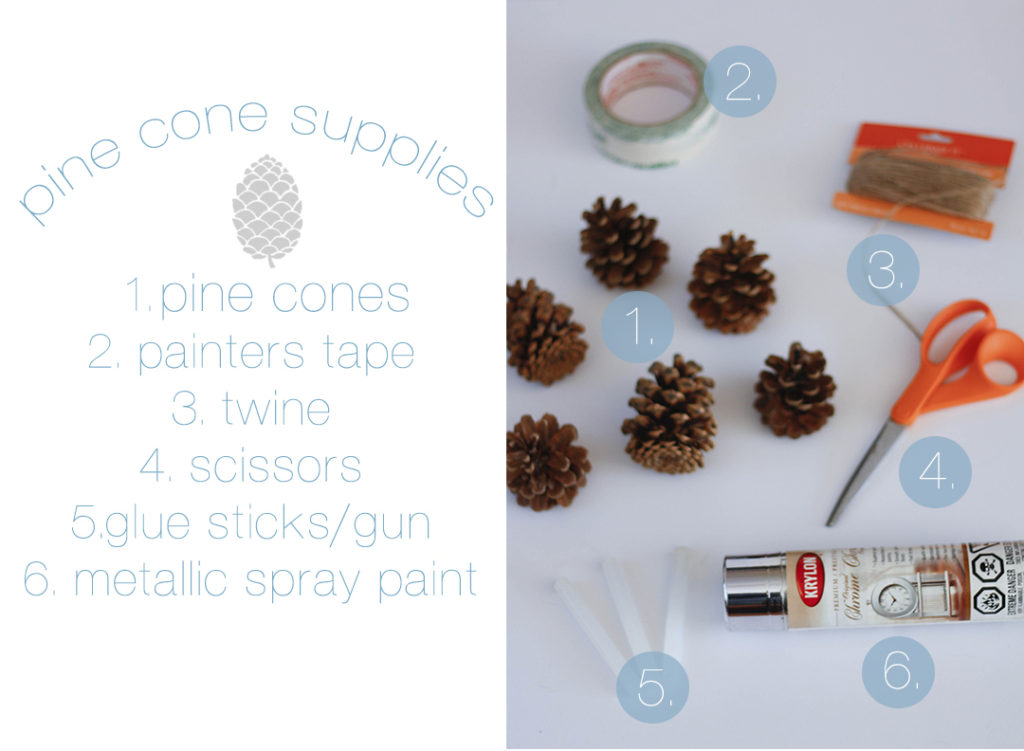
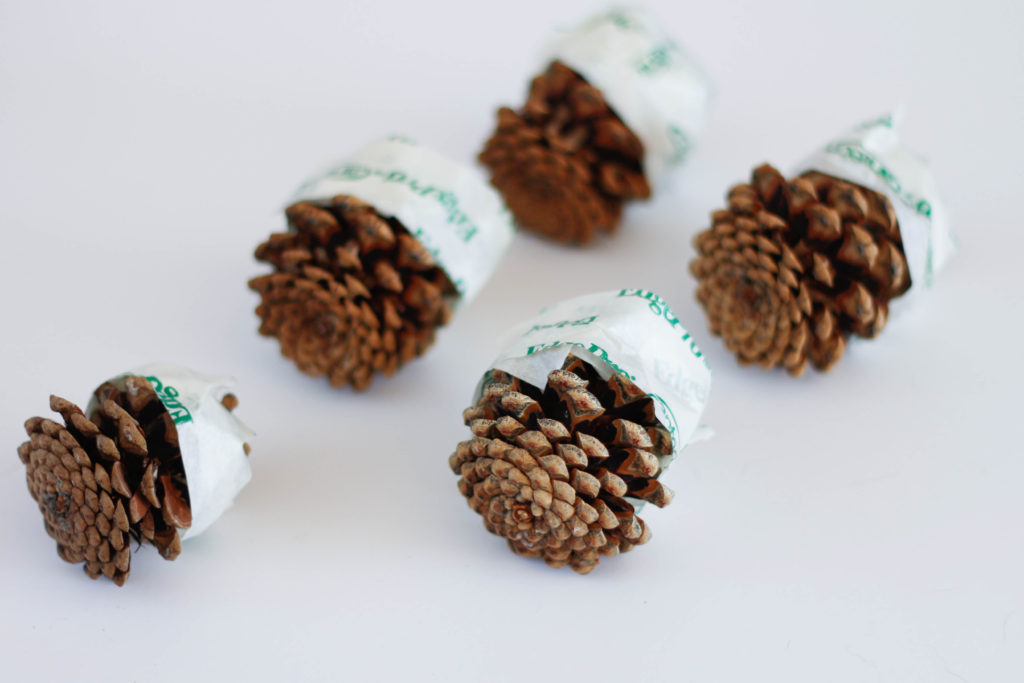

To make the ornaments I wrapped painters tape around the top of the pine cones as to keep paint off the areas I didn’t want coloured. I allowed the paint to dry for 15 minutes and proceeded to make the ornaments by cutting up 1.5″ strands of twine and hot glue gunning each side to the pine cones. It was a simple process and the results turned out exactly how I’d hoped!

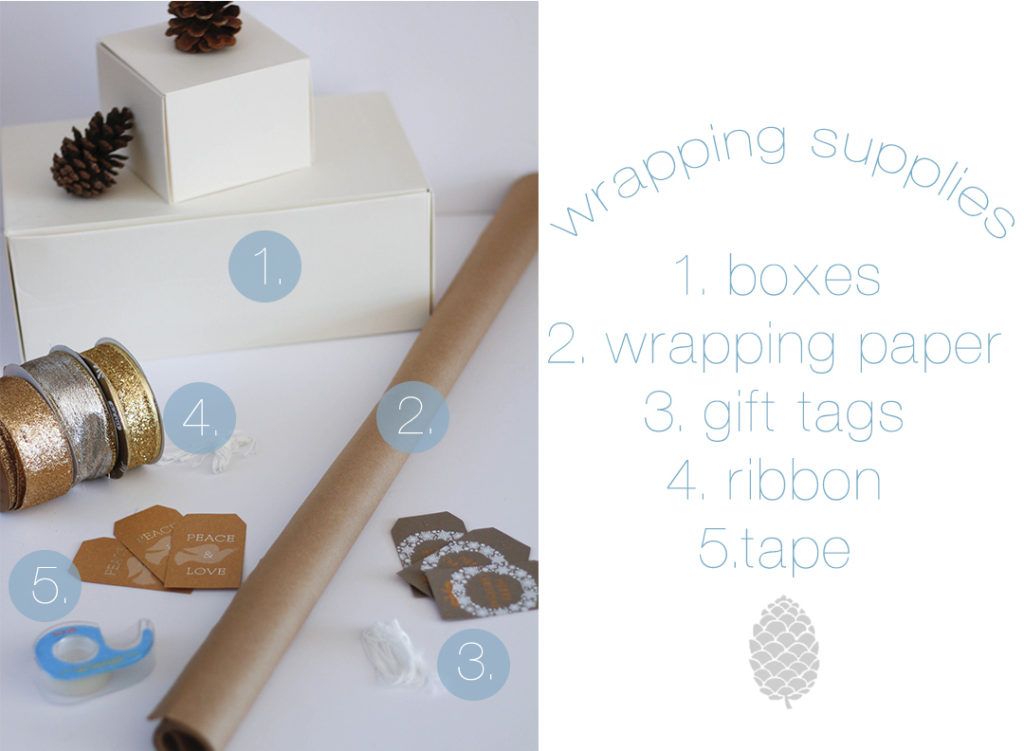
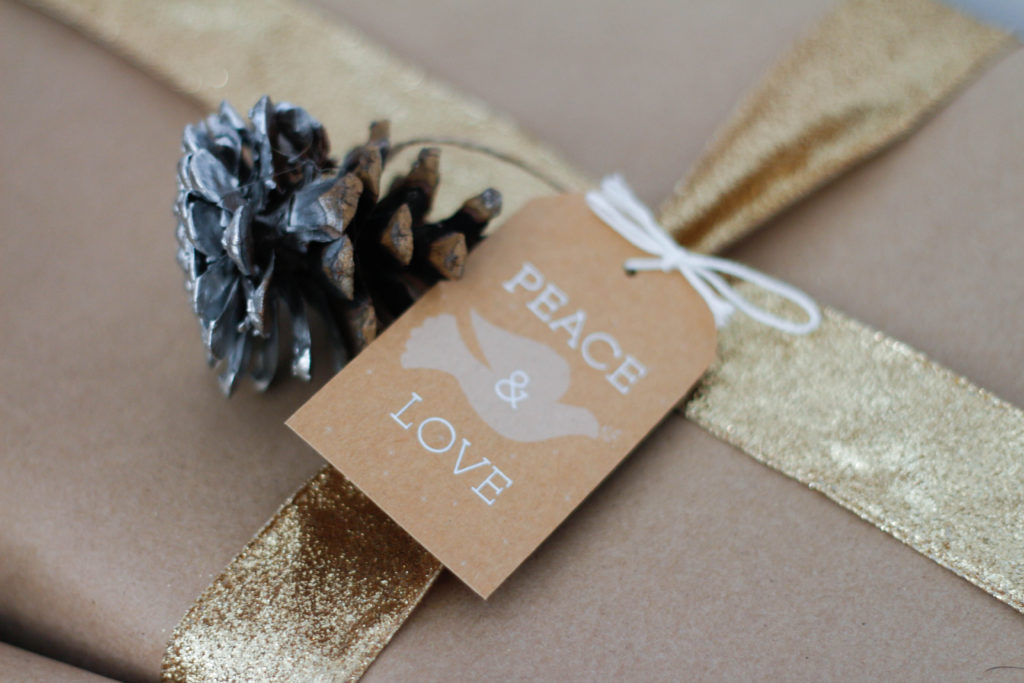
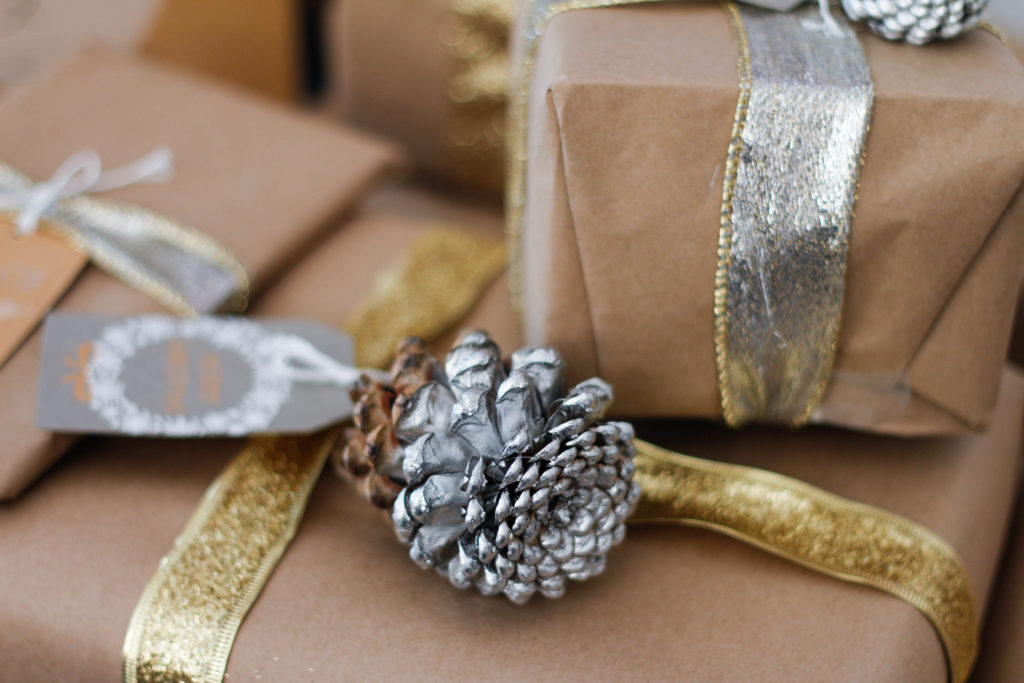
To wrap the gifts I simply used brown parcel wrapping paper which can be purchased at any post office. I wrapped the ribbon vertically and horizontally around the box and then tied the pine cone ornament and gift tag together around the ribbon.


Products Used: