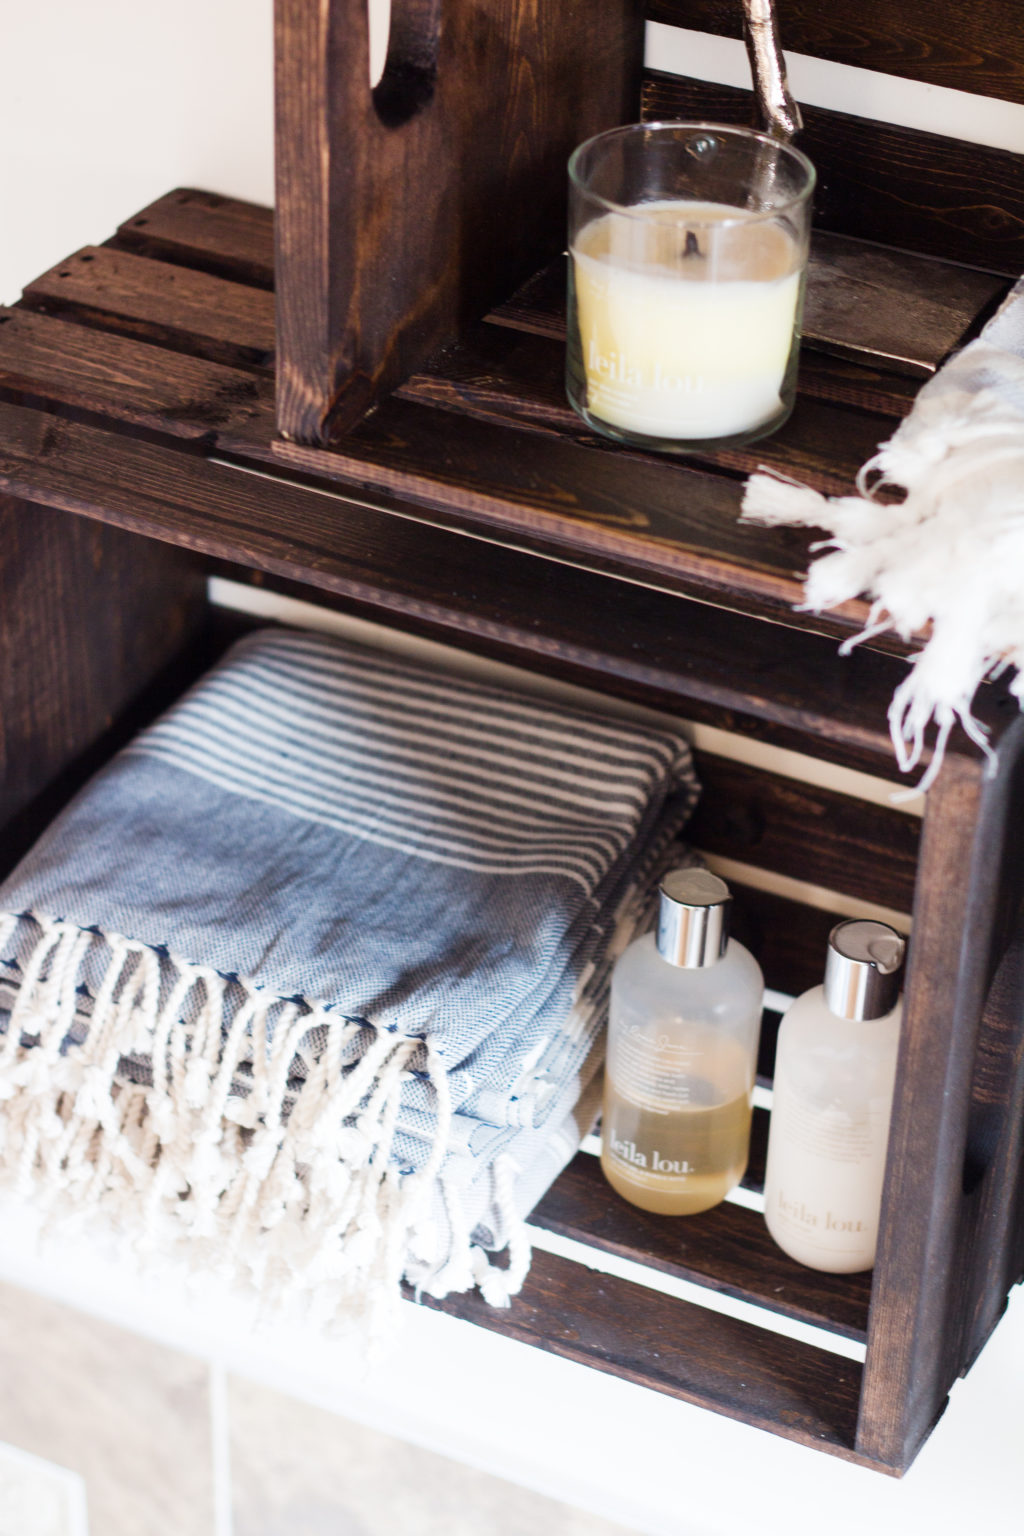
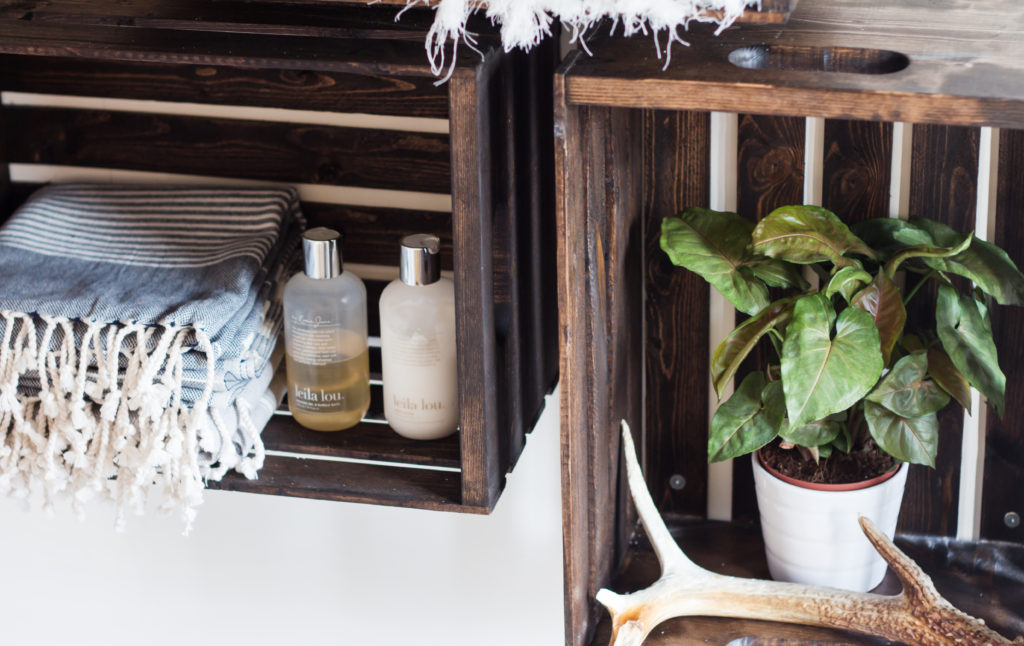
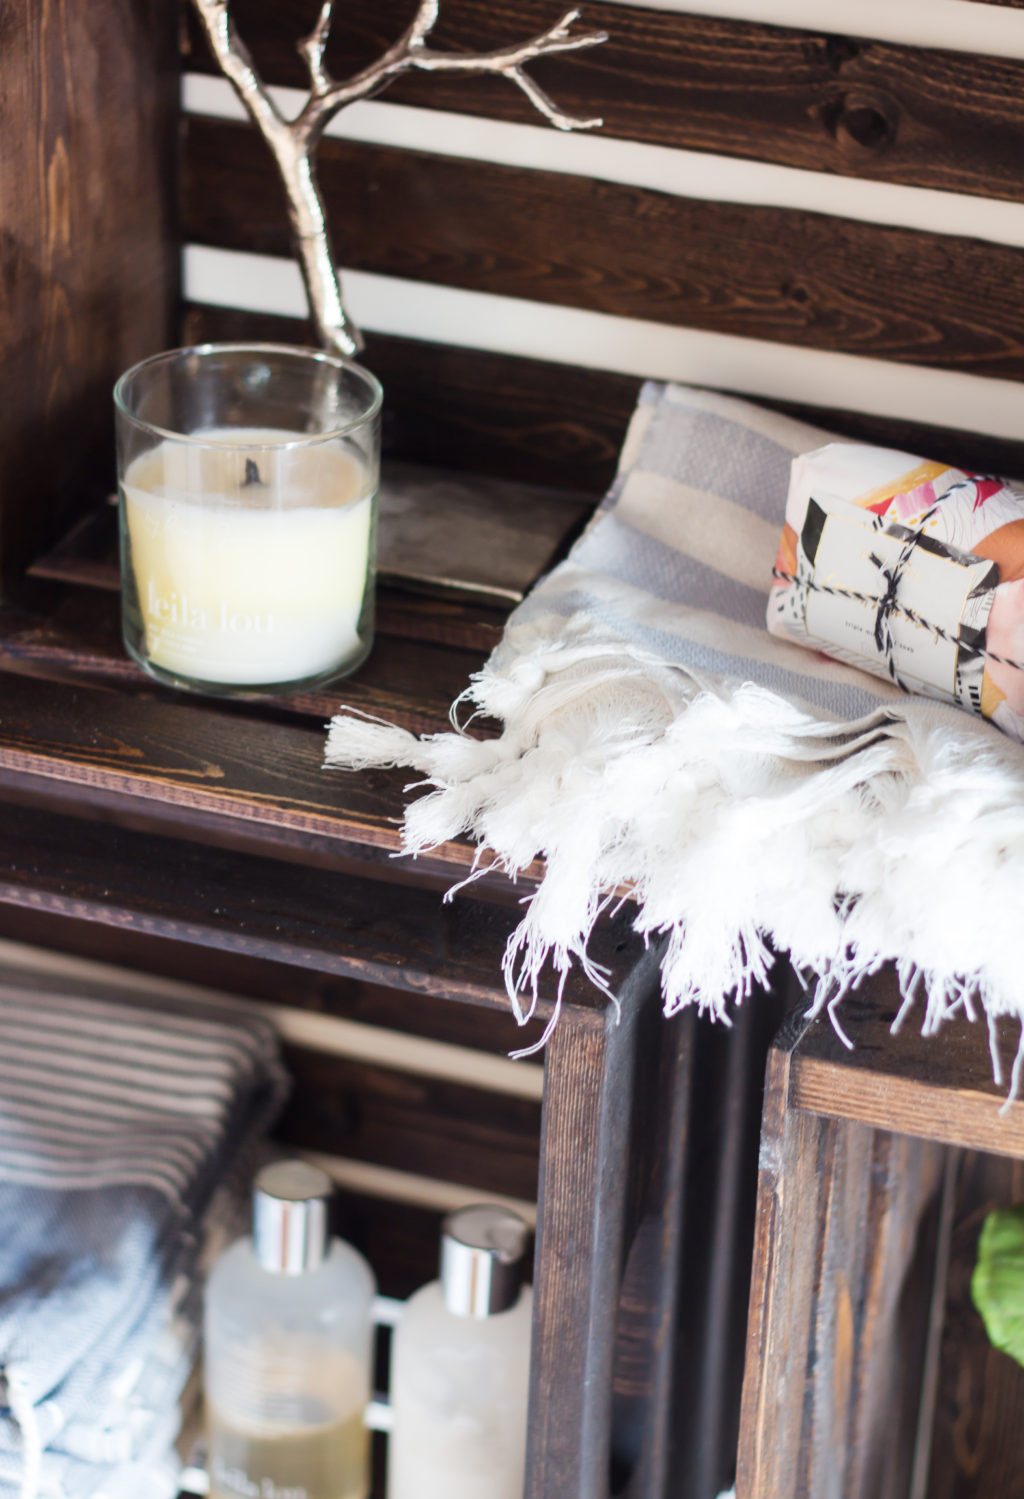
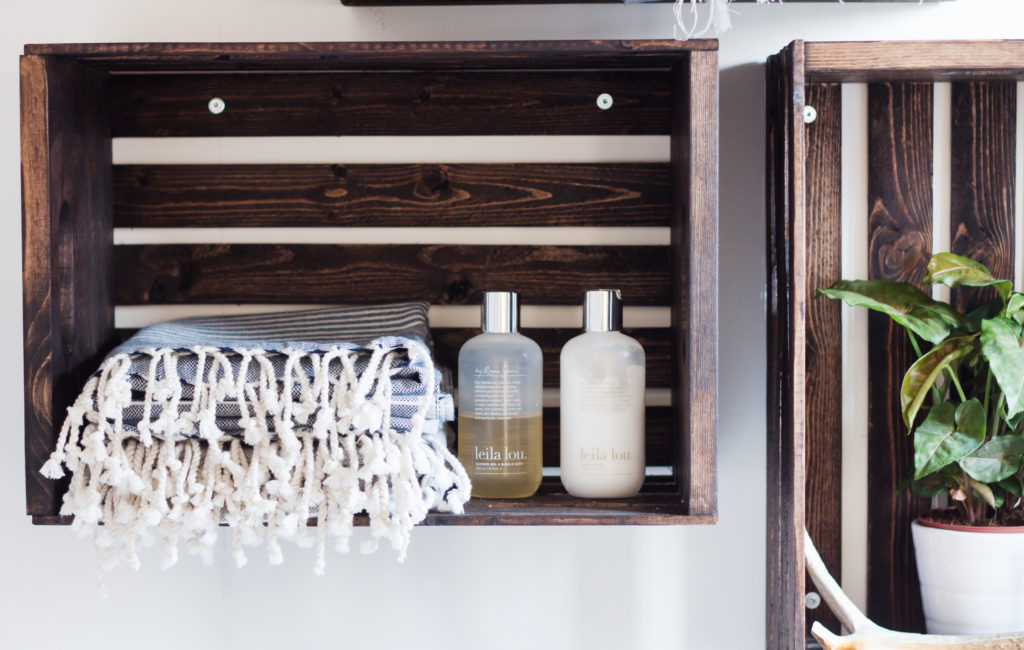
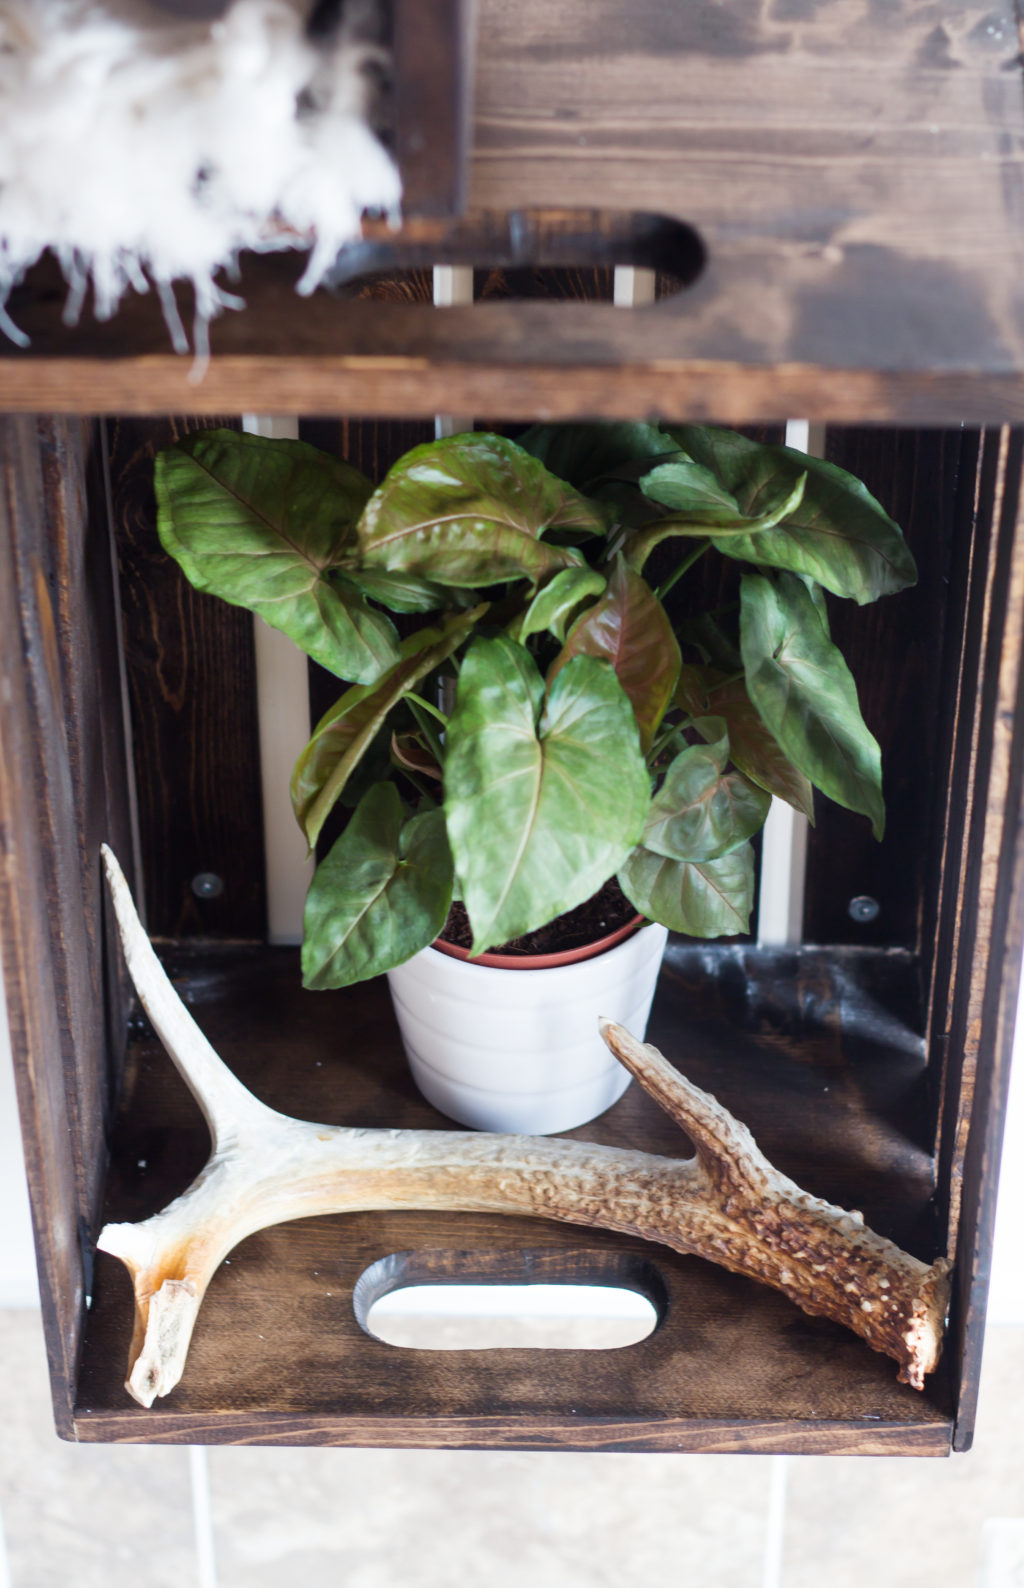
A few years ago I came across an old vintage wood trunk in a second-hand store that I knew I had to buy. It only cost me around $10 and at the time I had no idea what I wanted to do with it, I just knew that I wanted it. For the longest time it offered storage for our towels in our old bathroom but when we moved our new bathroom wasn’t able to fit the awkwardly shaped trunk. I figured we could transform it into a shelving solution but after some thought Jamie and I both decided that the trunk would be better suited in the living room for Milos toy box. We got creative and made these crate shelves for our bathroom instead. I actually ended up preferring having three shelves to the one trunk and I have been enjoying styling them up ever since. Here’s how we did it:
What You Will Need:
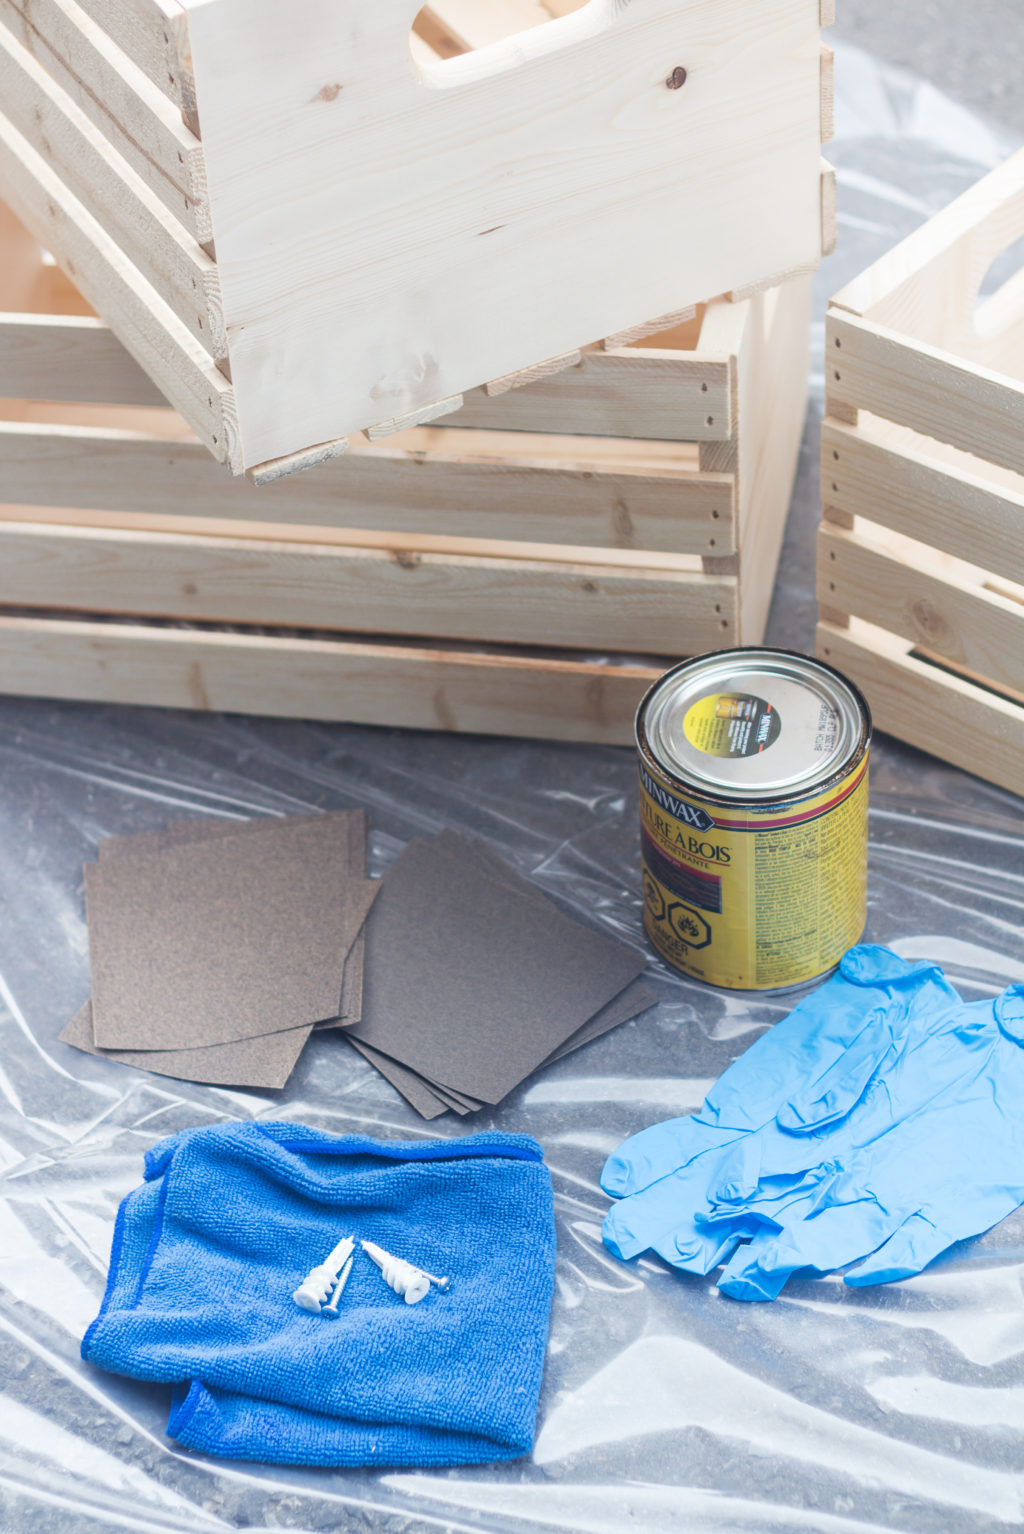
1. Wood crates (I purchased mine at Home Depot)
2. Wood stain (I used Minwax Espresso)
3. Old cloths or shammies
4. Sand paper in 60 and 150 grit
5. screws, anchors (if you don’t have studs in your wall), drill, level

Step 1: Using the 60 grit sand paper thoroughly sand the wood crates until they feel smooth to the touch. Using the 150 grit sand paper give the wood one more final sanding to ensure there are no splinters.

Step 2: Dip the cloth into the wood stain and begin staining the crates. Use a back and fourth motion in the same direction to ensure the wood is being stained evenly. Allow the stain to dry completely.
Step 3: To hang the crates it’s best if you have some help so that someone can hold the crate in place while the other person is drilling. Drill the screws into all 4 corners of the crate so that they are secure. If you have a stud finder make sure to use it so that the screws will be properly anchored in the wall. If you do not, use store bought anchors as they will hold more weight.